We’ve gone over basic gear and camera settings, and now its time to start talking about what you are shooting.
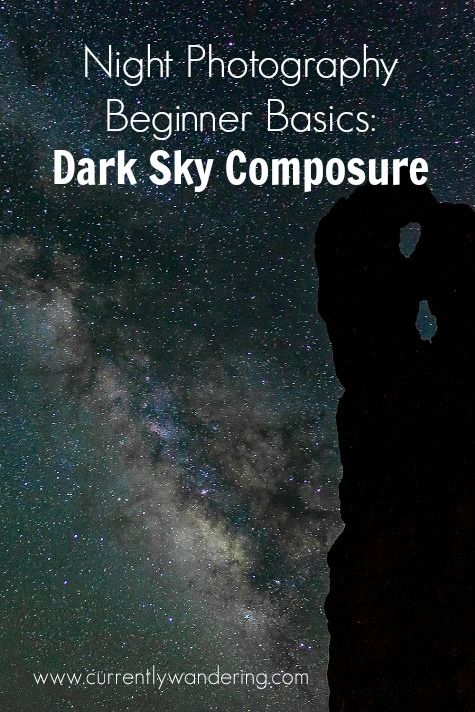
Composure in night photography is made more difficult by the darkness of it all. Your foreground is made up mostly of silhouettes (unless you are light painting, more on that in a future post), which means you are using the ‘shadows’ of earthly elements to provide interest in the picture. These elements are commonly trees and rocks, depending on your environment.
Choosing your composure is often best done during the day, or using a bright flashlight at night. Your lens selection will matter here, as you can include a larger slice of the sky with a wide angle lens, or a smaller with a longer lens. Your lens will typically be pointed high in the sky. Moving the tripod around on the ground will allow you to place your foreground silhouettes in your frame, leaving the sky open for your celestial capture.
Celestial Objects
Shooting any portion of the sky can return great results particularly with an interesting foreground. If you want to add a little sizzle, try including the Milky Way or Polaris (the North Star) in your image. The North Star will only have interest in a time-lapse or a long exposure, where you can see the rotation of the stars in a circle.
The Milky Way
The Milky Way is a great subject in the sky, and can add beauty to nearly any foreground. Capturing the Milky Way will constrain your shooting time, as you will have to shoot when it is in the right position. Old-school star charts or new-fangled apps can help with this, allowing you to see when during the night it will be in position. When you find your ideal time, make sure you show up 45 minutes or an hour ahead of time. Start shooting immediately, and by the time the position is right, you will be all set up and getting great images.
Try It Again
Undoubtedly, your first attempt will have some issues. You may want to fix composure, exposure length, or subject. Plan (if you can) a few hours or nights in a row to shoot. Time-lapse projects are very time consuming, so save those for later. Many still shots of the night sky have an exposure of under a minute, so you have plenty of time for adjustments and new shots. Change your angle, move your camera, and adjust exposure settings, and then hit it again. If you have multiple nights, you have a great opportunity to spend some daytime editing and evaluating the work of the previous night. Evaluate your images, and plan your adjustments for your next night.
Night photography can definitely be photos of just the stars, but adding in some interesting foreground objects as silhouettes or highlighting some obvious star patterns can help the photo be much more dynamic!


[…] Night Photography Beginner Basics: Dark Sky Composure […]