We have one rule in this house. Okay, we have more than one rule, but the MAIN rule for family adventuring is: ALWAYS pack snacks. It doesn’t even matter that we don’t have toddlers anymore, even older kids get hangry when their tummies are empty. And hangry kids are no fun to hike with. Or bike. Or anything really.
Over the years we’ve kind of gravitated to our favorite snacks, and while we do try to add new ones, these seem to be our tried and true! We do mix in fresh fruits and veggies (carrots, cherry tomatoes, apples, clementines), and fruit snacks but these are the more exciting ones- at least in my opinion. Note that most of these links are affiliates cause that’s how we keep the lights on around here. Thanks for helping us out!
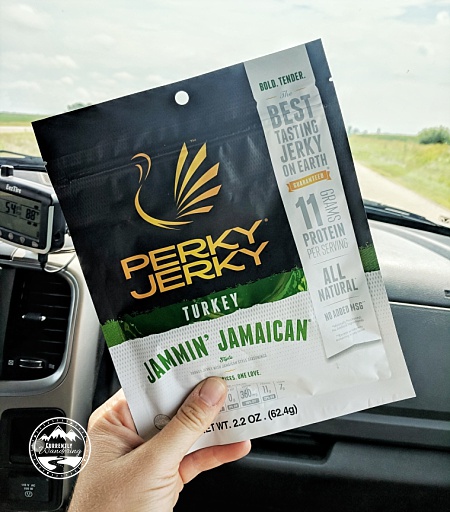
Perky Jerky
We’ve been ambassadors for at least 2 years now and I have no plans to stop proclaiming the amazingness of Perky Jerky. I feel like protein is one of the hardest trail snacks to get (unless you go with a bar – but then that’s a lot of carbs too) but this is SO easy. And delicious. All of their meats are super tender, easy to chew and full of flavor. Have I mentioned they taste amazing?
Just this year Perky Jerky added pork to their line up and just thinking about the Coconut Curry flavor has me getting hungry. We eat these in the car on long drives, on the ski hill, on the way back from the ski hill, hiking, biking, and and the beach. Pretty much anywhere.
You can find Perky Jerky at most grocery stores, Whole Foods, sometimes Costco or subscribe on their website.
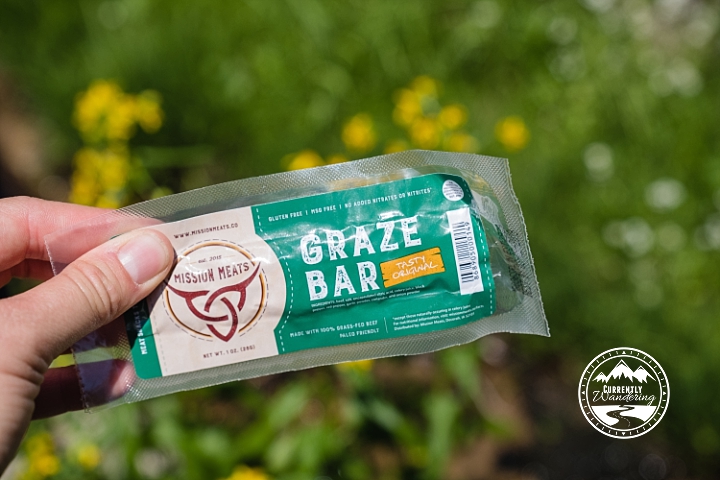
Mission Meats
We were sent a sample pack from Mission Meats this year and were excited to give them a try! The kids liked their beef sticks, but what really interested me were their Graze Bars. All their products are made from 100% grass fed beef and are pretty tasty!
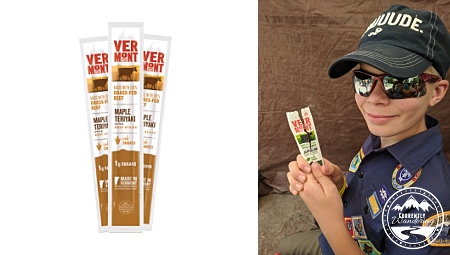
Vermont Smoke & Cure
Apparently it was jerky month, because we were also contacted by Vermont Smoke & Cure – a US based company that makes meat snacks. We tried both the Maple Teriyaki & the Jalapeno Lime grass-fed beef sticks and were fans! They had lots of flavor and the jalapeno flavor had a good kick to it!
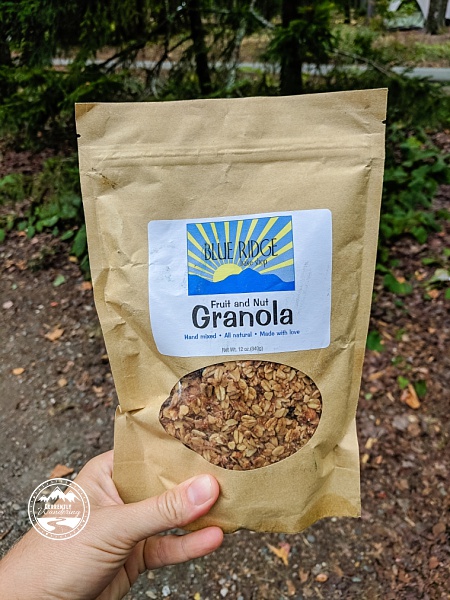
Blue Ridge Granola
Blue Ridge is a small company based out of North Carolina in the heart of the Smoky Mountains. They were a 365 Mile Challenge Kids’ Week sponsor and while their cookies are delicious, their home made granola is even better! I love to just toss back a handful while on the trail or pair it with Greek yogurt at home.
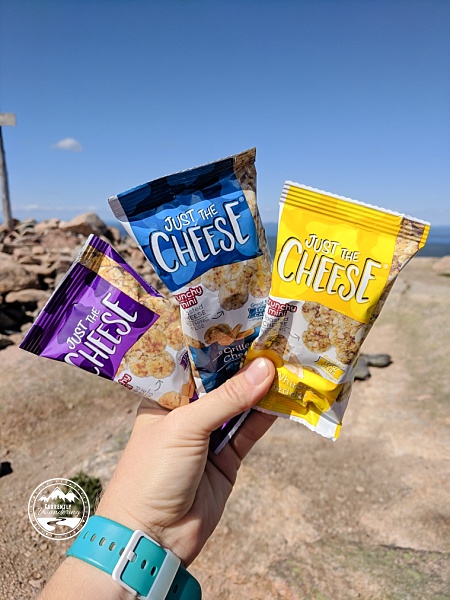
Just the Cheese
We were recently introduced to Just the Cheese on Instagram and when I indicated I was writing a post about snacks they agreed to send us a few samples to try out. I loved them!
They are basically baked cheese. That’s it. Gluten free, and Keto friendly, they are simple and delicious. They also have different flavors and come in bars or minis. I’m super excited to try out the rest of the flavors!
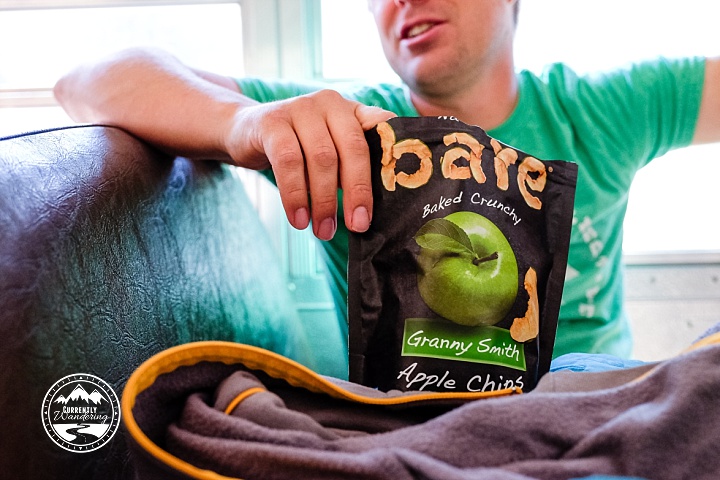
 Bare Snacks Baked & Naturally Crunchy
It’s all about the coconut. I know I have a photo of apples and those are more common, but trust me on this. Their coconut chips are amazing and I HATE coconut. It looks like they’ve also come out with sweet potato, beets, and carrots in addition to the fruit. Time to go order some on Amazon.
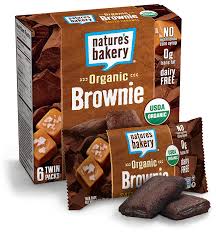
Nature’s Bakery Fig Bars
We pick these up by the box at Costco and love them. Well, most of us do. They usually have three flavors: fig, blueberry, and raspberry. When we buy just one flavor at a time the kids prefer Double Chocolate Brownie.
Unsurprising, right? I feel like these a good alternative to plain old granola bars.
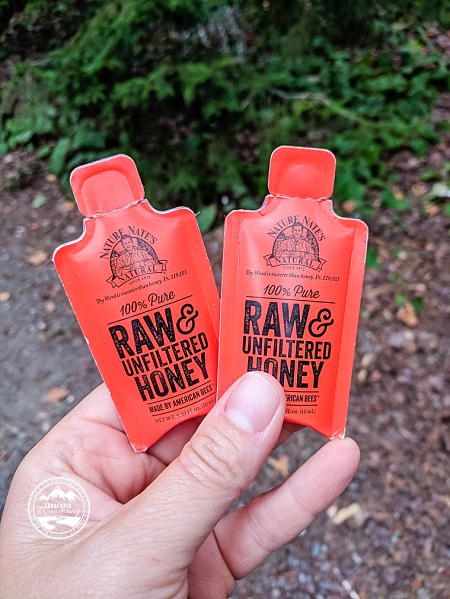
Nature Nate’s Honey
Sometimes we get approached by companies and I think “I don’t want to write a post about that” but then we actually TRY it and fall in LOVE and I think, “Write the post!” That’s kind of how I felt about Nature Nate when I first heard about it. Honey? As a snack? But its seriously like an organic sugar kick. Let’s be honest too – their little honey packets are freaking adorable and so easy to toss in a bag and go!
Justin’s Almond Butter & Back to Nature Crackers
This was a staple for us in Hawaii. I could order them both off Amazon (it might take awhile to get there) but easy to throw in the beach bag, and super filling. I also like that the almond butter packets are smaller and easy to size portion. And they are delicious on banana pancakes.

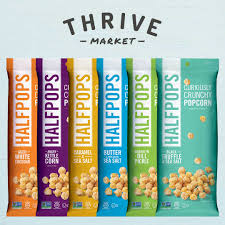
Half Pops
We randomly picked up a bag of these at REI one day and totally loved them! Okay, Cara totally loves them which is a HUGE perk since she’s our picky eater. Our favorite is definitely cheddar – we tried the caramel sea salt and it was just weird. We recently ordered some Butter & Sea Salt and they were a hit with Rachel as well!
Honey Stinger Waffles & Chews
My kids BEG for Honey Stinger Waffles. They are kind of expensive, but we buy them at REI in bulk and get a small discount when we do. We save these for BIG adventures. And eat sparingly but dang. My kids will practically do anything for one.
The chews are also good – kind of like a hefty fruit snack. If we are doing something serious we’ll buy the caffeinated versions and give them each one or two for a pick me up.
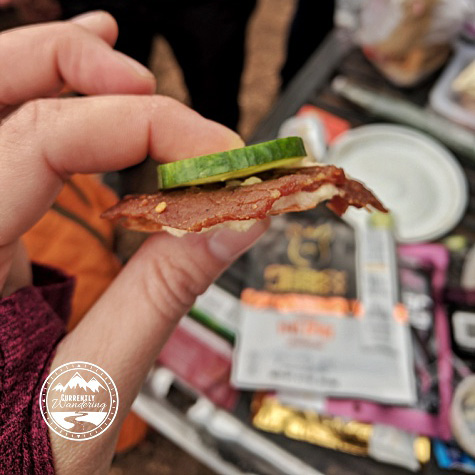
Pretzel Thins, Hummus, & Cucumber
We buy the Pretzel thins at Costco in the BIG bags and then usually grab a small tupperware to pack them in so they don’t get smooshed. I remember one time in Wisconsin we let Cara put them in her bag and I’m heard them bouncing down the trail with her. We ended up with pretzel dust- so keep them somewhere a little more smooth than with the 5 year old.
Pair it with single serve hummus cups, slice up a cucumber with a pocket knife and even add in some Perky Jerky and you practically have lunch.
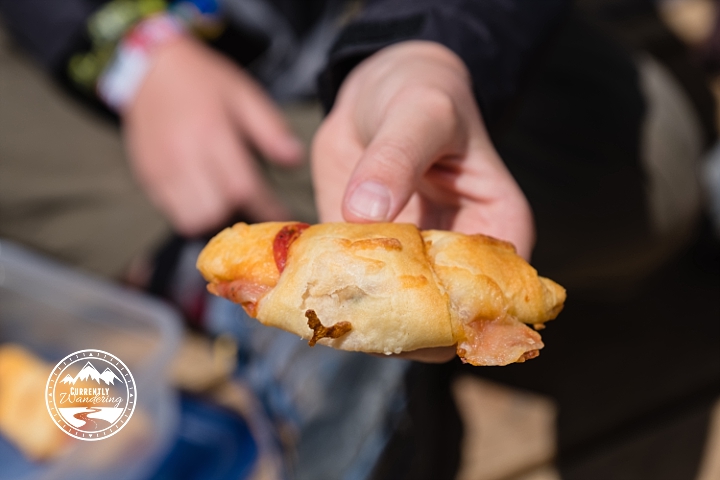
Pepperoni Roll Ups
I asked on Instagram once about people’s favorite snacks and someone mentioned these. We tried them and totally got addicted! Its basically crescent rolls layed out with some marinara, mozzarella cheese and pepperoni. Roll it up, bake them about 12 minutes and you are good to go!
They store pretty easily and we’ve packed them for lunch or snacks depending on how long we’ll be out.
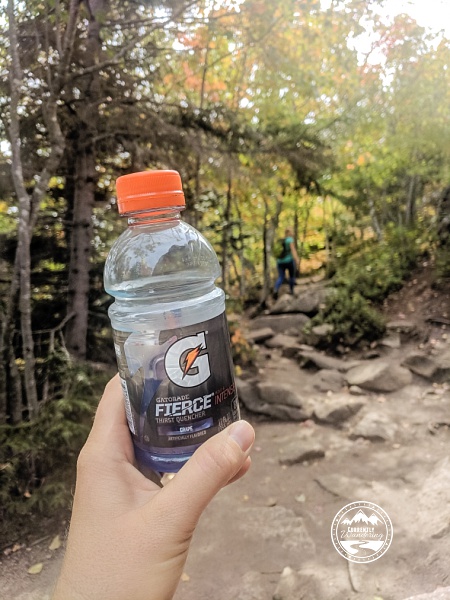
Gatorade
This is a new addition to the “get kids down the trail” arsenal. Our friends started bringing small Gatorade bottles for each of the kids on hikes, and this last trip to Acadia they gave some to our kids as well. Cara told me that she had all the energy in the world and she could hike forever! I’m sold.
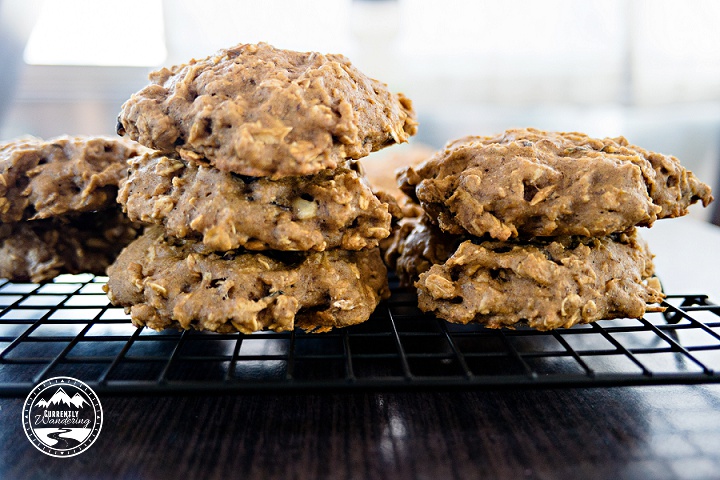
Peanut Butter Oatmeal Power Cookies
These breakfast “cookies” are ridiculously delicious. They’ve turned into one of our go-to hiking snacks as they are easy to stash in a small tupperwear and toss into our pack. They are loaded with Peanut Butter energy goodness, apples, oats, and bananas! Full recipe here on the blog.
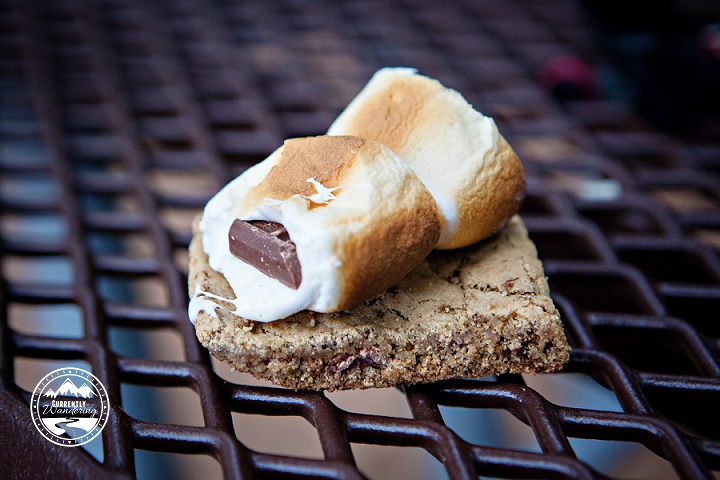
Whole Grain Chocolate Chip Cookie Bars
These are also a backpacking favorite. They are pretty dense so they pack well, and taste pretty good 4-5 miles into a trail. Okay, they taste good all the time. We made them once for Andrew’s birthday on the Apostle Islands and added campfire roasted marshmallows and chocolate. Yup. It was good. Full recipe here on the blog.
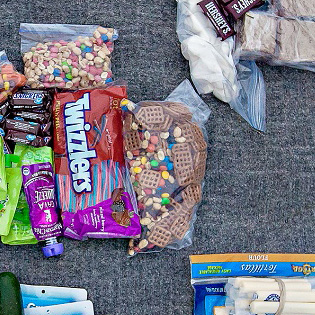
Homemade Trail Mix
This is a big one for us when we go backpacking. My kids don’t really like nuts (unless you count toffee covered peanuts) so I came up with my own nut-less version of a trail mix. We use square pretzels, M&M’s, craisins, peanuts, & mini marshmallows. Mix together and store tightly covered.
The second option my kids like is a mix of toffee covered peanuts (I’ve literally only found them at the built section of Winco grocery stores) and skittles.
There you have it! We try and pack at least 2-3 snacks per person when on a medium length adventure. Usually some kind of bar, a fruity thing, and something fresh & crunchy. If its a long adventure we’ll also pack candy or gummies – lovingly called “trail bait” that help keep the kids going when they get tired.
What about you? What are your favorite snacks to pack on outdoor adventures?