In Part 1 of this post, we removed most of the queen, , and cut the bottoms and the tops of the beds to fit the space we needed.
Part 2 involved Sam working with his dad to build the bed frames, trimmed them with beautiful dark wenge, cut and hinged the top pieces for each bed, and relocated the heater vent.
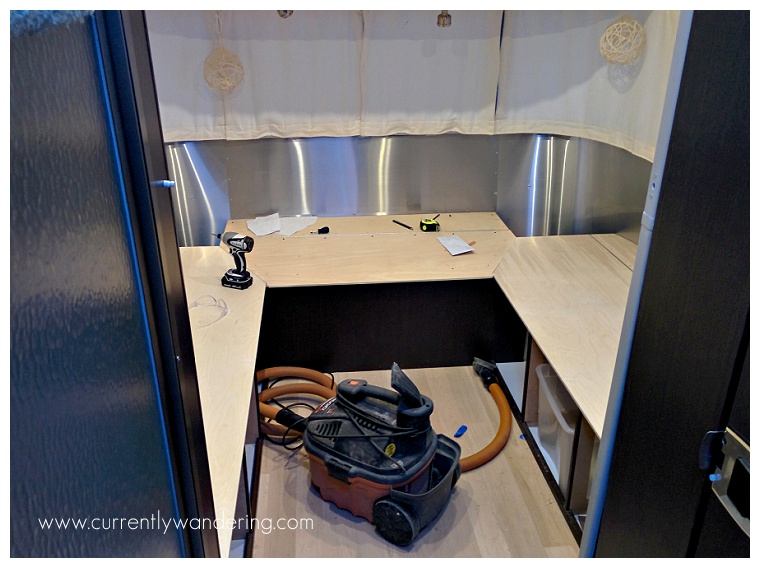
After finishing the trim and installing and hinging the tops to all 3 beds, there was just a “little” work left to be done.
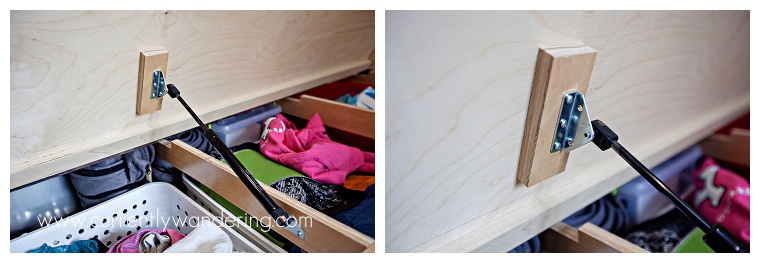
Installed Gas Springs:
Our queen bed was held in the up position with some gas springs to make the area underneath more accessible. We knew we wanted these for the new beds, and I ended up ordering these from Amazon after some measuring (and guessing!) about which ones I needed. The important measurements include the open length, the closed length, and the pounds of force when open. The ‘weakest’ springs I could commonly find (24lbs) were plenty for my needs, and I just did some approximation for the length. During installation, I carefully measured my mounting points to make sure the springs would allow the beds to lower properly. I had to order the brackets (the silver things) separately, which allowed me to buy the type of bracket I wanted.
Bookshelves:
My design for the beds left rounded quarter circle space at the corner of the beds where the nightstands used to be. I wanted to cover that space with some bookshelves for the kids. The bookshelves will cover small storage spaces as well.
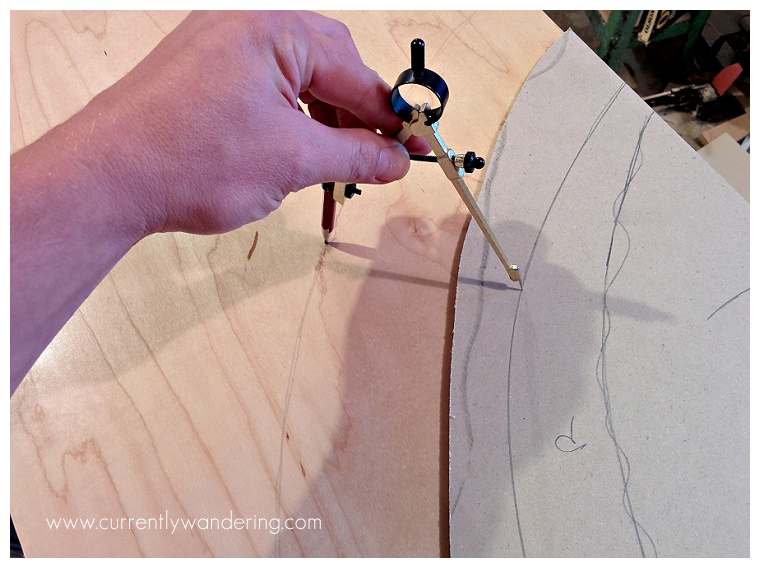
Cutting curved boards to cover the space can be tricky. First, I cut a scrap board that was too small for the space. Then, I used a compass to scribe a line on the scrap a constant distance from the curved edge of the wall.
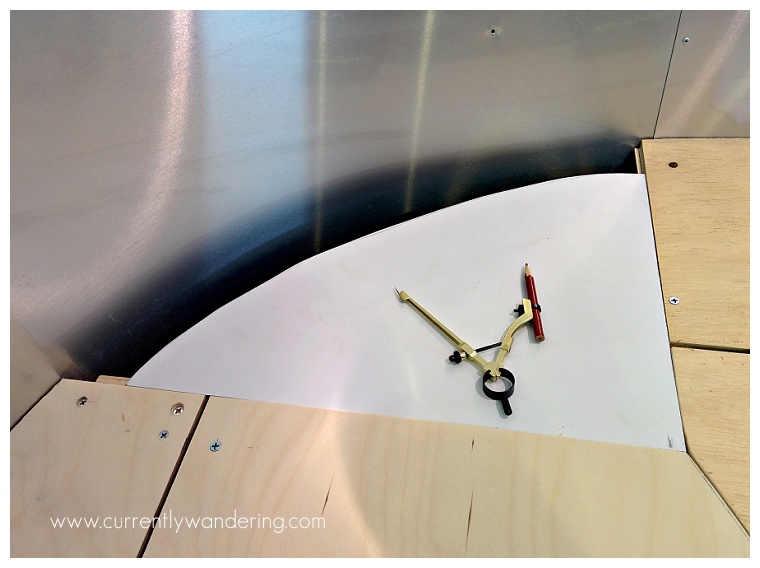
I then use the same compass, set to the same distance, to scribe a line offset onto the final board. I cut on that scribed line.
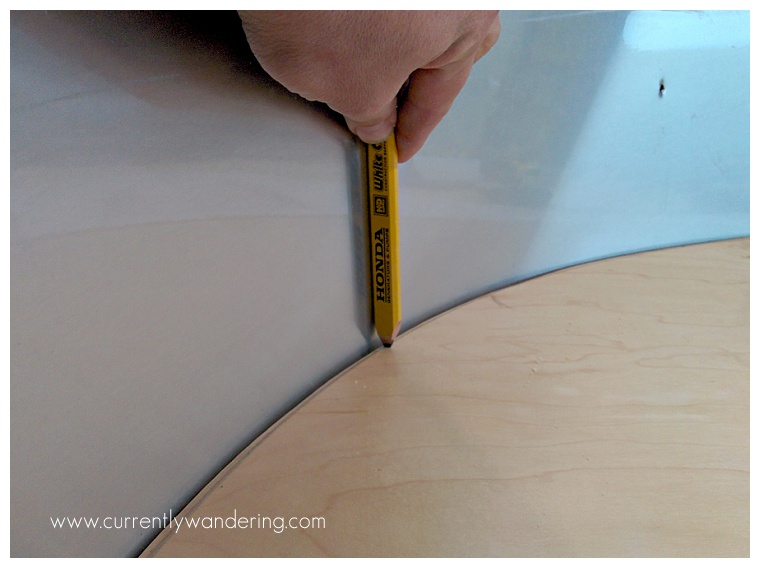
 The fit was still (intentionally) a bit large, and I used a pencil against the side of the Airstream to cut down the fit. Notice that hole in the aluminum? It’s a screw hole from the old nightstand. More on that in a minute.
Finishing Up the Trim:
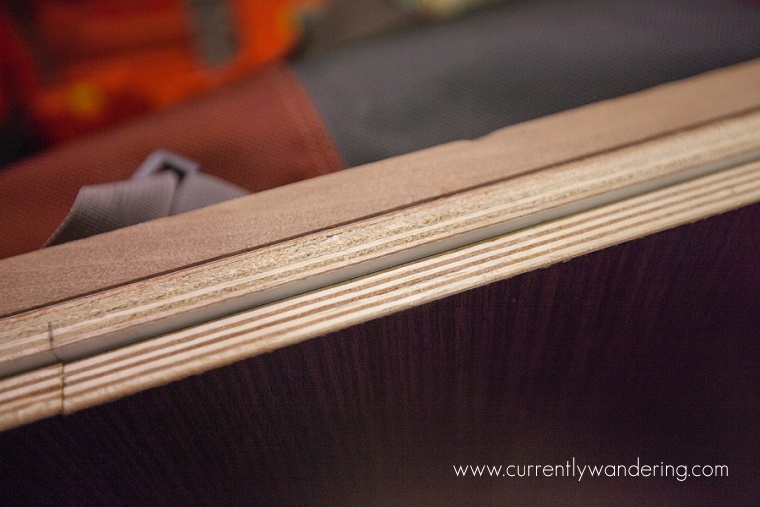
When I removed the queen, I left the back side of the box under the bed. This allowd me to leave all the electrical wiring in place under the bed. the trouble was, the plywood was faced with white melamine, which was a bit ugly to see at the end of our now longer hallway. We solved the problem with two plywood panels taken from the no-longer used nightstands. It required two pieces, aligned with unglued wood biscuits and screwed through the back of the white faced melamine plywood. In the picture below, you can see both the white melamine, and the joint between the two re-used panels. From the front, it is very difficult to see the joint between the two.
To save some weight, I used a jigsaw to remove the now-unneeded weight of the original plywood panels.
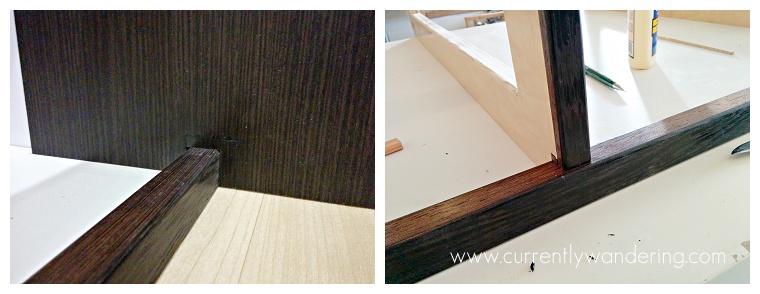
The finishing touch of the whole process is the Wenge trim we used on the bottom edges and vertical supports of the bed frames. Below on the left, you can see the trim against the re-used plywood. If you look VERY close, you can see that we made a mistake on the notch cut for the trim, and cut a special piece to fit in it’s place. We hid the edge of the patch with some wax-based nail hole filler, and it’s nearly impossible to see, even when I point it out. The bottom and front trim of these beds puts a finishing touch on the projct well worth the price of the Wenge hardwood we purchased and milled for the purpose.
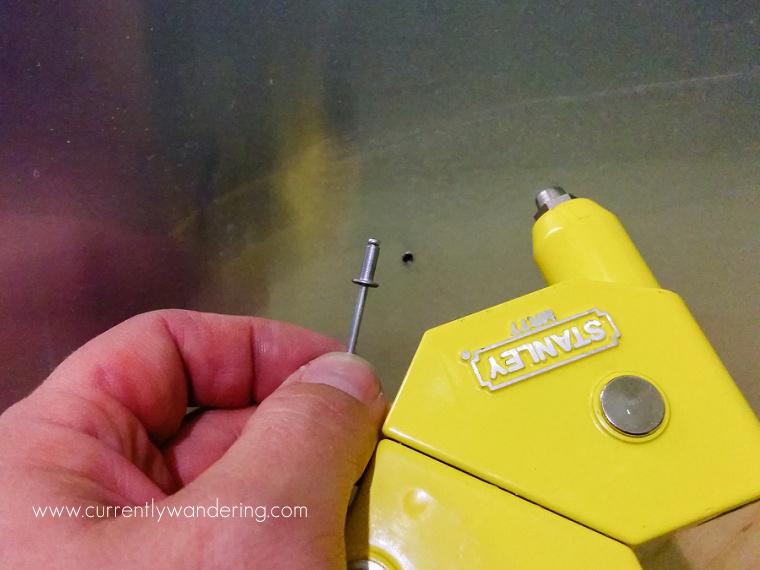
Fixing Rivet Holes:
Remember those rivit holes from the old nightstands? I thought about many options to fix those holes, and finally realized there was a very simple solution. I purchased some pop rivits and a rivit gun, and simply placed a rivit in the hole. On the interior of the Airstream, there are commonly rivits in places you wouldn’t expect as part of it’s hand-made construction, and it’s the perfect camoflauge. It’s worth noting that not all rivet guns are made equal. The one picture below has a swiveling head, making it much easier to place rivets on inside curves.
Custom Cushion:
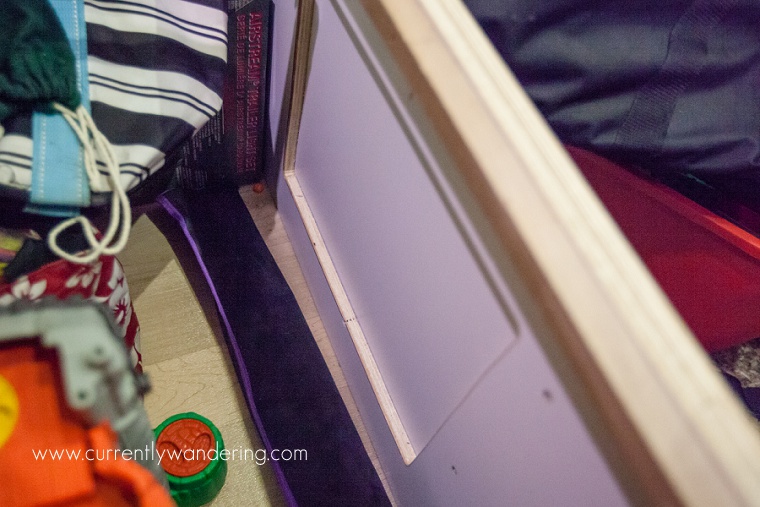
We wanted to to make all the beds as close to “normal” as possible to prevent needing custom sheets, so we ended up with a gap between the edge of Cara’s bed and the front of the Airstream. We figured hers would be the most used as a daybed, so we called up a local custom upholstery company to come out, measure, and create a cushion for the end. Shown below is the gap we needed to fill, with the custom bookshelves on both sides.

To see the cushion in place, tune in next time for the BIG REVEAL!
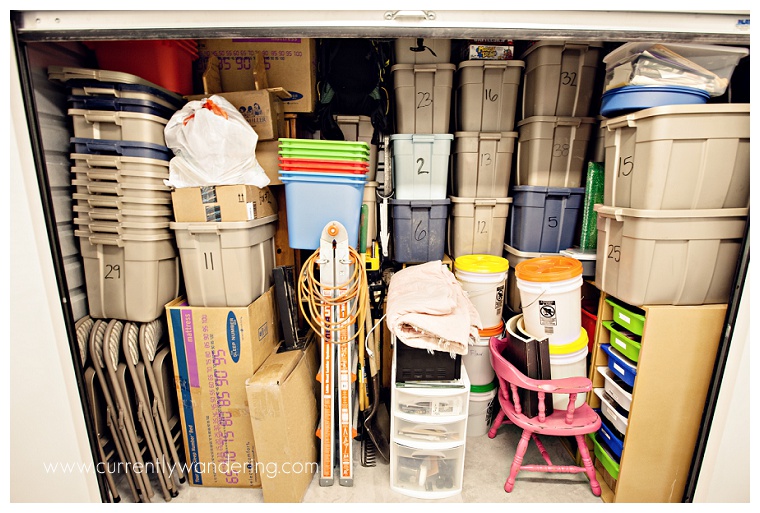
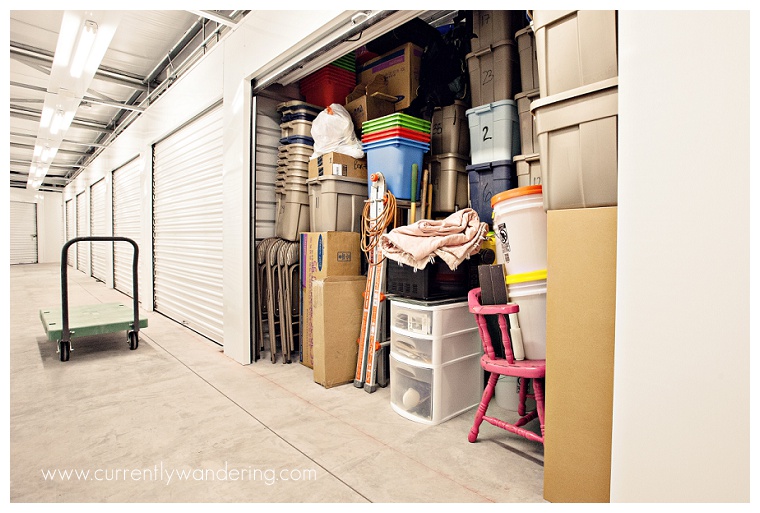
 Downsizing is such a simple word isn’t it? Maybe not. Maybe just in my imagination. When we decided to sell the house, we knew we’d have to sell, donate, or throw away almost everything in it, but the magnitude of that project didn’t really impress itself into our brains until we were already knee deep. It was tough. 10 and 1/2 years of marriage, 3 kids, and years of “plenty of space” led to a house full of things we rarely used, and definitely did not need. We are actually really good about not being packrats, yet stuff managed to proliferate anyway.
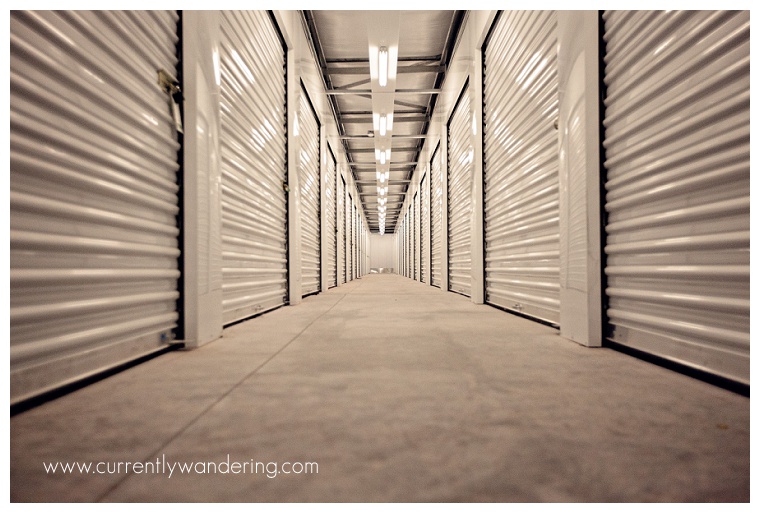
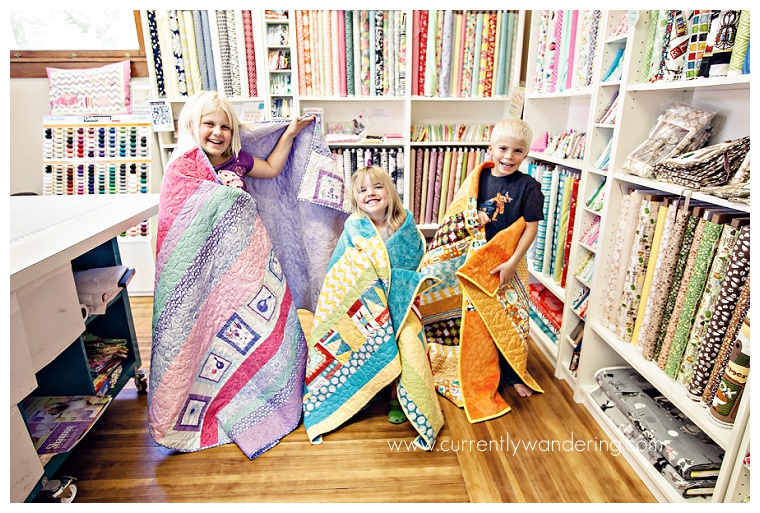
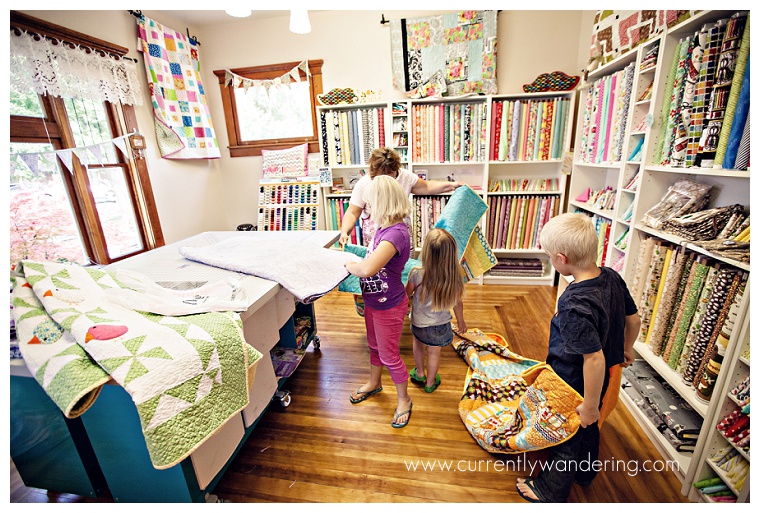
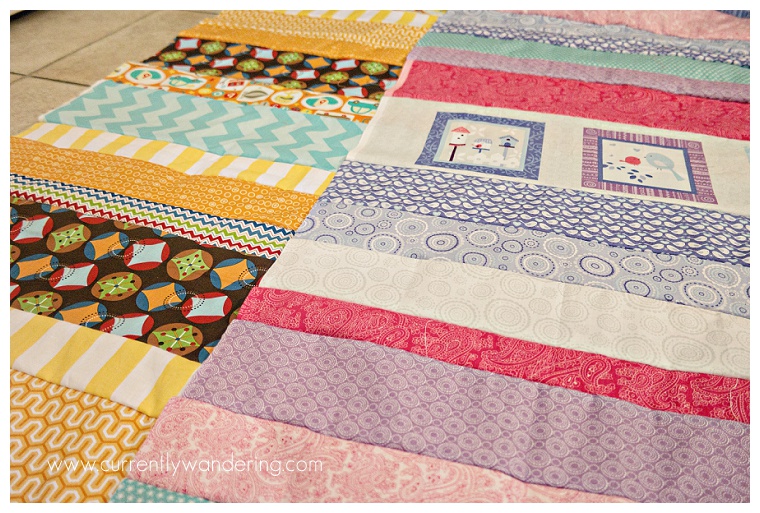
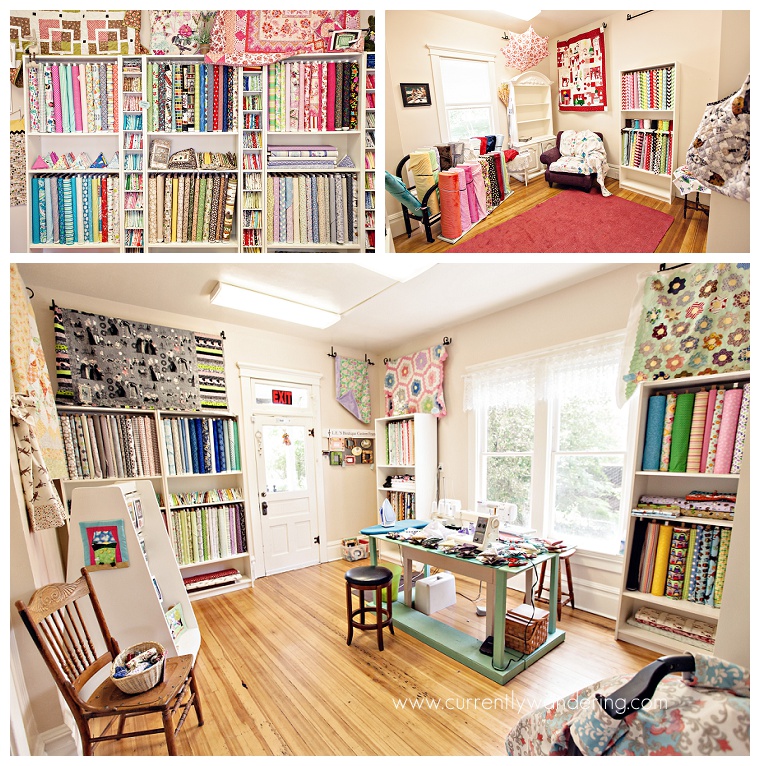 The best part? I had to do zero math. I HATE walking into places like JoAnn’s and they ask me how much fabric I need? Ummmm…. I don’t know? I usually wing whatever sewing project I’m doing and rarely use a pattern so its hard to determine what I really need. Dona was great. She pulled out the pattern (for a baby sized quilt), adjusted proportionally, asked me which fabrics were my favorites out of every set (so they’d get the largest strips) and proceeded to cut and organize. Hallelujah. I left with 3 stacks of cut fabric ready to be sewn together and written instructions informing me of the order in which to sew them.
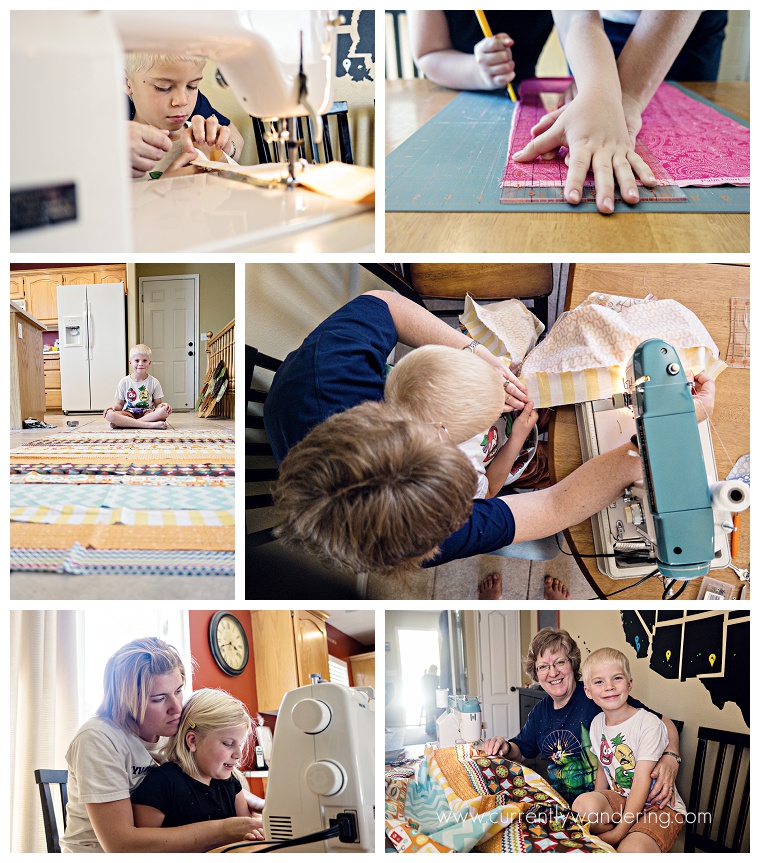
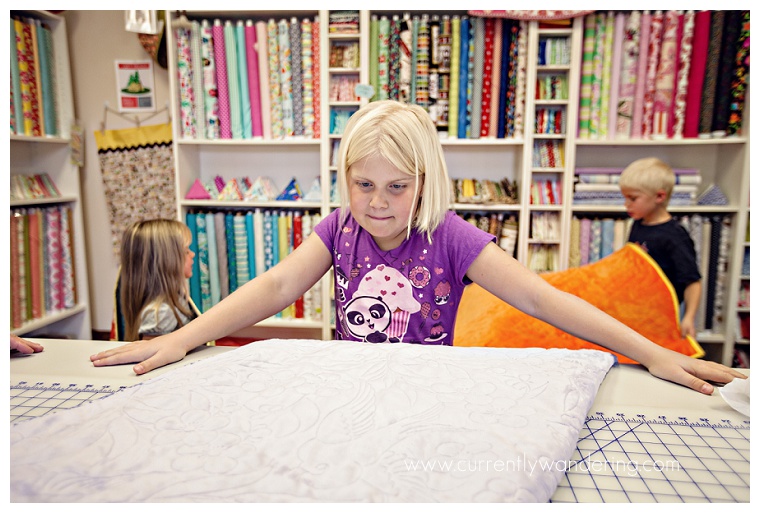
 By the time Monday rolled around we had all three tops sewed and ready to go. I purchased Andrew’s minky & elephant fabric (he simply couldn’t live without elephants on the back) from Broadbent’s in Lehi (only because the Sewing basket didn’t have it – but they totally looked and even called about ordering it in!). We showed back up at the Sewing Basket Monday morning and somehow both girls agreed to just have minky on the back of theirs and a cute fabric to bind it (instead of a more complicated pattern). That meant I was done! Dona squared up my fronts, we picked out the minky color for the back, the patterns they wanted quilted, fabric for the binding and that was it! She did all the measuring and cutting for the minky and the batting (which I never actually saw) and we walked out the door. Easiest process ever!