For some reason, taking photos of the inside of the Airstream and posting them has been really difficult for me. When I show off my living space, I just want it to be perfect. Totally unrealistic, but I want everyone to see it the way its in my head -not necessarily the way it looks everyday. So, I finally just did gave up on ideal and did it. The kids were off at the park, we were packing up to leave so everything was semi-clean and I just snapped a few quick photos. We are about to drastically change up the bedroom area, and I wanted photos that represented this first 6 months of our traveling anyway.
Our Airstream is a 2008 International CCD 27FB in cilantro (color and type of decoration). The International designation gives it the shiny interior (which we LOVE), plus the cabinet style (I believe). It is 27 feet long (technically 28′) with a Front Bed, meaning the bed is up by the hitch, and the door is in the rear with the dinette.
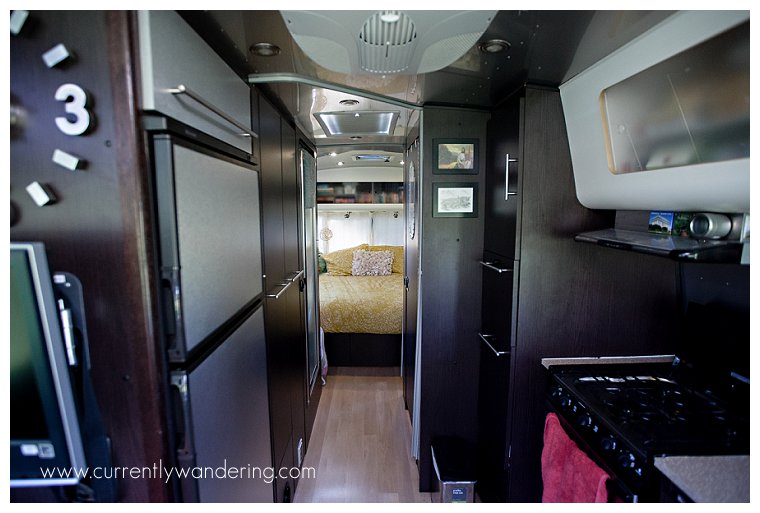
Here is the kitchen looking back to the bedroom. The kitchen may look small, but it does the job. 3 burner stove, about a half size oven but I can still fit a 9×13 pan. Not tons of counter space, but I manage. We mostly just try and do simple meals.

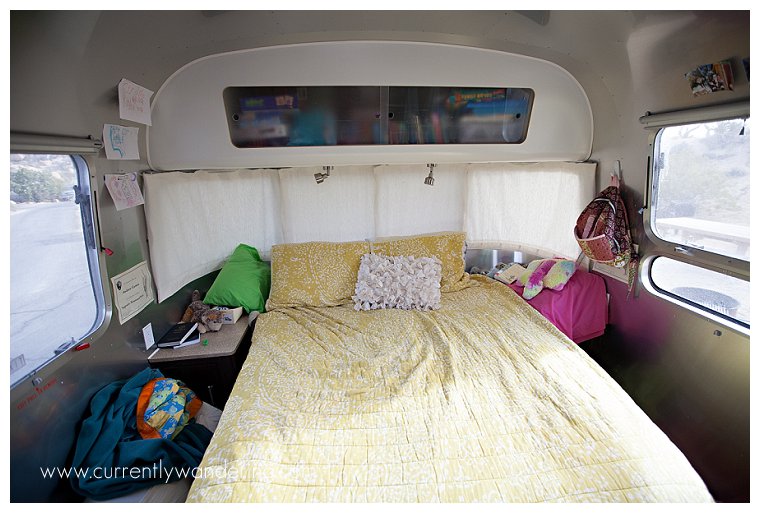
The front bedroom where the kids sleep. We are taking out the queen bed and putting in a U-shaped configuration of beds (once for each kid) as soon as we get back to Utah. Like next week. The bed also lifts up for storage underneath which we’ll have with the new beds as well. The nightstands can go. I hate that they just get piled with all of the kids’ stuff. Probably my fault though since I want the bed to look “pretty” and not cluttered with their random pillows and stuffed animals. 🙂 I think Sam will also build another shelf for the homeschool supplies (paper, folders, extra books) back here as well. The kids also store their books up there, and we’d love to do a different type of bookshelf for them.
Edited to add: See our bedroom remodel here!
Close up of the hallway. A/C unit on the ceiling, although we’d prefer to stay in climates/areas where it is not needed. Along the hallway, the fridge/freezer and shower are on the left, the pantry and bathroom on the right. The small cupboard above the freezer has spices, flour, sugar, and our 1 pyrex, 4 cup measuring cup. Yes, I only have 1.
Looking the other way at the dinette and door. You can see the cabinets up above where we installed the shelves that Sam just built while staying with his parents. LOVE them. So happy with the way they organize those tricky cabinets. Also LOTS of windows. Definitely helps the space feel bigger and bring in a lot of light. The couch on the lower right is the gaucho, were Sam and I sleep at night with our bedroll. We do all fit around the table. 2 on the left, and 3 on the right with the outermost person kind of sitting on the corner. Andrew sits up against the window on the right side since he’s left handed.
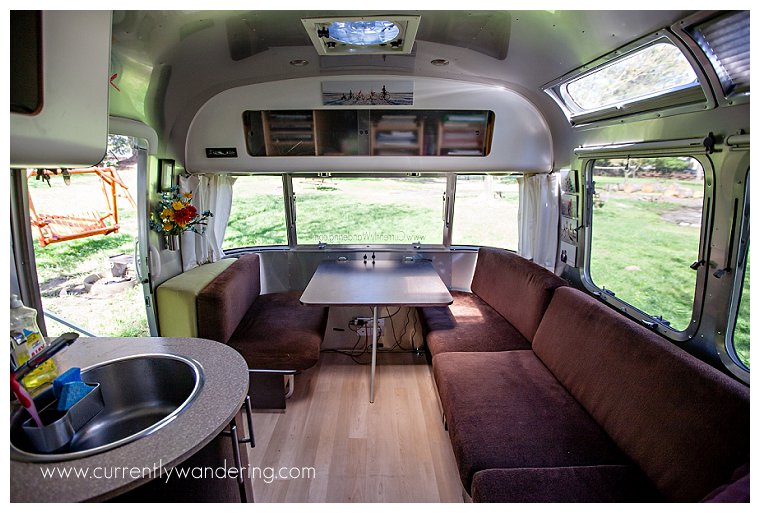 There it is! All 188 square feet of blissful, traveling awesomeness. I’ll try and do posts later about toy storage, what’s in the kitchen, the closets, etc. As we get back to Utah and really organize and bring other items we’ve been missing (and lose some we don’t use) a lot of that will change anyway.