In Part 1 of this post, we removed most of the queen, , and cut the bottoms and the tops of the beds to fit the space we needed.
Part 2 involved Sam working with his dad to build the bed frames, trimmed them with beautiful dark wenge, cut and hinged the top pieces for each bed, and relocated the heater vent.
In Part 3 we finished up some minor work – installing gas springs, fixing rivet holes, designing and building our corner end tables, finished up the trim and ordered a custom cushion to fit behind Cara’s bed.
Before we started the conversion, we had a standard RV walk-around queen bed. Rachel and Andrew slept on the bed, and little Cara slept in her ‘secret hideout’ along one side of the bed.

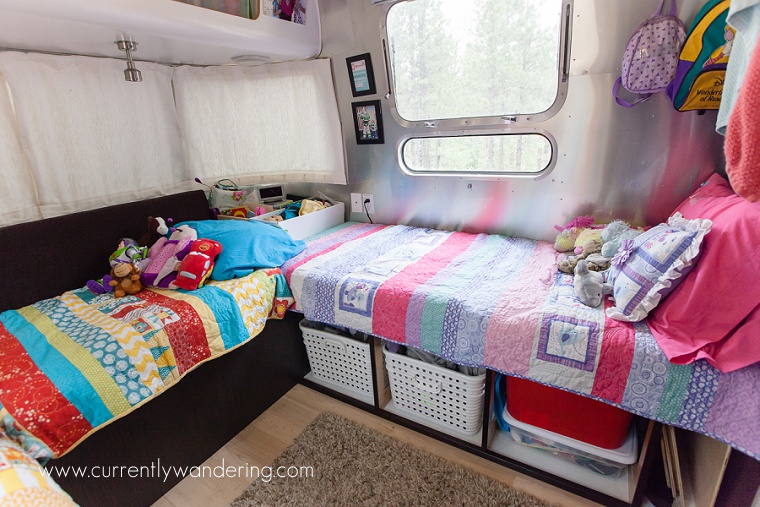
After the conversion, we have three beds: 2 standard RV twins (75″ by 30″), and a standard size toddler bed. The middle isle has more usable space, and plenty of storage underneath!
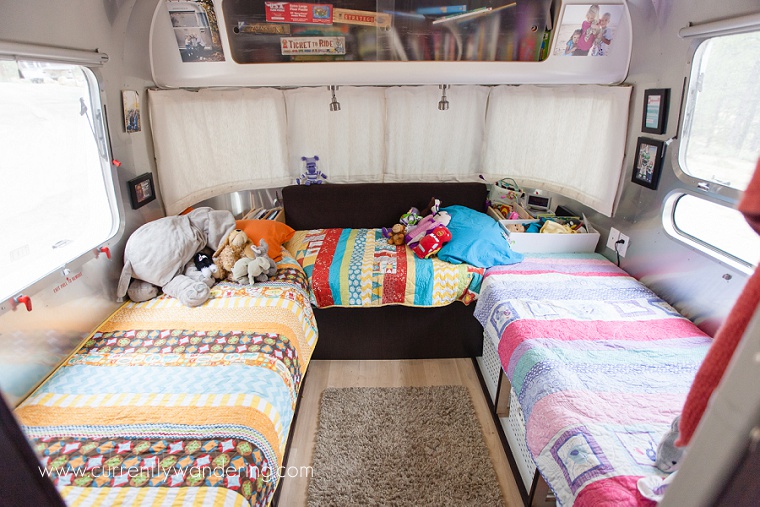 Though the beds are a standard size (and use standard size sheets – close enough!) they are custom shaped. The twins follow the curve of the Airstream at the back, and the beds have missing corners where they meet. We loved the company we used for the custom mattresses, www.mattressinsider.com, and highly recommend working with them!
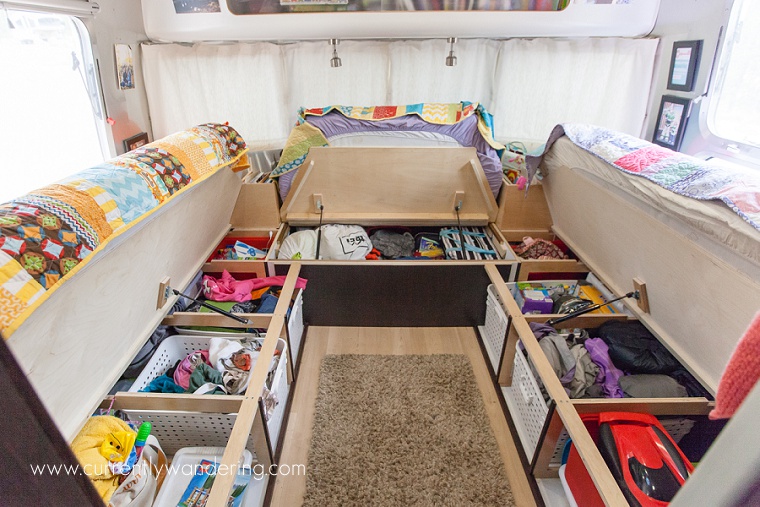
One of our favorite features is the accessible storage under the beds. The queen bed lifted as well, but it was harder to use the space. With all three beds lifted, we can easily get to anything underneath. Note that we also have aisle access to the space under the twins, which makes our common stuff easy to access. The small raised piece of dark trim on the floor is not only pretty, but provides just enough support to keep the buckets from all sliding out when we move.
The storage space under the bed at the end used to only be accessible through the front outside access panel (behind the propane). Now, we can access that space from inside. Though the outside panel still works, we haven’t used it at all.
The custom quilts for each kids bed were the amazing work of Jess, detailed in a previous post.
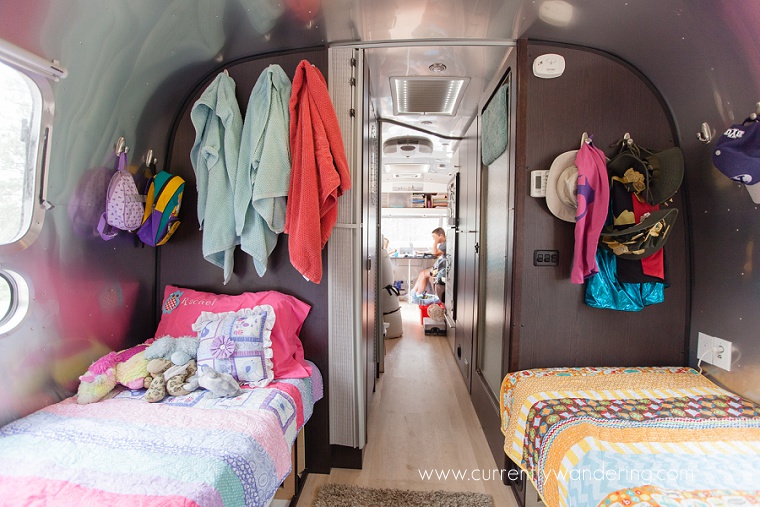
We still use command hooks above their beds for hats, jackets, and towels, although Jess had to move them up a bit higher so Rachel didn’t have towels in her face at night. The photos were moved next to the storage cabinet up above on the other side. Andrew also decided he wanted to have his head opposite Rachel’s (for whatever reason) so its nice the beds can be made up either direction.
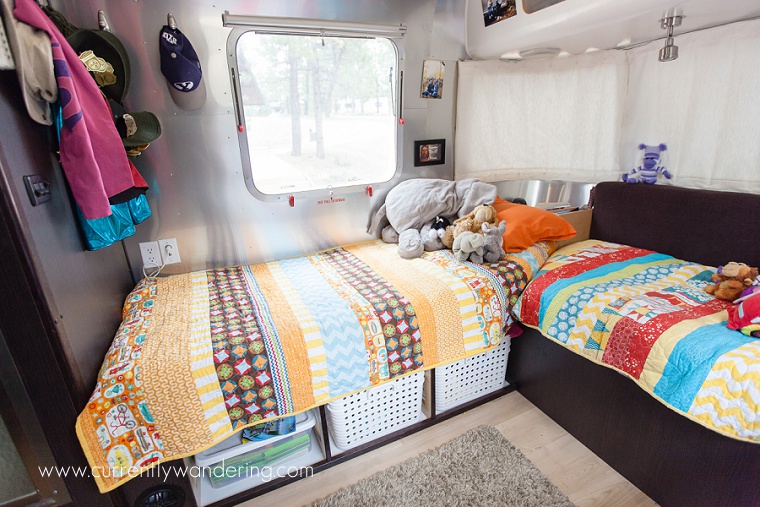
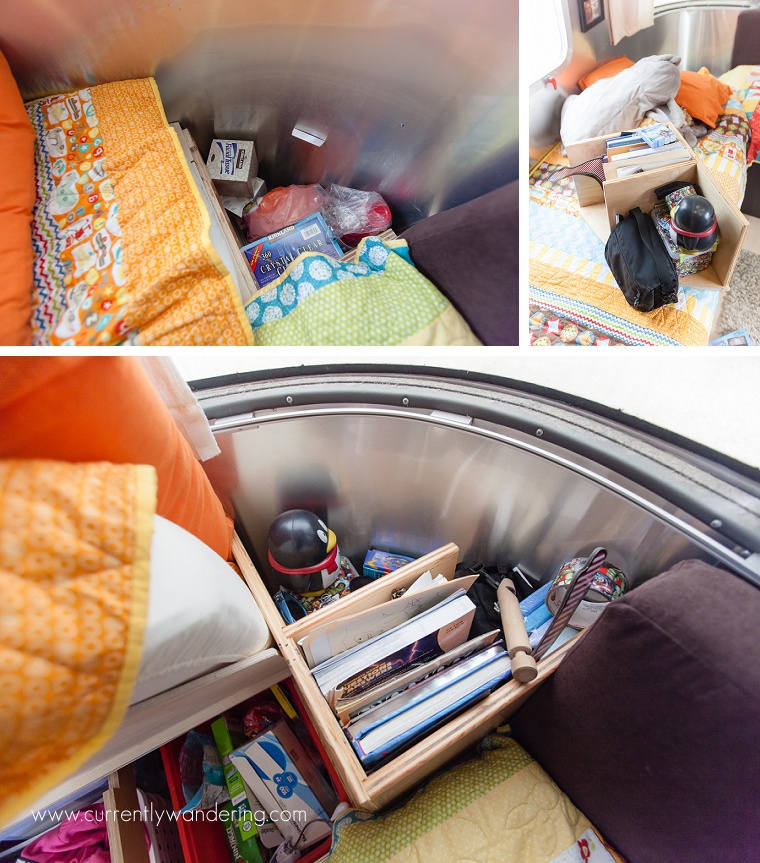
This bed configuration left some (almost) quarter round sections unused in the two corners. I built some removable bookshelves for the kids to store books and small items. The shelves lift out, allowing access to the small storage areas underneath. These are the least accessible storage in the new configuration, so we put things there that we rarely need. Although better than the nightstands we had previously, the kids still cram these things full of their “treasures”, books, and money banks. Maybe one day they’ll learn to keep things tidy, but at least we don’t have an cracks for papers and other small items to fall through!
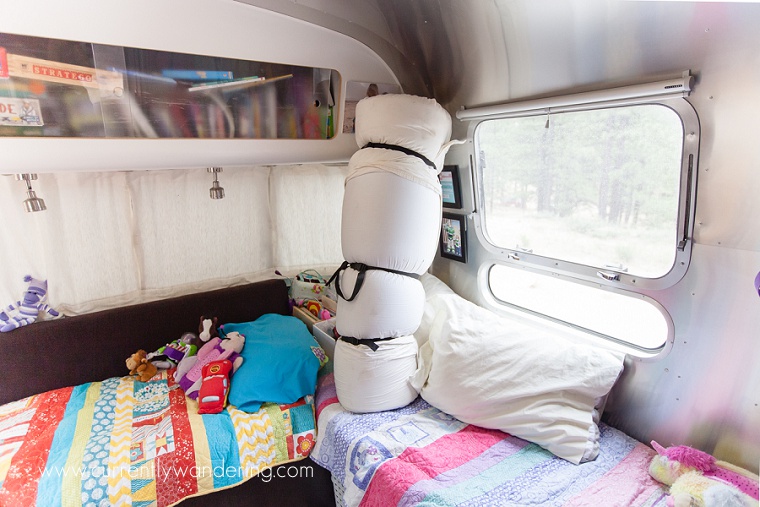
And our bedroll? Well, it still just mainly gets in the way. The kids fight over who gets to NOT have the bedroll on their bed, and Jess and I try and keep it up off the floor so it doesn’t get stepped on.
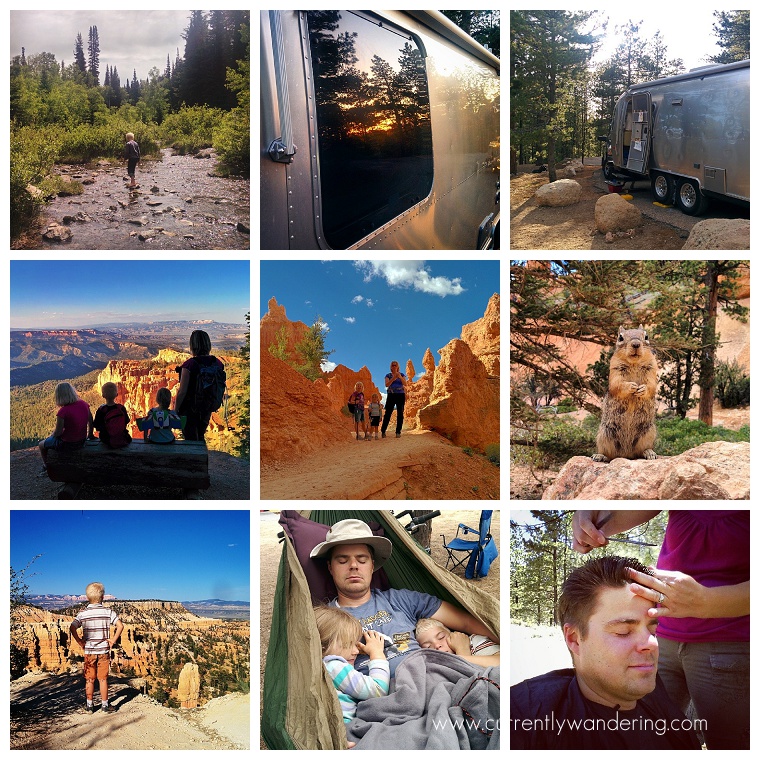
There you have it! We absolutely LOVE our new space. The bright colors, more floor space for the kids to play on during the day (and they do!), and the beds double quite nicely as couches when we all want to gather in the back, the kids are doing school work, or Sam is working. We are completely happy with the way they turned out and make traveling in our Airstream even better!
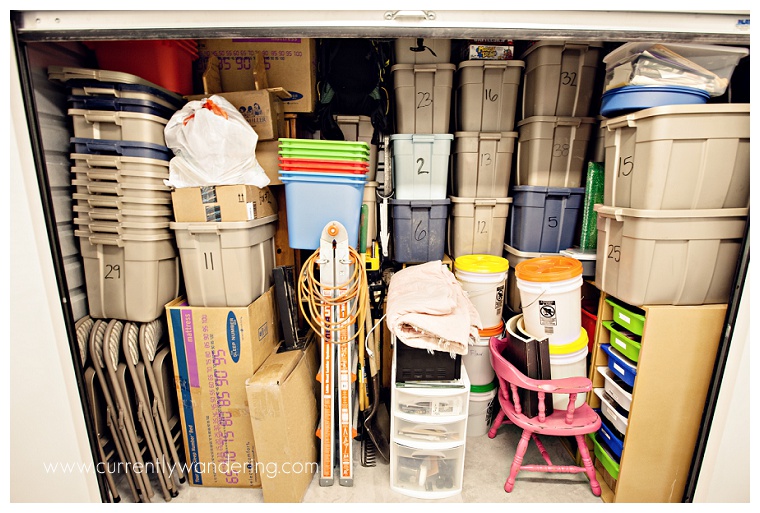
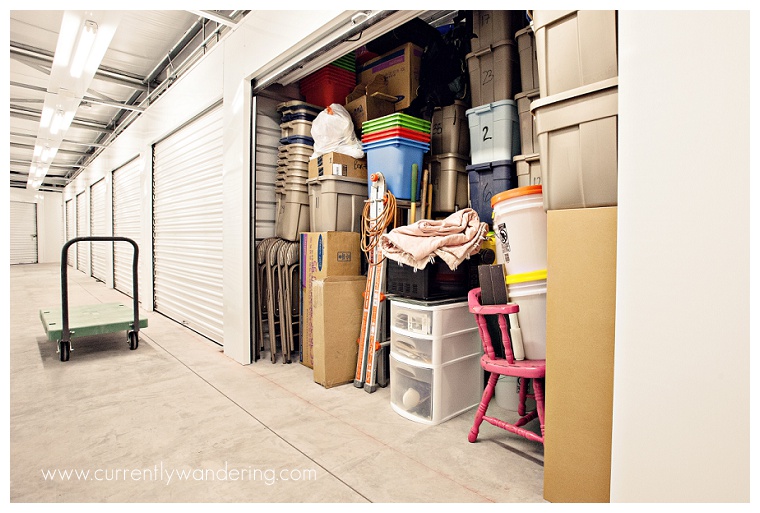
 Downsizing is such a simple word isn’t it? Maybe not. Maybe just in my imagination. When we decided to sell the house, we knew we’d have to sell, donate, or throw away almost everything in it, but the magnitude of that project didn’t really impress itself into our brains until we were already knee deep. It was tough. 10 and 1/2 years of marriage, 3 kids, and years of “plenty of space” led to a house full of things we rarely used, and definitely did not need. We are actually really good about not being packrats, yet stuff managed to proliferate anyway.
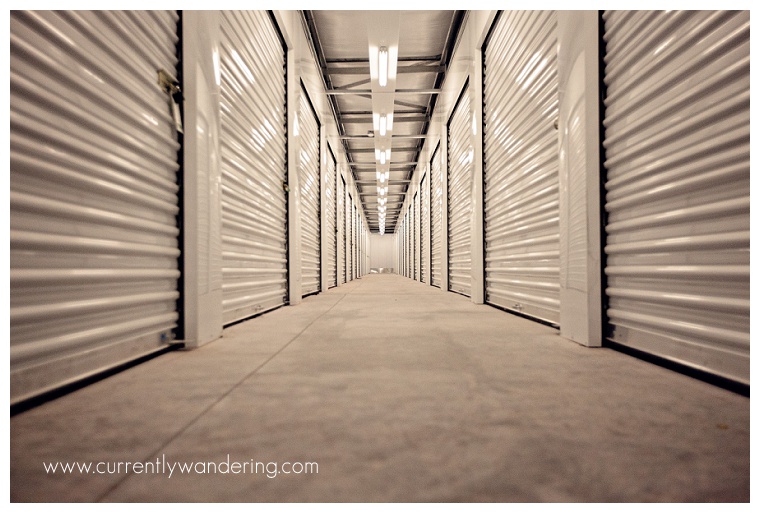
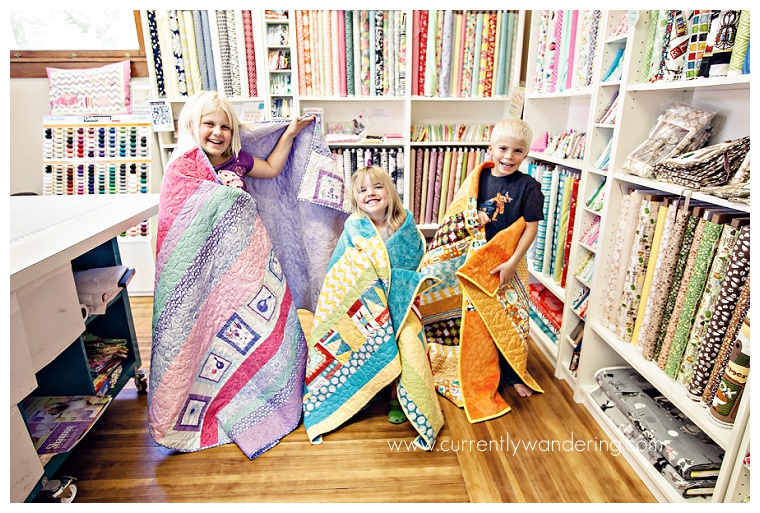
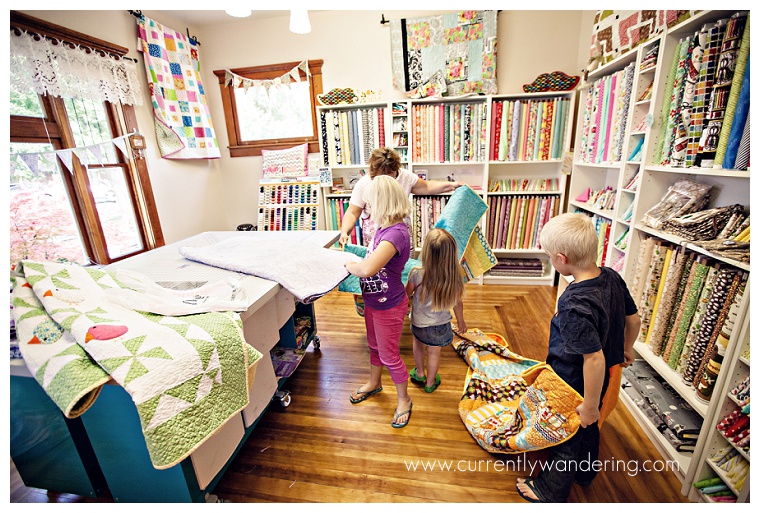
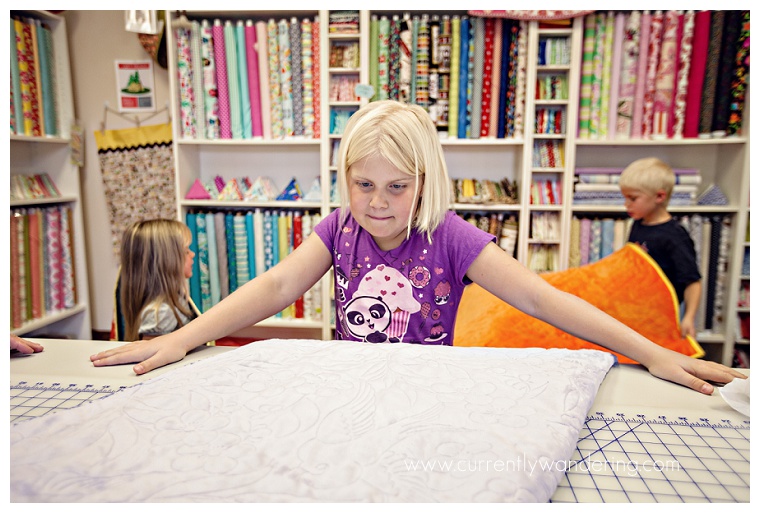
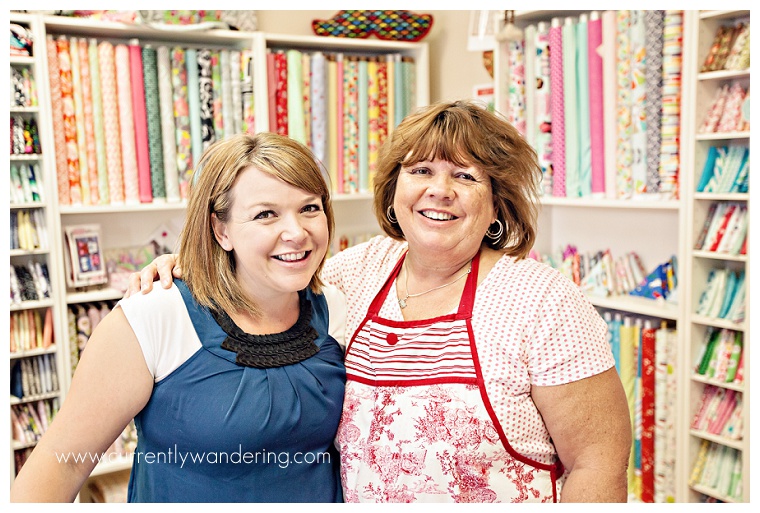
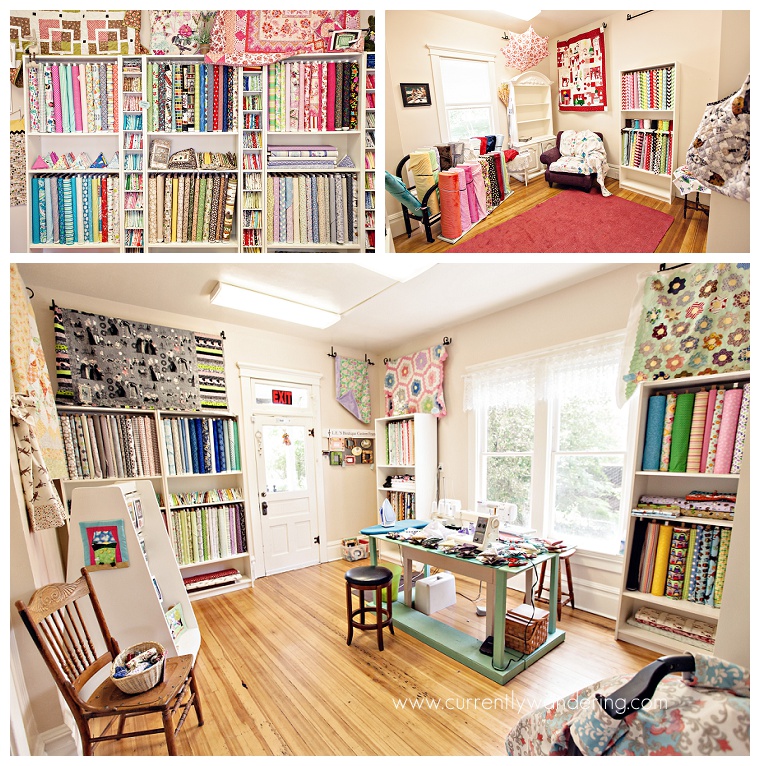 The best part? I had to do zero math. I HATE walking into places like JoAnn’s and they ask me how much fabric I need? Ummmm…. I don’t know? I usually wing whatever sewing project I’m doing and rarely use a pattern so its hard to determine what I really need. Dona was great. She pulled out the pattern (for a baby sized quilt), adjusted proportionally, asked me which fabrics were my favorites out of every set (so they’d get the largest strips) and proceeded to cut and organize. Hallelujah. I left with 3 stacks of cut fabric ready to be sewn together and written instructions informing me of the order in which to sew them.
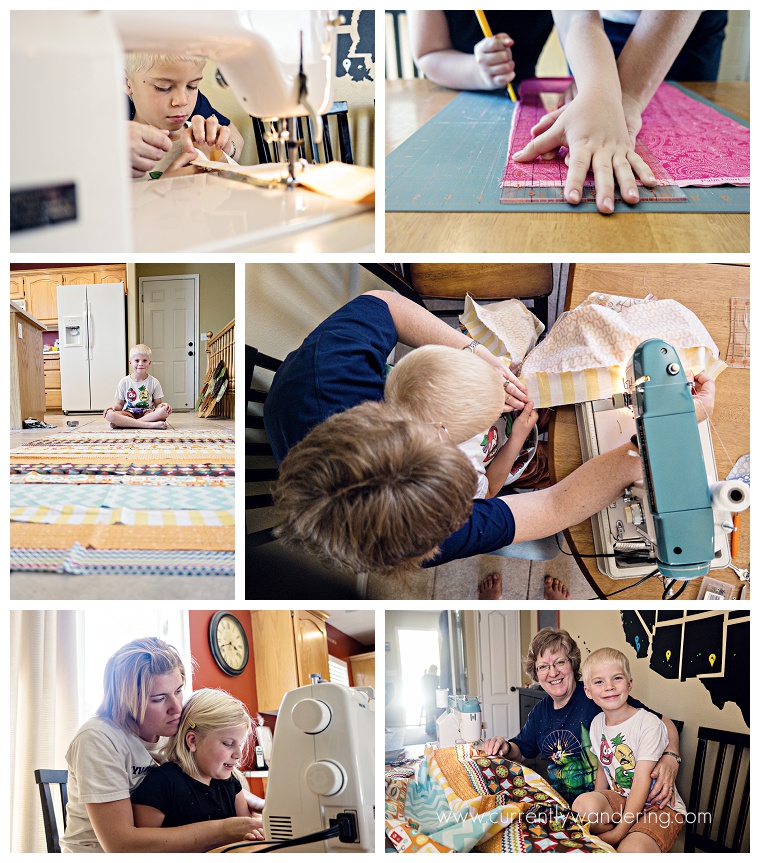
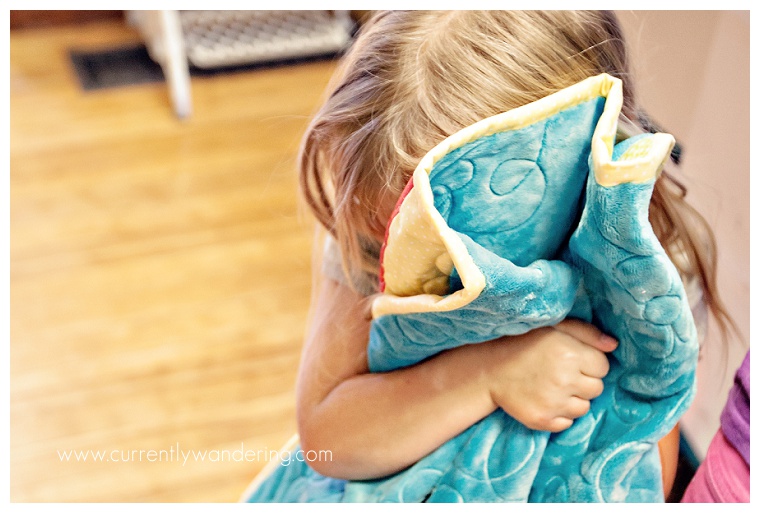
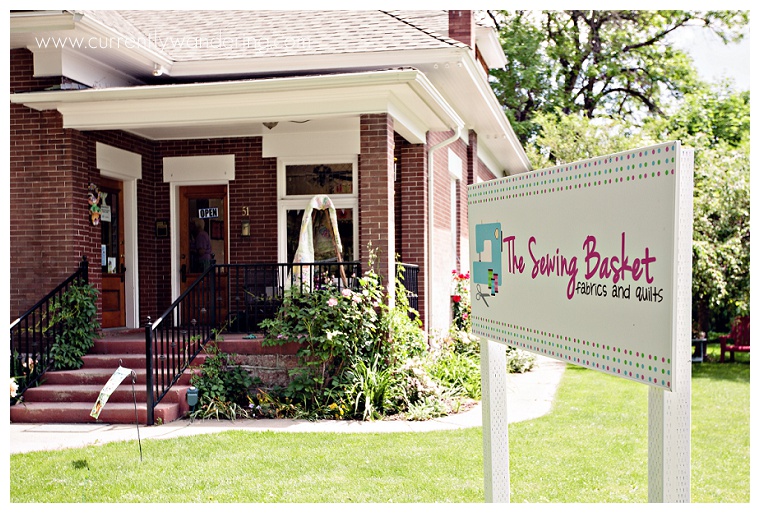
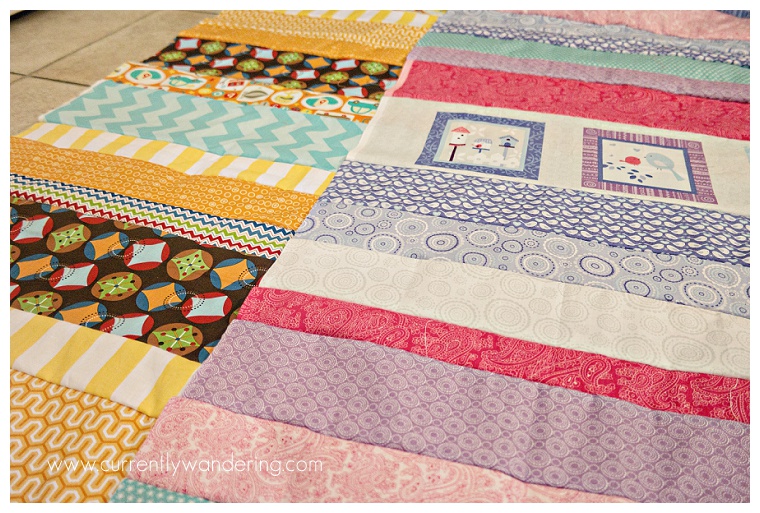 By the time Monday rolled around we had all three tops sewed and ready to go. I purchased Andrew’s minky & elephant fabric (he simply couldn’t live without elephants on the back) from Broadbent’s in Lehi (only because the Sewing basket didn’t have it – but they totally looked and even called about ordering it in!). We showed back up at the Sewing Basket Monday morning and somehow both girls agreed to just have minky on the back of theirs and a cute fabric to bind it (instead of a more complicated pattern). That meant I was done! Dona squared up my fronts, we picked out the minky color for the back, the patterns they wanted quilted, fabric for the binding and that was it! She did all the measuring and cutting for the minky and the batting (which I never actually saw) and we walked out the door. Easiest process ever!