You just can’t take it all with you. Part of the process of getting ready to live on the road full time in our Airstream was to minimize all of our stuff. This was a gigantic project, as over the last 10 years we’ve accumulated quite a bit. We started this process when we first arrived back to our house in April of 2014 and finished in June. It really took almost an entire 2 months (with a 2.5 week break for our trip to Southern Utah). We had a couple of approaches to downsizing, and while our methods weren’t super organized and streamlined, it seemed to work well. We survived. If you are looking to do the same, here’s what we did:
1. Decide What to Keep and Pack It Up.
Sounds a lot easier than it actually is. We went through the house room by room and decided what we absolutely had to keep. Mementos, decorations, special toys. If we were done using them they got packed away in our storage bins and then stashed in the garage ready for a trip to the storage unit. Much of our “keep” stuff we packed away in the last two weeks. In fact, for my birthday on June 16th all I wanted was everything we were keeping out of the house and packed away in the storage unit. With a leave date of the 20th, we figured we could just live in the Airstream until then.
Once we decided what to we absolutely were keeping, then came the challenge of deciding what to do with everything else. Since throwing it all away was neither economical or responsible we used a combination of sell it/loan it/give it away.
2. Sell It.
There are LOTS of ways to sell your stuff. Some worked better than others, and a lot depending on what we were selling. As depressing as it is to sell things for pennies on the dollar, it was also kind of addicting to watch our stuff fly out the door. As we watched our house empty out, my stress levels also declined.
- Online yard sale Facebook groups. This worked surprisingly well. As we went through each room, I took photos with my phone of everything we wanted to sell. From there, it was easy enough to log in to Facebook, upload the photos and attach a price. The nice part is that you don’t have to really go anywhere, they buyers generally come to you. My biggest problem with this was making people mad because I wouldn’t hold something, or deciding to sell to a buyer with a higher price. It got a little competitive a few times. I’d generally list things on a day when I knew we would be home and then just told people to come anytime. Once they arrived, I would seriously walk around the house pulling things off the wall.
- KSL/Craigslist: For items worth more (tools, bikes, some furniture) I would also list on the local KSL classifieds, or on Craigslist (surprisingly not as popular in Utah). These were items I knew would take longer to sell, so we tried to get them up ASAP and give them the longest time frame possible. We did have a couple of tools and a bike leftover that are still listed and are being stored with friends until they sell.
- Yard Sale(s): Probably my least favorite option, but worked well. Our First Yard Sale was a success despite the crazy rainy weather, and our second Tool Sale/Misc sale also went rather well despite being in the afternoon. We held one about a week after we returned home to Utah, and the other at the last possible Saturday before we left for good. This allowed us to do an initial purge of clothes, kitchen items, lots of little things, and then as the months progressed I would either list stuff for sale using the methods above, or start a pile for the next sale. I listed the yard sale dates and times in all the Facebook groups I could get in to, plus also on KSL as well trying to get as many people to come as possible. We also posted signs on the major street crossings.
3. Long Term Loans.
There were quite a few items that we weren’t sure we were ready to get rid of, but would be useful for friends and family in the meantime. Dressers, our backyard picnic table, some tools, flat screen TV, some wall art, and our Sonos Player are a few. These we loaned to friends and family with the mindset that we could get them back when we were done traveling, although we don’t really expect to. If it works out great, if not we’ll buy new ones. None of these items are irreplaceable and “loaning” wasn’t as permanent as selling, plus we trust and know the people that will be watching our stuff.
4. Give It Away.
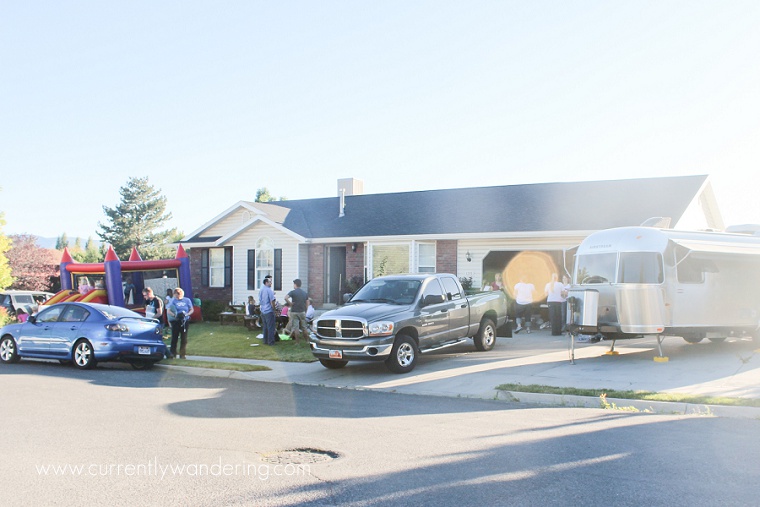
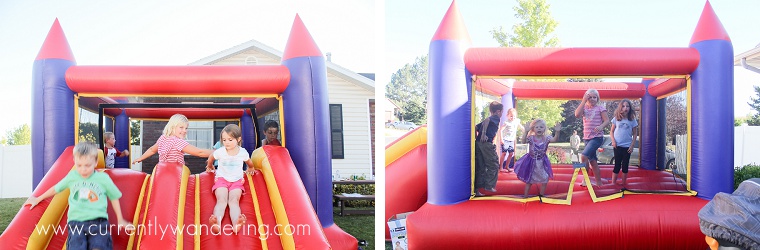
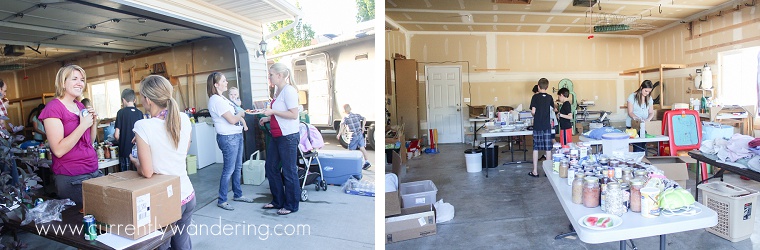
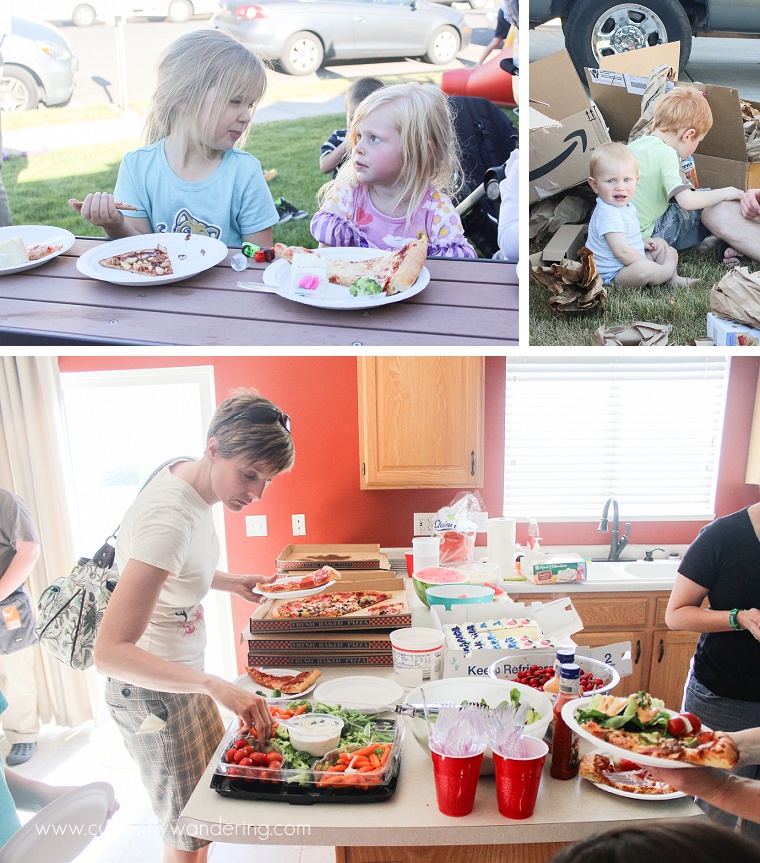
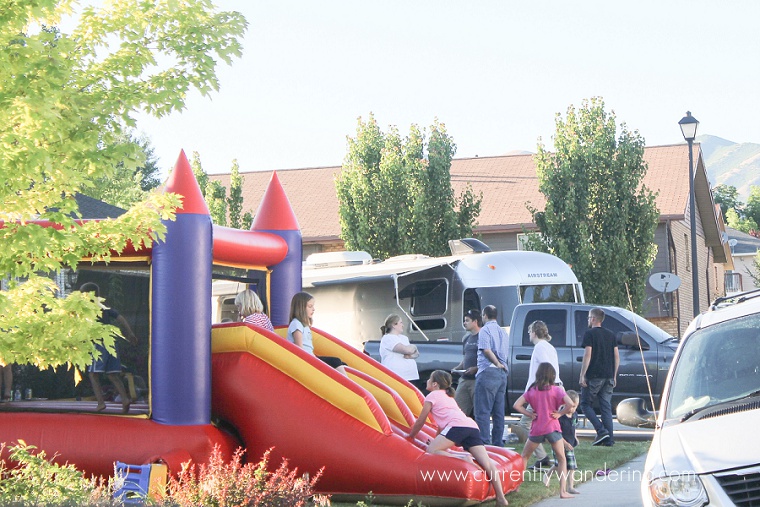
We did A LOT of this. Friends, family, and neighbors were definitely on the upside of our downsize. The very last event we held was a “House Cooling Party” the night before we moved out of the house. As opposed to a warming party where friends and neighbors bring you items for your house, we warned everyone that they would have to leave with something of ours. It was a huge success! We doubled it as a good-bye party and rented a bounce house for the kids as well as ordering Costco pizza and other goodies. We showed off the Airstream, saw old and new friends, and generally had a fantastic time! What amazed us though was that people really did come and take. We piled everything left in the garage on tables, the floor, wherever we could fit and our friends went through our stuff and took what they needed. Total win-win. We didn’t have to cart it off as a donation and they got things they needed.
5. Throw It Away.
Last, but not least was our final purge to the dump. After the house cooling party, we piled everything we couldn’t donate (which was 99% of what was left) into our truck and took it to the nearby dump. We figured it was stuff no one wanted and it was the easiest thing to do the morning we left. We also had one previous trip to the dump after the First Yard Sale, but that was mostly things we had lying around the house that needed to be purged anyway.
As difficult as it was to slim down our possessions, we really feel it was worth it! Not having to store a lot (brings down the cost of a storage unit) is a definitely plus, but also having to really decide what was important to us and learning to let go of the rest.

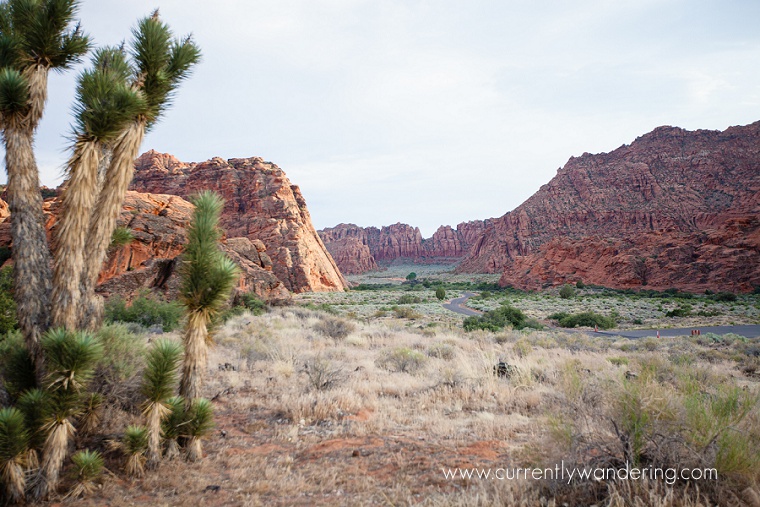
 2. Go for a bike ride. Cyclist, or not, both the paved Whiptail trail and the road through the canyon make for great bike riding. With our kids, Sam dropped us at the top near the Upper Galoot Picnic area and we rode down to the sand dunes where he picked us up. We also had my family with us, so we took turns shuttling and riding and generally had a great time. Since the road goes through the canyon south to north, you could actually do a loop ride if you wanted something a little more serious.
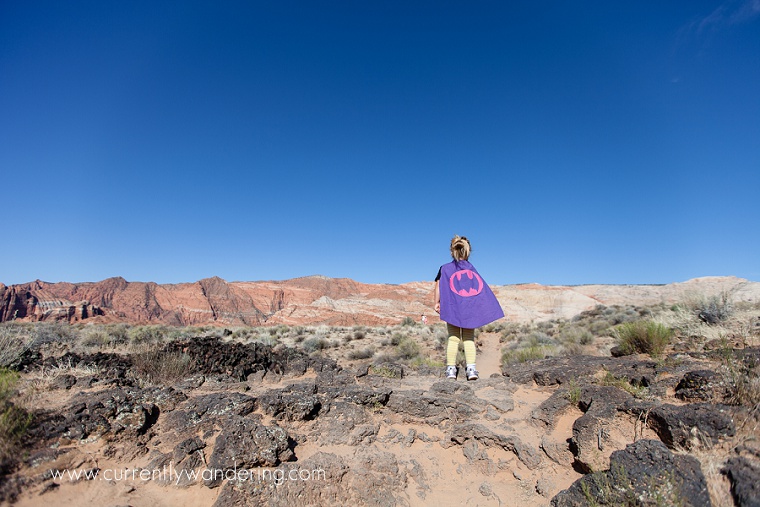
 4. Scramble on the rocks. Climbing on the rocks near the campground is not permitted, but there are designated areas where kids of all ages can scramble over the fun rocks. Scrambling is permitted at the Galoot Picnic Areas, Whiterocks, and the Petrified Dunes. All over the Galoot Picnic area are these small, rounded pebble rocks called marbles.
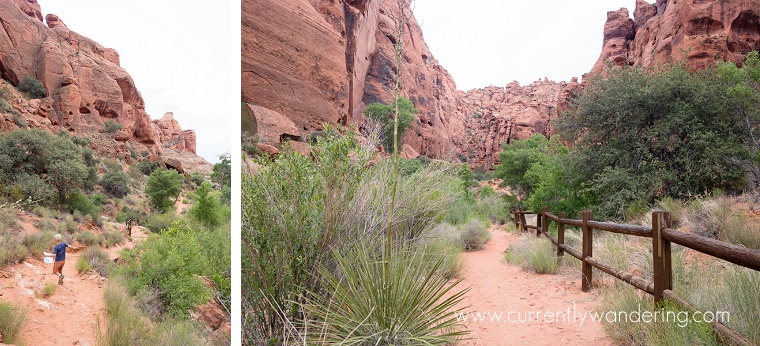
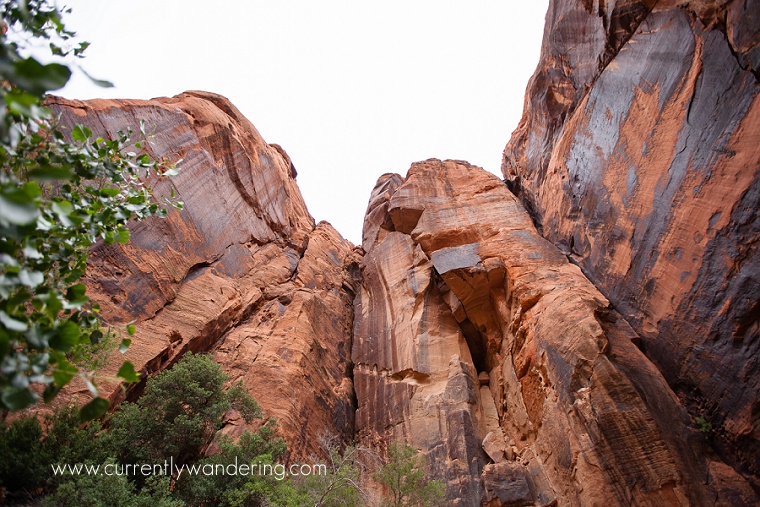
 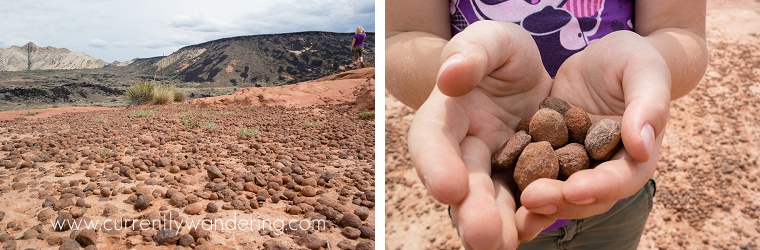 5. Go for a Hike. There are plenty of hiking trails in the area – most are not dog friendly so just be aware. Johnson Canyon is closed to the general public from March 15 – September 14, but you can sign up at the visitor center to hike in with a ranger. There is very little water in Snow Canyon and their rules protect what little water there is and preserve it for the wildlife.
 6. Earn a Junior Ranger Badge. Snow Canyon has its own State Park Jr. Ranger badge that the kids really enjoyed, or if you are visiting other parks in the area there is also the Junior Desert Ranger that encompasses Snow Canyon, nearby Coral Pink Sand Dunes State Park, Zion National Park, and Sand Hollow State Park. As we had just left Sand Hollow, and weren’t aware of this activity book, we decided we’ll save that one for the next time through.
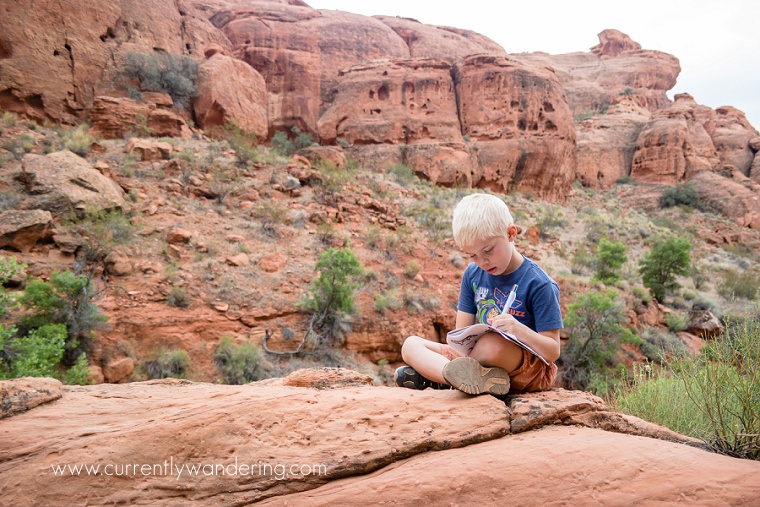 7. Visit St. George. Surprisingly, the smaller city of St. George is quite bustling. There is a splash fountain in the downtown area next to the Mormon Tabernacle for your kids to cool off, or if its super hot (like it normally is in the late spring and summer) stop by Iceberg for a delicious, ginormous thick milkshake. I’ve also heard Pioneer Park is very fun with lots of rocks to scramble over, but we didn’t have time to stop there. They also have a Costco in nearby Washington, outlet stores and other shopping.
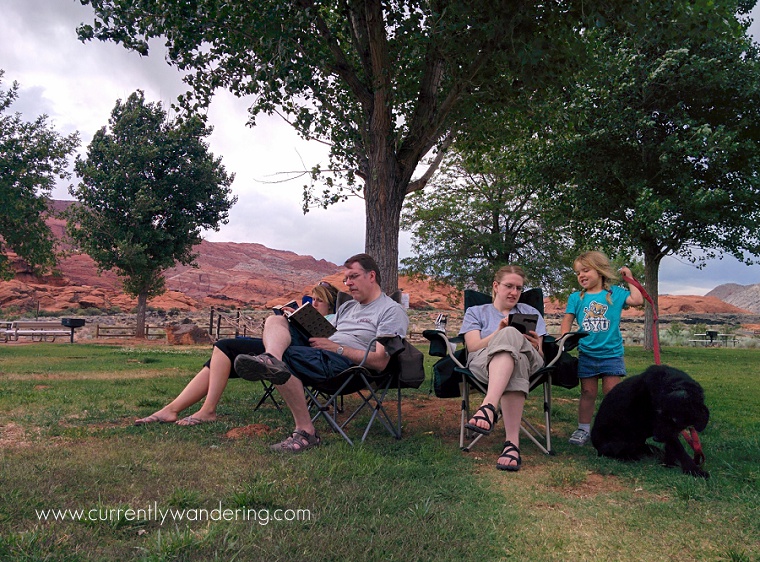
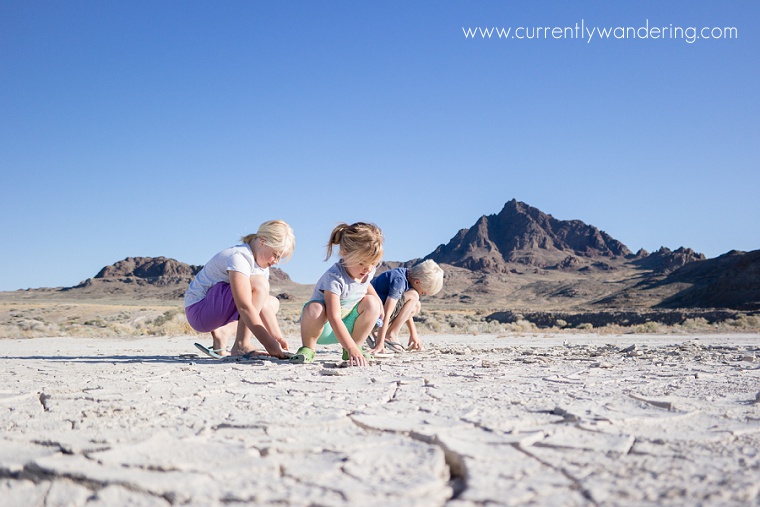
 You can’t camp right on the Salt Flats, but the speedway borders some BLM land and we just pulled off there for the night before continuing into Salt Lake City the next morning.
 The speedway is definitely an impressive site, but probably only worth the stop for the photos– unless you go during