Categories
Airstream Accessories Inside the Airstream

Tour of our Airstream 2017 Edition

We recently had the opportunity to interview with Airstream for a new campaign they are rolling out in 2017. As they were coming to do a video interview and then a photo shoot, we decided a thorough clean was in order.

Its amazing that we can deep clean our entire house in just a few hours.

With everyone working together, we scrubbed, cleaned, organized, and tidied up the entire house. We washed the windows inside and out (those not covered by screens), washed all the walls & cabinets, took down the last of our winter decorations, and cleaned the floor including all the edges (what a difference that made!). I’m not sure I remember the last time it was this clean. We also put away all the random items usually left out – you’ll notice a distinct lack of cords underneath our table.

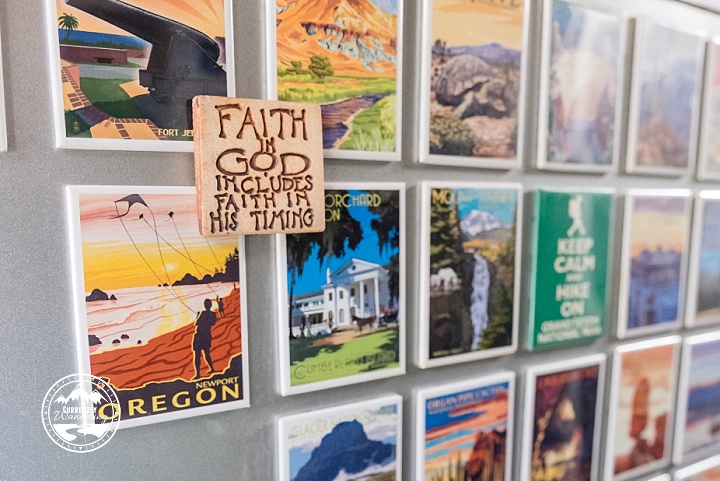
It felt great. After we were finished with the interview,  Sam took the kids down to the pump track with their bikes to play for a bit before dinner. I sat inside the Airstream and soaked up every inch of it. I love how clean, light and airy it feels inside our house. I love that we’ve made it our space. Its unique. From our fridge with our favorite magnets, to the photos on the walls, to the custom beds in the back for the kids, we’ve truly made this space our home over the last three years.

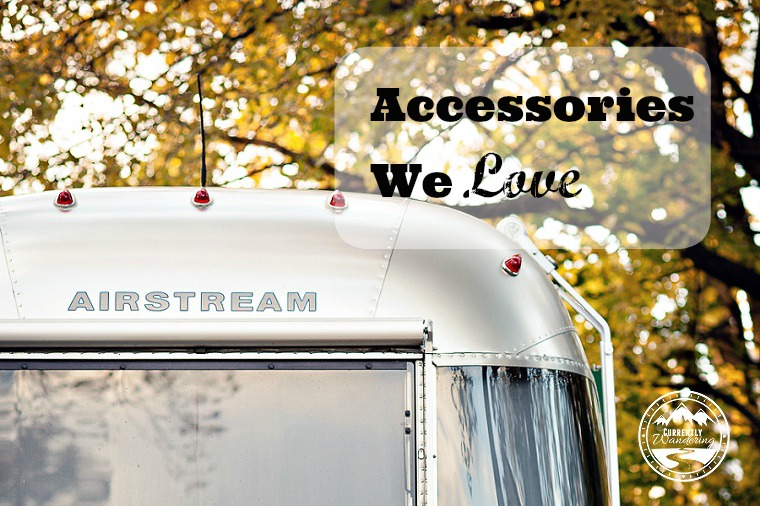
As I’m not sure when the next time we’ll have the Airstream THIS clean, I decided to document the occasion with a photo shoot of my own.

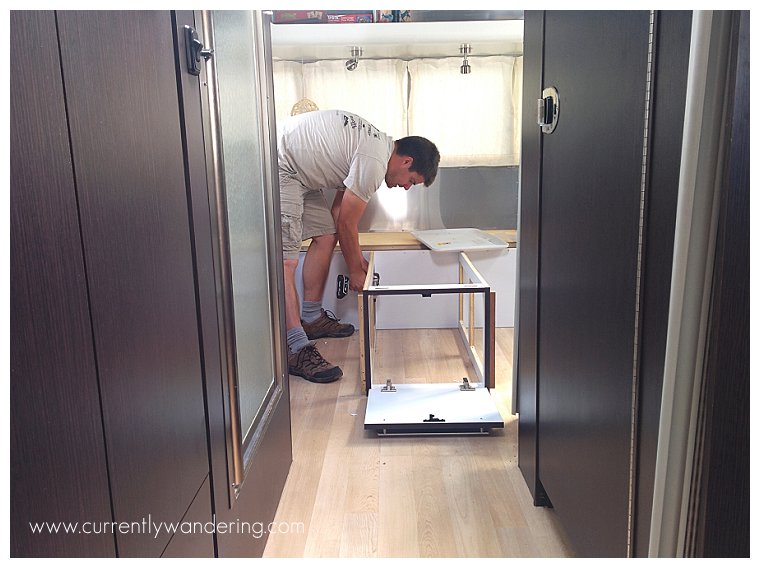
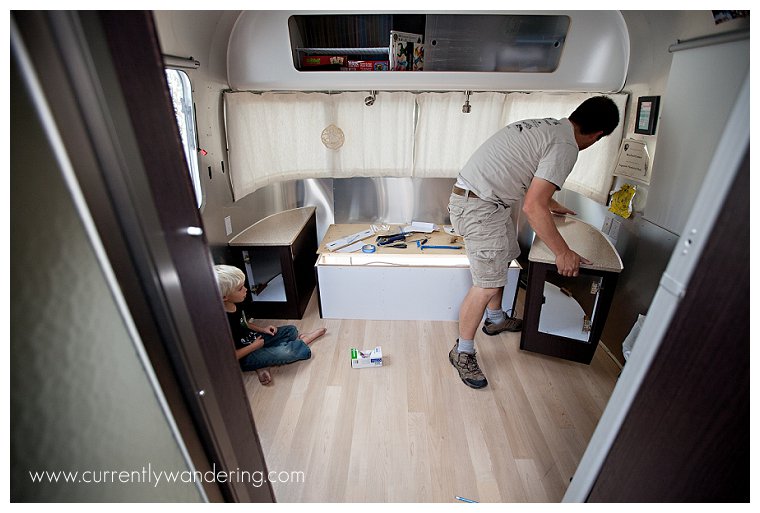
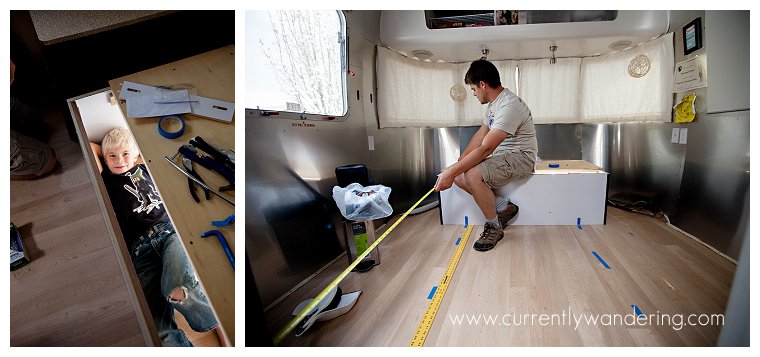
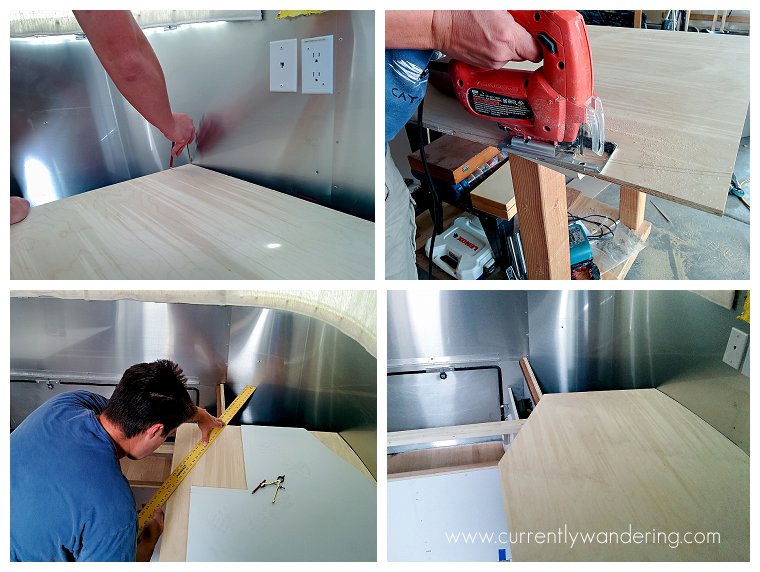
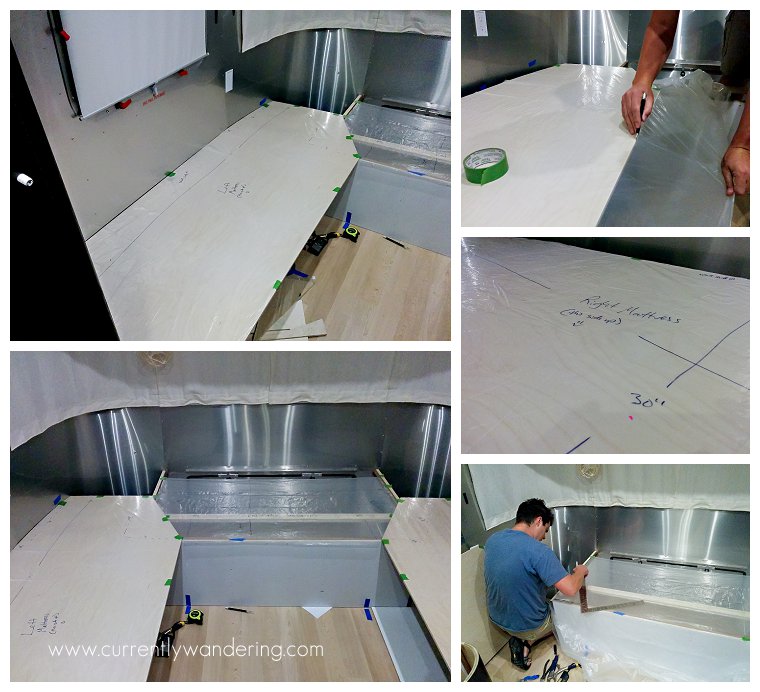
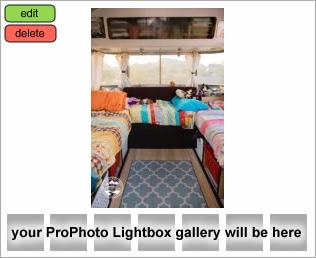
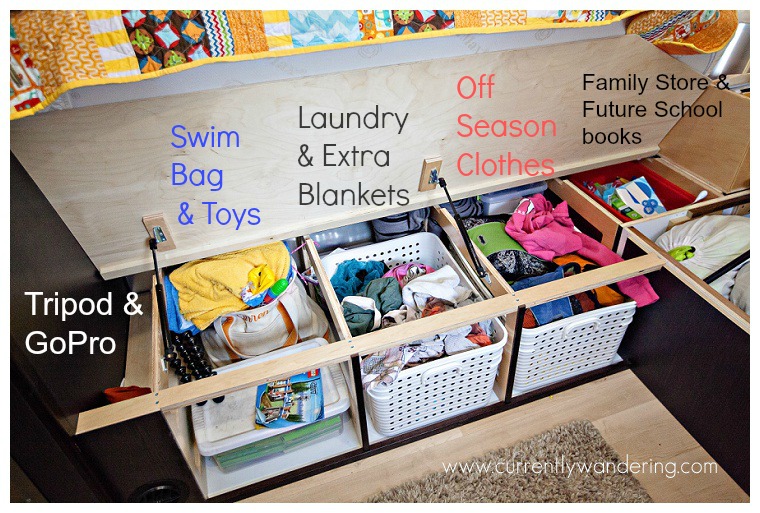
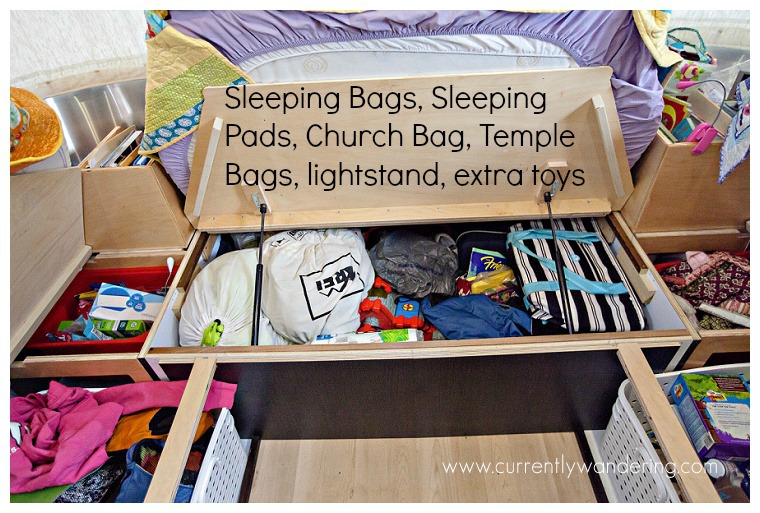
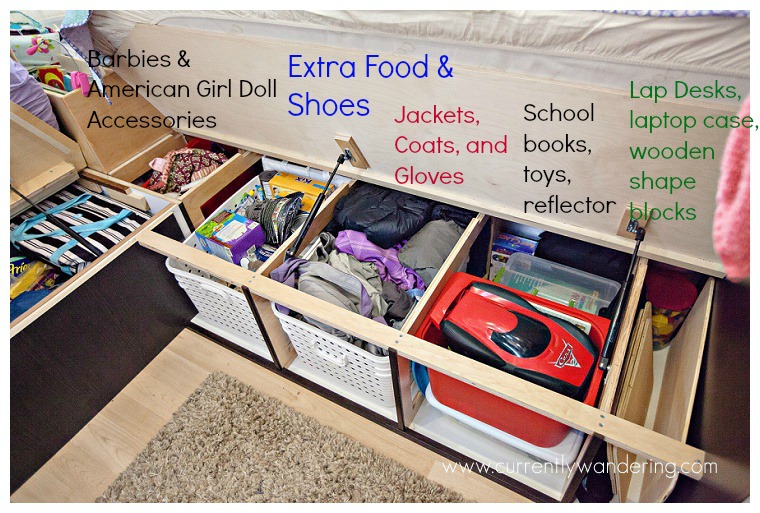
For those not familiar with our Airstream – we own a 27FB International CCD. We have removed the queen bed in the bedroom area and replaced it with three beds for the kids (remodel posts here). We sleep on the pull out couch with our bedroll (super comfy and easy access to the ice cream in the freezer after the kids are in bed!).

We have more renovation plans up our sleeves – just not sure when would be the best time to execute. We want a U-Shaped dinette (dubbed “The Grand Lounge”) and Cara needs a new bed as she’s outgrown her toddler-sized mattress. Perhaps we’ll get to those this year, but we already have a lot of changes on our horizon so they might have to wait. For now, I love that we’ve documented this phase of our Airstream life!

Categories
Airstream Accessories Inside the Airstream

Airstream Accessories We Love – Jambox, Reading Lights, Wall Clock, Garbage Can

Accessories We Love

We’ve updated a few accessories over the past few months, and it’s time to share some of the changes we’ve made. These are all items that we use regularly and love. All links are affiliate to Amazon (where we buy A LOT of stuff). You pay the same, but we get pennies for our Percy Jackson addicted children to buy books. Total win-win.

JamboxJambox

The Airstream has a cool built in sound system that even came with an external speaker. The tech is firmly rooted in 2005, however. The remote speaker is Mono, and requires either an AC plug or a zillion D batteries. We ditched the external speaker for a Jawbone Jambox, and it serves the need nicely. This also saves the power draw of the main sound system in the Airstream. We’ve had other bluetooth speakers before, and nearly anyone would work. The rubber top and bottom of the jambox make it not slide around, because sometimes we get lazy and don’t put it away during drives.

garbage canKitchen Trash Can

Under the sink, there is a built in garbage can. Over the first few months of travel, we decided we didn’t like it, and Jess came up with this Simplehuman Brushed Stainless garbage can. We place it in front of the pantry drawers, and it is short enough to fit under the drawers as they slide open. And of course, it’s silver! This is also nice and stable during drives, as it lives on the floor. In the space opened up by not using the under-sink garbage can, we hide an electric heater, an outside tablecloth, and an athletic roll.

reading lightsReading Lights

Our bed reconfiguration left us without reading lights in convenient locations for the kids. We found some cheap reading lights as replacements, and they have been perfect. In addition to saving battery life while boondocking, the kids have better light and can read without keeping each other awake. Better yet, these were cheap, and we can stuff them with the same rechargeable batteries we already keep on hand.

41kDopNSqnLWall Clock

This clock was actually our first Airstream customization, way back in Virginia. The real magic of this clock is how I mounted it to the wall. I cut a piece of a plywood  to fit just inside of the round clock. I used command strips to stick this to the wall, and the clock friction-fits right to it! Battery changes are easy, and we’ve never had a problem with the clock while driving.

We did modify this clock by cutting the tick marks in half, and cutting the hand wands a little shorter to fit in the space above our television (you can kind of barley see it in this post here). We love it, and I’d buy the same clock again!

eneloop


Eneloop Rechargeable Batteries

Jess has over fifty of these AA batteries from her wedding photography days. We’ve had to add a few more Eneloop AAA batteries for reading lights, dream lights, toothbrushes, and other kid’s toys. They work great, don’t loose their charge, and store easy.


charger

Battery Charger

To go along with batteries we needed something to charge them with. Jess also picked this Titanium Fast 16 Bay Charger up from a photography friend, and it works great. You can charge the batteries one at a time and it holds both AA and AAA batteries. Best feature? It also has a DC plug so no worries if we aren’t plugged into shore power.


These are all some additions we’ve made since we bought the Airstream. You can check out the kitchen post here as well. Happy shopping!


Categories
Inside the Airstream

Where Do We Put Everything? Bedroom Edition

With our remodel of the bedroom area in the Airstream also came a rearranging of storage space. Pre-remodel, the queen bed lifted up and there was a huge storage area underneath. Although it was great, some things were hard to get to, and part of the space was accessible only via the outdoor access panel. Neither of us loved this.

As we planned the new space, we put a lot of thought into how we would store things, what containers they would go in, and what specifically would need to be stored. We are pretty happy with the way things turned out, but of course, there’s always room for improvement.

Here’s a look under all 3 beds and what we store where.

Cara’s smaller toddler bed at the end. This was the space only previously accessible from outside. Now, I can’t remember the last time I opened that panel. Awesome.

Where Do We Put Everything 02

Under Rachel’s Bed. There are still a few things we haven’t pulled out in the last few months. As we travel, we tend to re-evaluate and we’ll leave stuff in storage next time through Utah or donate it.

Where Do We Put Everything 03

Under Andrew’s bed. Missing is Cara’s LEGO bucket in the first cubby. Unsurprising since she’s always playing with it.

Where Do We Put Everything 01

I love the springs Sam installed to keep the beds up. Digging around with two hands instead of just one is so much easier!

There you have it! All our storage secrets revealed. We really do love this space and its working out so well. Just for reference – the white laundry bins were purchased through the Container Store. They are perfect!

Categories
Bedroom Remodel Inside the Airstream

Custom Quilts for our Airstream Beds

When we decided to remodel the Airstream bedroom by removing the queen bed and putting in custom beds for the kids, I knew finding a comforter or blanket the right size would be difficult if not impossible. Sheets we could probably manage (and we did), but I wanted something special for the kids to help get them excited for this huge change in our life. After talking with a good college friend, I learned that her mom had recently taken over and was now running a quilt shop in nearby American Fork, Utah. Totally slammed for time between returning to Utah from our 6 month test run and leaving for our southern Utah sanity trip (not to mention selling everything we owned and remodeling in between) I still decided that I had time to make quilts. I’m so glad I did.

The Sewing Basket in American Fork is one of those house turned retail places and it is lovely. Quaint, homey, and I fell in love the instant I walked through the door. Dona, the owner, was expecting us and she ushered us right in to look around. The only experience I have with quilting is squares (see? I don’t even know the “real” word for it), but I knew that took a lot of time and I kind of wanted something easier. In her cutting room, she had a strip quilt hanging near the door and I thought to myself “I could totally do this, and FAST). She readily agreed and showed the kids around the shop to pick out their fabrics before she went to find me a pattern.

2014-06-24_0009

2014-06-24_0002

I loved how she arranged fabrics in the shop by theme – it was super easy to pick out a group of fabrics that all went together. We added a few from other places, but mostly we grabbed six or seven we liked from the same shelf. Cara wanted blue, Andrew orange, and Rachel (the ever indecisive one) had no idea. Another quilt hanging on the wall was a mix of purples and light gray and Rachel fell in love with it as soon as she saw it. We added a few bright pinks for some more color and we were set!

2014-06-24_0004
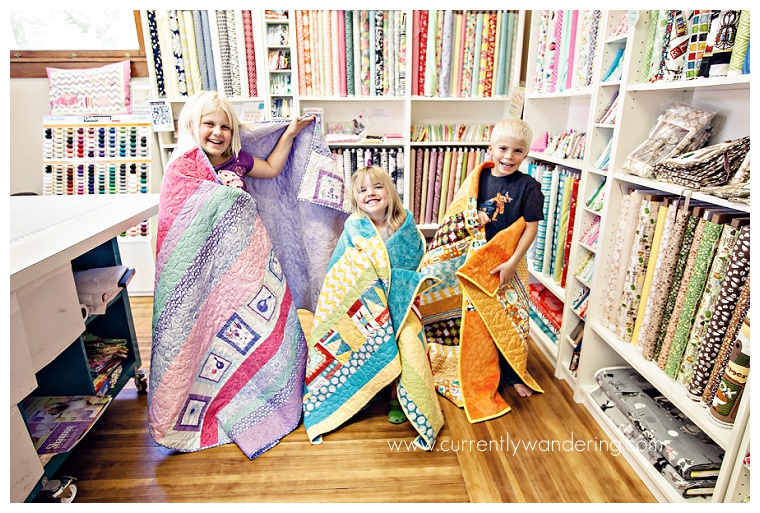
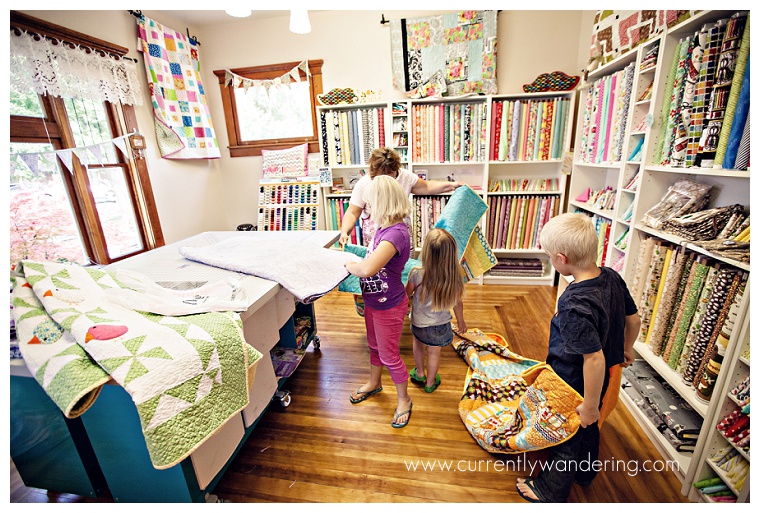
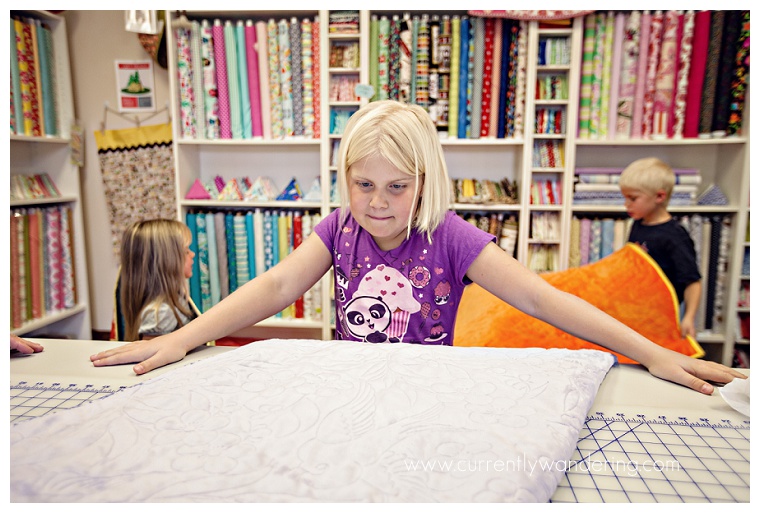
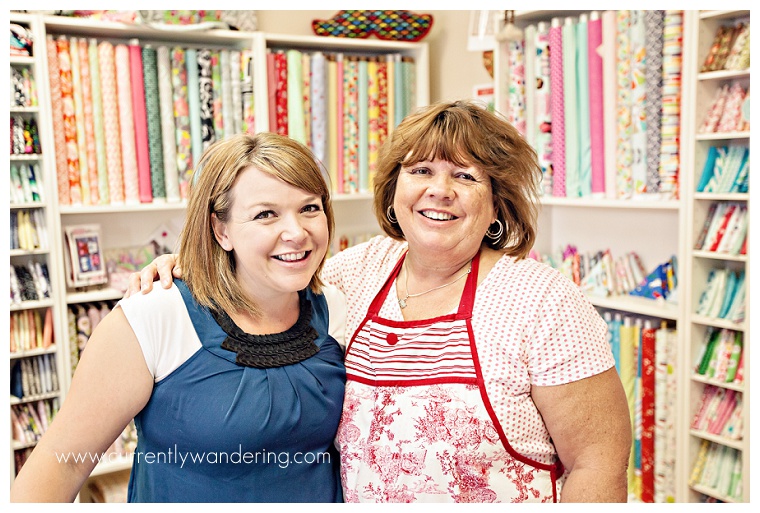
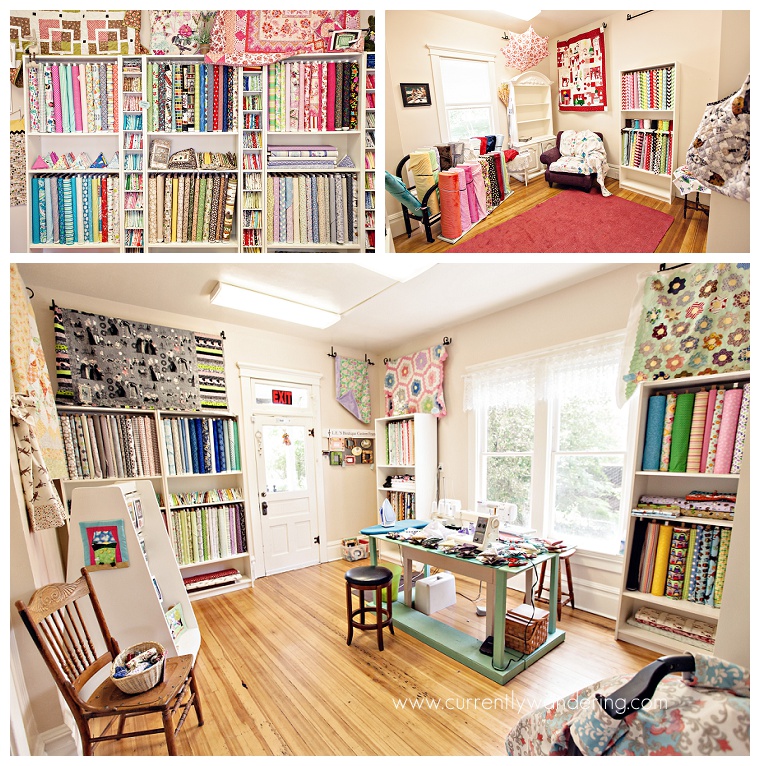
The best part? I had to do zero math. I HATE walking into places like JoAnn’s and they ask me how much fabric I need? Ummmm…. I don’t know? I usually wing whatever sewing project I’m doing and rarely use a pattern so its hard to determine what I really need. Dona was great. She pulled out the pattern (for a baby sized quilt), adjusted proportionally, asked me which fabrics were my favorites out of every set (so they’d get the largest strips) and proceeded to cut and organize. Hallelujah. I left with 3 stacks of cut fabric ready to be sewn together and written instructions informing me of the order in which to sew them.

I enlisted the help of my mother who came down for two days straight to help me sew. It was a whirlwind. We squared each strip and then proceeded to sew them together. She even brought her machine so her and Andrew worked on his, while Rachel and I sewed hers. Unfortunately, Andrew loves to sew really FAST (and grandma kept up with him)  and we eventually burnt out her machine completely. 🙁

2014-06-24_0001

2014-06-24_0011

2014-06-24_0010
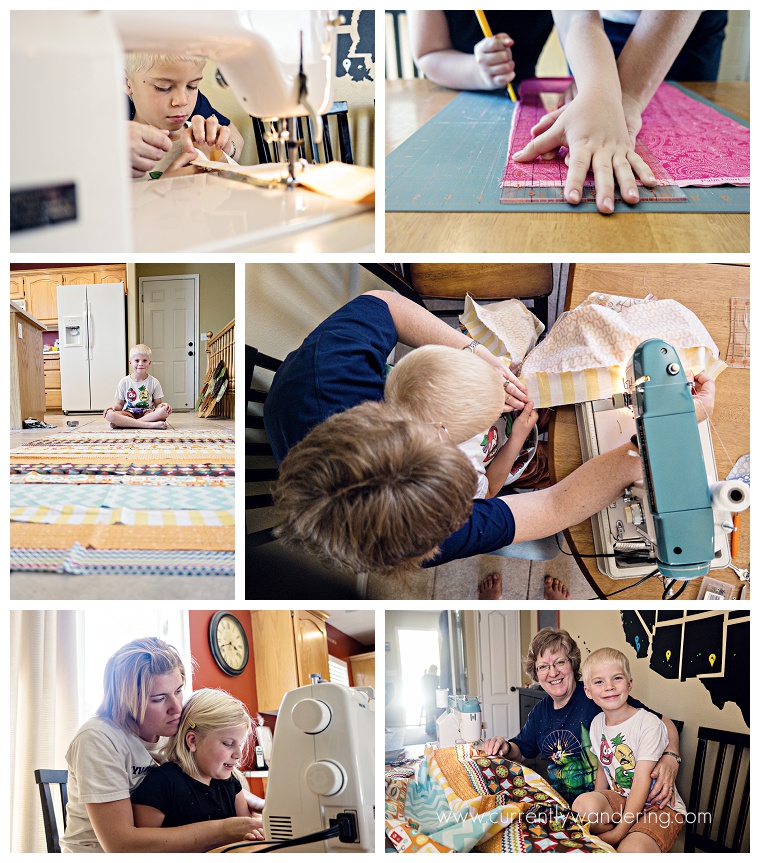
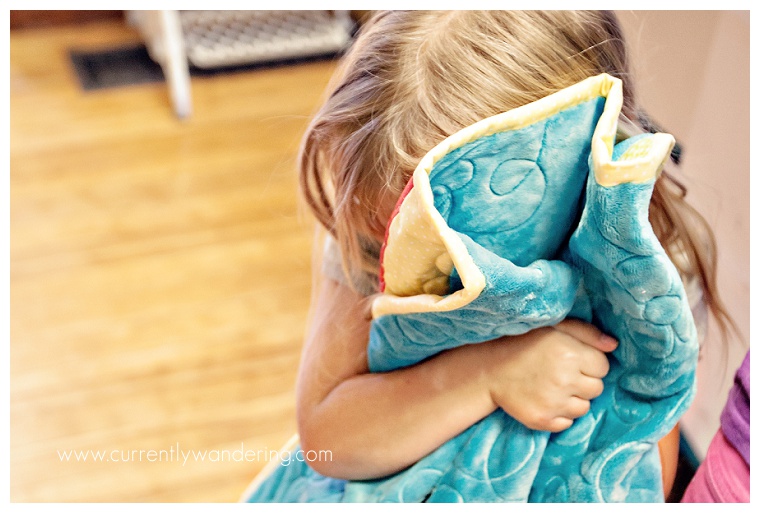
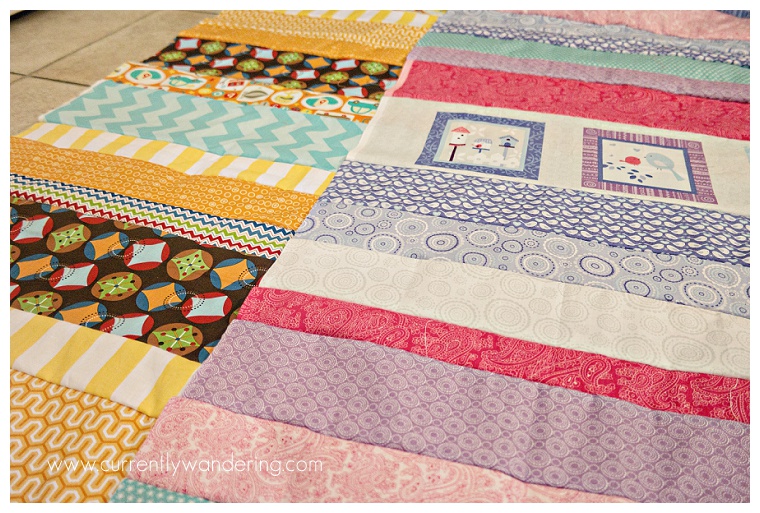
By the time Monday rolled around we had all three tops sewed and ready to go. I purchased Andrew’s minky & elephant fabric (he simply couldn’t live without elephants on the back) from Broadbent’s in Lehi (only because the Sewing basket didn’t have it – but they totally looked and even called about ordering it in!). We showed back up at the Sewing Basket Monday morning and somehow both girls agreed to just have minky on the back of theirs and a cute fabric to bind it (instead of a more complicated pattern). That meant I was done! Dona squared up my fronts, we picked out the minky color for the back, the patterns they wanted quilted, fabric for the binding and that was it! She did all the measuring and cutting for the minky and the batting (which I never actually saw) and we walked out the door. Easiest process ever!

About two weeks into our Southern Utah trip, I heard from my friend that our quilts were done and bound (totally paid Dona to do it – it was the LAST thing I wanted to do now or ever) and ready to be picked up! The day after we got home we went to the quilt shop and the kids were so excited to see their new quilts!

2014-06-24_00082014-06-24_00072014-06-24_00032014-06-24_00052014-06-24_0006

I definitely would not have been able to pull this off without all of their help! I’m so grateful it came together so well and we absolutely LOVE having this quilts in the Airstream! They are truly beautiful and I know my kids will cherish them for a long time to come!

Categories
Bedroom Remodel Inside the Airstream Most Popular Posts

Airstream Bedroom Remodel: Queen to Twins, Part 1

Within  a day or so of returning home, we started our largest Airstream Project Ever. We are pulling out the queen bed, and replacing it with two twin beds and a toddler bed, leaving the walking space down the middle.

We got the party started by removing the queen bed. The bed itself is screwed into the floor in a few places, and then just screwed together. It all came out pretty easily after you find the screws.

IMG_20140412_115319_1

We left the back part of the queen bed in place as a foundation for the toddler bed at the end. We also removed the end tables, as we have plans to better use that space. With the bulk of the bed removed, it felt oddly spacious back there.

Airstream Remodel_001

With the space cleared, it was time to start planning. Also, Andrew was able to fit through the tiny gap between the hinge and remaining support.

Airstream Remodel_002

We needed to order mattresses as soon as possible, so I used the removed pieces of the bed as a spacer to prop up the plywood, then cut and fit the new bed top to fit the curves of the Airstream. We are using 3/8 baltic birch plywood for the tops of the bed. At the front (hitch end) of the trailer, the twin beds will meet the toddler bed at the corners. The mattresses will be cut at an angle to fit together.

Airstream Remodel_004

We researched mattress companies and options, and found one that would give us good quality multi-layer mattresses. After describing the shape we needed, they recommended that we cut a layer of plastic to the shape and size we needed. We cut and marked the mattress sizes, and sent them off in the mail.

Airstream Remodel_011

The remainder of the work will be done over the next few days, as we build in the rest of the beds and storage space underneath. Stay tuned!

Continue reading Part II!