Categories
This Week on Instagram

This Week on Instagram: January 11-17, 2014

624417847dfb11e3977e12aafff28a0d_8

Left the bustle of Houston for some WIDE open spaces farther north in Texas. Great week visiting with friends, exploring museums, getting MAIL, and taking the kids fishing for their very first time. We leave Texas tomorrow and head towards New Mexico. Being back on Mountain Standard Time will be weird!

Categories
Florida

Off Season Beach Vacation in Florida Along the Emerald Coast

Beach Vacation in Florida Along the Emerald CoastWhen we started seeing signs for the “Emerald Coast” and I honestly had no idea what that meant. I hadn’t ever heard of the Emerald Coast before, but there were signs everywhere: “Emerald Coast Dentistry” and “Emerald Coast Coffee Shop”. When we pulled into our first campground along the West Coast or Panhandle of Florida I started to get an idea of what the fuss was about. It. Is. Gorgeous. Pristine white beaches, beautiful campgrounds, and the most relaxing time I’ve ever had. We spent about a week beach hopping along the coast and could have easily doubled or tripled our time. Here’s a quick rundown of towns, state parks and other places to go during your visit.

When we visited: November 2013

Ages of Children: 8, 6, 3

Off Season Beach Vacation on the Florida Emerald Coast

1. Panama City & St. Andrews Beach State Park. Located at the end of a small peninsula, St. Andrews Beach State Park is a slice of heaven. Having just come from 3 days on the beach at St. George Island, I wasn’t really in a beach kind of mood but I *wish* we had gone swimming. The beach is absolutely gorgeous! So gorgeous in fact, that Cara jumped in without her swimming suit and got soaking wet. Our campsite was directly across from the playground, and there were also hills the kids could scramble up to go exploring. Showers were a bit drafty, but we survived. We also visited the Science & Discovery Center of NW Florida (using the ASTC pass) which was about a 30 minute drive away. We ran into an elderly couple who was renting a beach house in the off season for about $900/month. Ridiculously cheap given the location.

IMG_2971-Edit

2. Destin & Henderson Beach State Park. I don’t know how they managed it, but this state park is across the street from Wal-Mart. Literally. At the same time, the park is secluded, quiet, and absolutely beautiful. The individual campsites are also very large, and the bathrooms, well, don’t get me started on how amazing the showers were. The beach is a short-ish walk along a boardwalk and my kids dubbed the sand “liquefaction grade” and quite enjoyed playing in it. We ended up here on a chilly few days, so they kids spent about 20 minutes in the water before declaring themselves done, but our walks along the beach were extremely peaceful. I would go back and stay for a month. Easy.

IMG_2982

3. Pensacola & Gulf Islands National Seashore. First off, the drive from Destin to Pensacola along 399 was the most gorgeous beach scenery I have seen yet. There are places you can stop and beach along the way, but it was cold and windy so we mostly just stopped for photos. The Gulf Islands National Seashore is actually quite large and has two districts: one in Florida and one in Mississippi. We stayed at the Fort Pickens campground on the Florida side. Sites were not secluded, but the campground was peaceful and the showers were decent. We explored trails down to the beaches (no actual swimming), visited the historic Fort Pickens, earned a Junior Ranger Badge, drove the 40 minutes over to the Naval Aviation Museum, and ate lunch at the most awesome outdoor food court I’ve ever seen.
IMG_3053Things to do in Pensacola FloridaHad we not been on a schedule to reach Houston for Christmas, we would’ve extended our stay at all of these campgrounds. We definitely have plans to return, maybe this time in slightly warmer weather.

Categories
Homeschool Musings of Sam Video

I Introduce My Kids to Programming Using Robot Turtles

I introduce my kids to programming using Robot Turtles

Months ago, I backed a KickStarter project called Robot Turtles, a board game designed to teach kids fundamental concepts of programming. I had been thinking about using programming as part of our home school curriculum, and this was a great place to start. We received Robot Turtles just before Christmas, and it was one of the gifts opened during our Airstream Christmas.

At the request of the kids, we pulled out the game and figured out how to play. I recorded one of our games to share.

The game is played with an adult acting as the Turtle Mover and the other players acting as Turtle Masters. Turtle Masters cannot directly move their turtles, and must use the instruction cards to instruct the Turtle Mover as they move pieces on the board game. The game action cards include Right, Left, and Forward, as well as Laser, Bug and the Function Frog. The Function frog teaches code reuse. The Bug is for when they incorrectly instruct their Turtle and want the Turtle Mover to reset their game piece. The game does not include loops or conditionals, but otherwise does a great job teaching the basics to kids.

When I say kids, I mean all of them. Rachel and Andrew play very well, but even little 3 year old Cara understands the concepts and plays well. She is more easily distracted, and frequently directs her turtle  out of the way to ‘laser blast’ an ice wall. Despite her shenanigans, it is very clear that she understands the basic ideas.

Jess took the kids to the Perot Museum of Nature and Science in Dallas this week, and the kids rocked the ‘program a robot’ exhibit. I didn’t get to see it happen, but Jess was ridiculously excited about how well our kids were able to program the robot to navigate the maze.

Today for #roadschool my kids programmed robots to navigate a maze. #soproud #currentlywandering #astc #Dallas #texas #PerotMuseum

There will be more Robot Turtles (and related teaching tools) in our future.

Categories
Daily Life Fitness & Recipes

My Lame Attempt At Staying Physically Fit While Traveling Full Time

My Lame Attempt at Staying Physically Fit While Traveling Full Time

I LOVE the gym. The smell, the machines, the weights, the Zumba & Spin classes. I love dropping my kids off at daycare and then picking them back up an hour and a half later. It is my ME time. The time I get all to myself while also doing something that my body craves.

Unfortunately, having a gym pass while traveling full time is unrealistic. Even if there were a nation-wide membership, the chances of me consistently getting out the door with all the kids to a gym I’ve never been to is probably even more unrealistic. I HAVE done it once though. December of 2012 in Denver. I visited a local 24hr Fitness and got free admission and just paid for daycare. I only went once in the whole week we were there though. See what I mean? Consistency.

Originally, Sam and I had these awesome expectations that we’d trade off riding our road bikes. Long drive? No problem. One of us could jump on our bike for 30 miles and the other would drive the Airstream and wait at the other end (then we’d be smelly and we really just don’t drive THAT far and usually need to get there so Sam can work). Or that we’d go on rides around State Parks (not really long enough roads), or in random cities (harder to find good routes than it sounds). It has been complicated enough to manage that we rarely pull the bikes off the back of the truck.

After I realized that bike rides were not going to be common, I decided I should take up running. Since I can’t even really run a mile, it’d be easier to find a route, plus most state parks have great trails. Turns out, I really just hate running. I’ve tried. Really I have. I don’t enjoy it, so getting myself out especially in cold weather is just not happening.

So I plod along. We go on walks with the kids or around on the trails. I probably wouldn’t go so far as to deem them “hikes” or even a “workout” but at least we are MOVING. I’ll get out running maaaaybe once a week, lift a few weights and deem myself awesome for even trying. Its not enough though. Although I’ve only gained a few (okay, maybe five) pounds in the last couple of months, I can tell I’m out of shape. I feel unhealthy and I don’t like it. I’ve started to feel my body craving a good workout. The kind where you think you’re going to die while you are doing it and you are sore for a week afterwards.

I don’t have a great answer. I’m still looking. I know my current path is unsustainable, and its definitely something I want to fix, and maybe there’s not one perfect answer. I just don’t want the fear of being overweight or out of shape to stop us from traveling.

I have a new workout system that hopefully I’ll be starting in the next week and I’ll keep you posted how it works out. Hopefully it’ll get me out of my funk and get me a little more toned in the process.

What’s YOUR favorite way to stay healthy and active? Is it portable?


Categories
Adventure Reports Florida Photography The 50 States The Basics Tips & Tricks

The Best Camera is the One You Have With You: 7 Tips for Taking Better Photos with Your Camera Phone

The Best Camera is the One You Have With You. 7 Tips for Taking Better Photos with Your Camera Phone
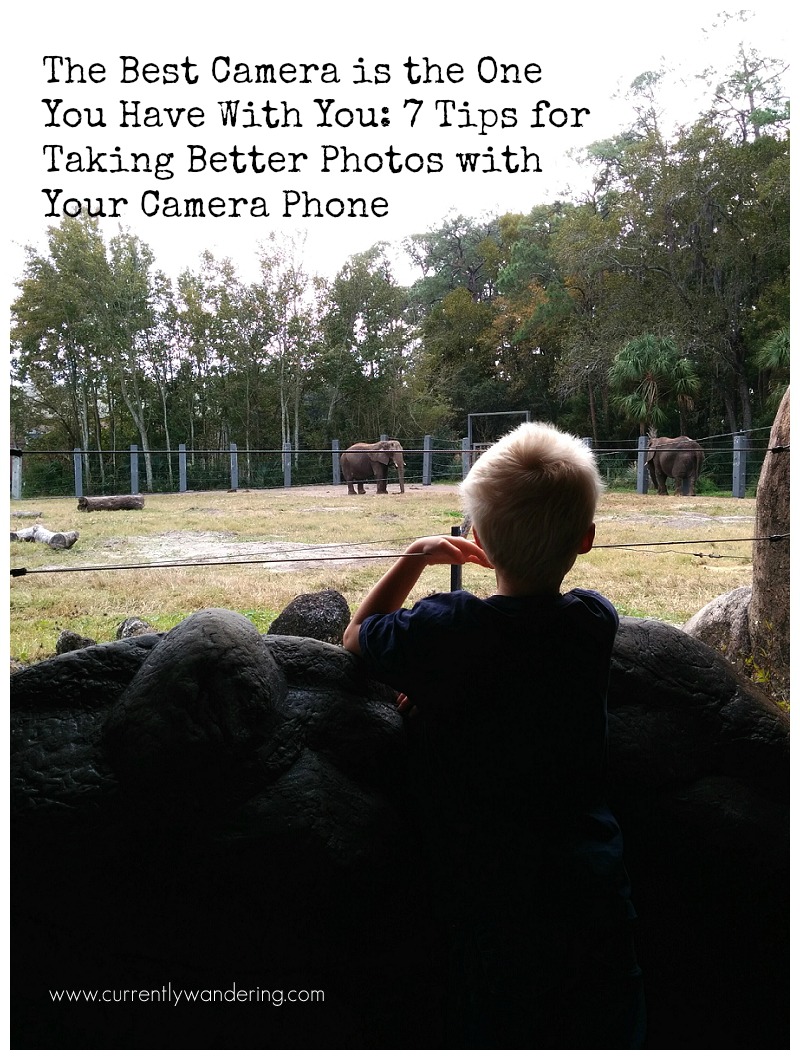
We pulled into the near-empty parking lot at the Jacksonville, Florida Zoo and all climbed out of the car. I walked around, opened the back of the truck to grab out our adventure bag and my camera. A quick check of the camera to make sure all was in order before heading out, and wait! What? Where are all my memory cards?

I’m sure I’m not the only one this has happened to. Super excited to use your “big” camera on an adventure only to realize that you are missing a memory card, or your battery, or even your lens!

I could have been angry or frustrated and let that ruin my whole day, but instead I decided to challenge myself to see what photos I could capture with the one camera I DID have with me: my phone. You know what? These photos turned out to be some of my favorites.

Here are a couple of tips for capturing GREAT photos with your camera phone:

1. Photography Rules Still Apply. Probably even more so. Rule of Thirds? Check. Leading lines? Got it. Watch your angles, make sure your photos have an obvious subject, create balance, and isolate clutter.

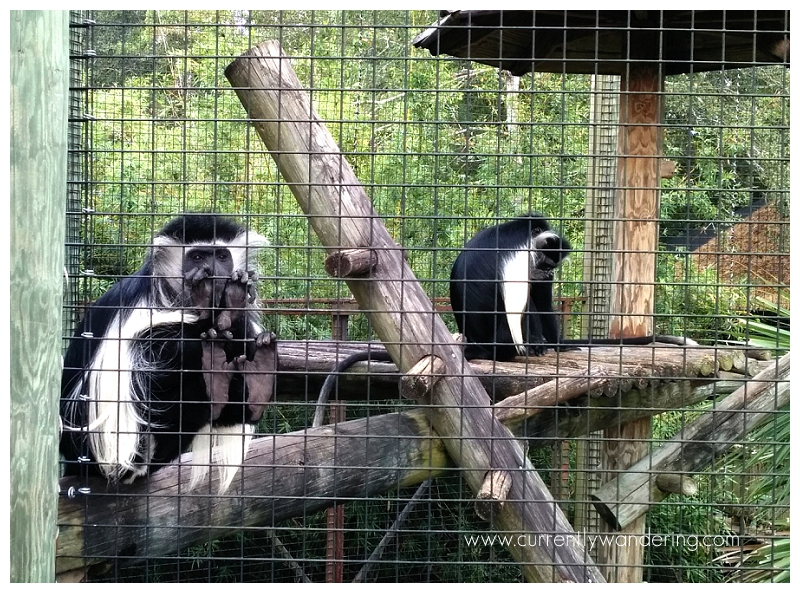
2. Use Your Screen. You don’t have a viewfinder, so take advantage of your viewing screen. One of my favorite experiences at this particular zoo was watching my kids feed the giraffes. Something about their crazy long tongues had us all in fits of giggles. The nice part about using a camera phone instead of an SLR is that I can hold the phone out in front of me while still viewing the screen. This allows me to get a different angle (lower OR higher) while still seeing what I’m shooting. It also avoids the awkward photographer squat (yeah, you know what I’m talking about).

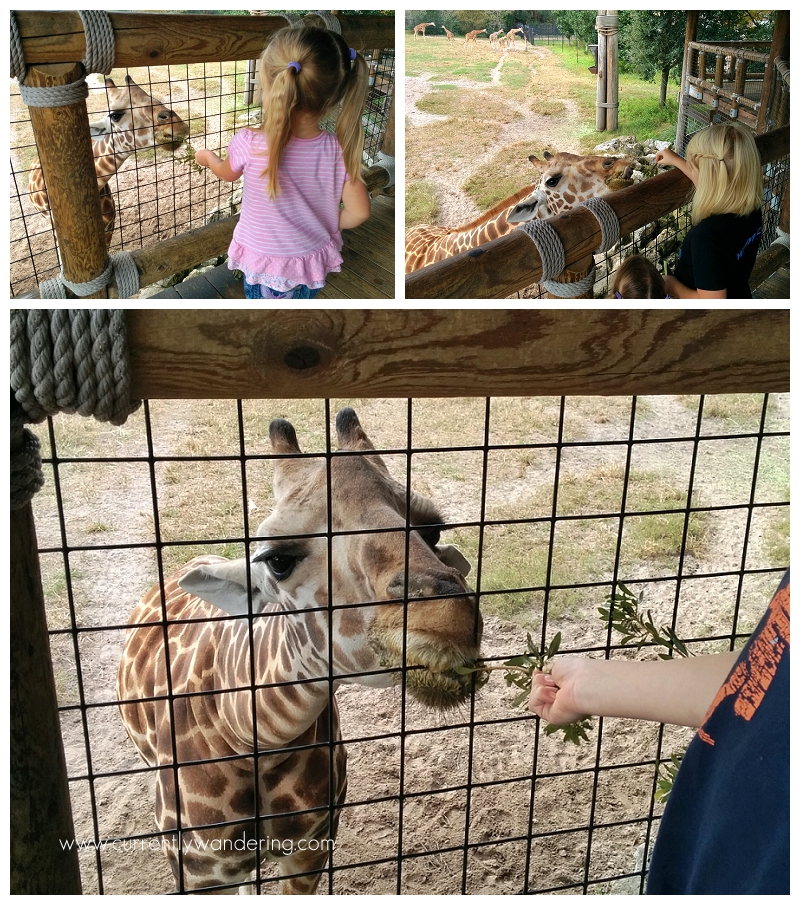
3. Crop, Don’t Zoom. Just pretend you have a fixed lens. Using your zoom will often pixelate your photo anyway (decrease the quality) so it’s better to crop in on a photo during editing. I cropped the above photo of the giraffe to help isolate him and make him the center of the photo.

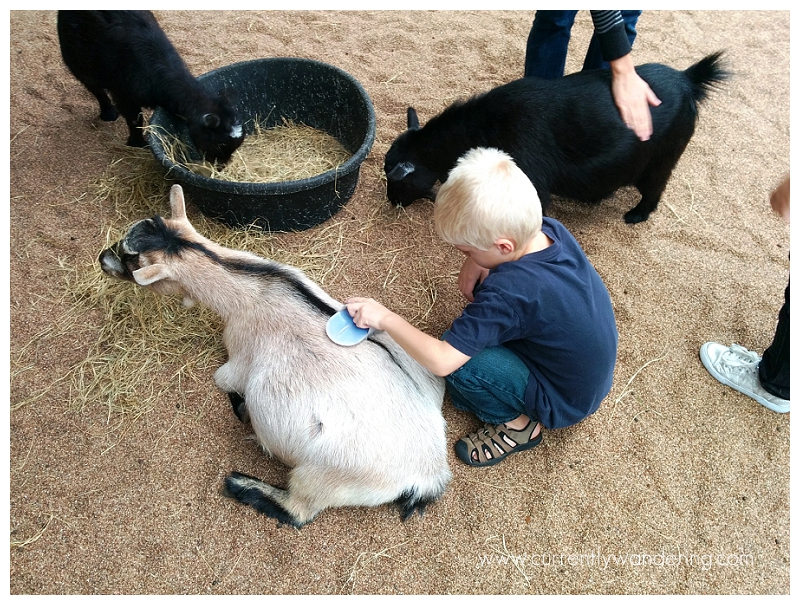
4. Get Close. Really Close. Obviously at a zoo its difficult to get close to the animals, but what else can you take a photo of? The vegetation at this zoo was amazingly beautiful. Cactus, trees, bushes, cool plants, flowers, they had it all. It added to the overall experience, so why not take a photo so you can remember it?

5. Don’t Be Afraid of Sun Flare. I love sun. I love the added dimension the light gives to my photos. Yes, shooting on an overcast day is easy, but your photos can be so much more dynamic with a little back lighting. Face the sun, focus on your subject and then move the sun around in the frame by physically moving your phone. Once the sun hits the edge of the frame, you’ll typically get the cool flare that washes the light over your photo.

6. Edit, Don’t Filter. If you want clean photos that don’t look like everyone else’s, use an in phone editing app instead of applying the same filters everyone else is using. I rarely feel the need to filter after I’ve used Snapsneed to dress up my photos. Check our tutorial here if you’re not familiar with it.

7. Use a lens. Wait, what? Its a camera phone. If you want to be even MORE creative with your phone photos, add some lenses like those found over at the Photojojo store. Small, magnetic, and easy to take with you. They have a wide variety including even a polarizer (I don’t have that one yet!).

What else have you thought about while shooting with your camera phone? Share in the comments below, and happy shooting!
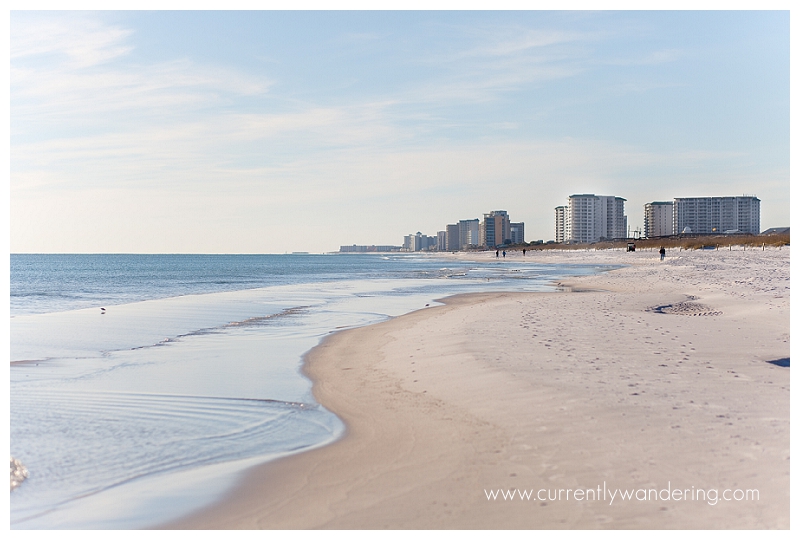
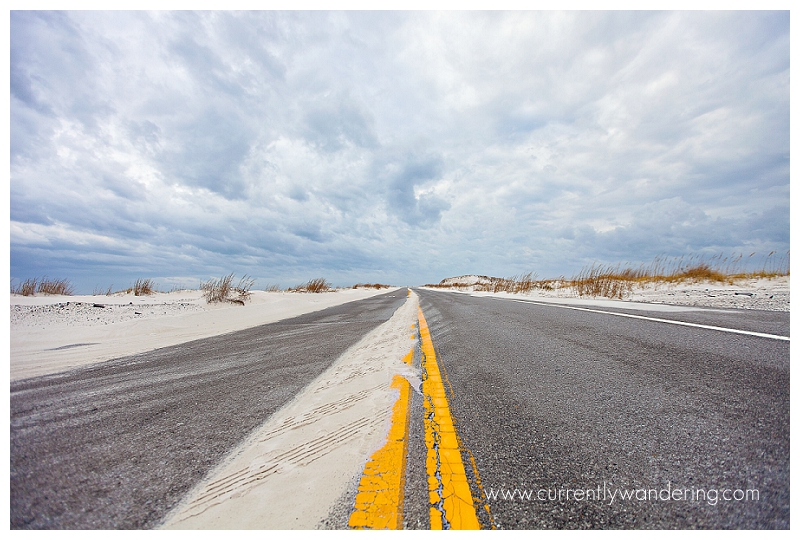