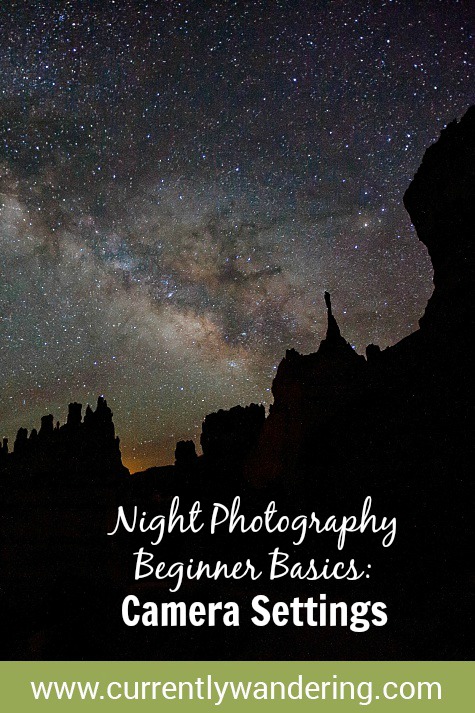
Last post, we talked about basic gear. This post, we’ll talk about camera settings. But first, lets talk about star movement.
Star Movement
Stars move across the sky. This isn’t actually true, as this movement is caused by the earth’s rotation, but we’ll ignore that for now. For our purposes, the stars move, and we may or may not want to capture that movement.
Celestial Photography falls into two main capture goals: Star Trails, and Still Shots. Star Trails are accomplished by leaving your camera’s shutter open for a long period of time. The longer the time open, the longer the arcs of the stars appear in your image. Star Trails are awesome, but I want to focus on Still Shots in this post.
For Still Shots, you actually want to PREVENT any star trails from happening. An exposure that is too long will only cause the stars to look smudged, and you will lose the sharp image you are looking for. Your savior here is The Rule of 600.
The Rule of 600
To find out our maximum exposure length without capturing star movement, you can use the rule of 600:
600 / (Lens Focal Length * Sensor multiplier) = Maximum Exposure Length in Seconds
Your Lens Focal Length is just what it sounds like. We used a 16mm lens for many of our shots, so 16 is our number in the formula. If you have a zoom lens, you will need to estimate where you are in the range of the lens’ zoom capability.
Your sensor multiplier is the effect that your sensor has on the effective focal length of your lens. For a camera with a full sensor, this value is 1. Many SLR cameras have a sensor that is smaller than full size, and will have a multiplier of 1.5 or 1.6. Research your camera ahead of time to find out what this value is. We used a Canon 5D mkII, which has a full frame sensor and a multiplier of 1.
Plugging those in:
600 / (16 * 1) / = 37.5 seconds
With a 16mm lens on a full frame sensor, we can take an image up to 37.5 seconds long, and not capture star movement.
Consider a few other lenses:
200 mm lens on a full frame sensor: 600 / (200 * 1) = 3 seconds
100 mm lens on a crop sensor: 600 / (100 * 1.5) = 4 seconds
You can see why wide angle lenses are popular here: the longer the exposure, the lower the camera ISO can be, resulting in less image noise.
The Rule of 450?
Many photographers find that staying away from the boundary of star movement capture helps them capture more vivid images. The Rule of 450 is useful here: Use 450 instead of 600 in the same equation, and you give yourself a margin of safety.
450 / (16 * 1) = 28.125 seconds
Shooting at 28 seconds gave us a clearer image.
Aperture
To capture a Still Shot, you want to use a large aperture. Our images were captured at f 2.8. A wide open aperture will allow capturing as much light as possible in the short time allowed. This setting is often confusing, because star trails are usually captured with a much higher aperture value.
ISO
With your aperture all the way open, and your shutter speed limited by the star movement, ISO is the main thing you will adjust to set exposure. The goal is to get a good image with the lowest ISO possible. Higher ISO values will introduce sensor noise into the capture, and this will degrade the quality of your image. To get the ISO set correctly first make sure your aperture and exposure length are set properly. Take a test image, and view it on the camera. Experiment with ISO settings till you get a good image and then leave it there. Typically, you’ll do this at the start of the evening, and will leave the exposure settings alone as you capture different scenes. Most of our images were taken at ISO 1600 and 3200.
Focus
Images should be captured with the lens focused to infinity, but this is trickier than you might think. Most lenses will allow you to focus a little past infinity to allow for temperature and pressure variations in the operating conditions of the lens. To find your ‘true’ infinity, you can use one of two methods.
First, plan ahead and find the infinity point during daylight. This is best done by focusing on a far off object, like a mountain top or the far side of a valley. Allow autofocus to pick the focal point, and then look at where it set it. You can either remember this point, or mark it. You can scratch a line in the focal ring and body of your lens, but my personal favorite involves blue painters tape or similar. Simply focus your lens to infinity, then place a piece of blue painters tape across the focus ring and the body of the camera. Using a sharp knife, slice the tape so that the focal ring can still move. To focus back to infinity, just put the lens in manual focus and align the pieces of tape.
The second method of infinity focusing involves using the live view feature of your camera. You will need to find a bright star in the sky, and zoom in using the camera’s back screen. When it is as large as possible, fine tune your focus with the focus ring. This will be much easier if the camera is on a tripod, which you’ll need for the shot anyway.
This should be obvious, but I’ll make it clear anyway: You will focus to infinity with the lens in manual focus mode. Someday, cameras may be able to autofocus on stars, but it isn’t this day.
Mirror Pre-Lockup
Many SLRs have a setting that allows the mirror to move and lock prior to the image capture. If you can find this setting on your camera, activate it. Under normal operation, the mirror moves out of the way just prior to opening the shutter, and this movement can make the camera vibrate just slightly. Under normal use, you’ll never notice this movement, but it can prevent sharp images when taking long-exposures. This mode moves the camera out of the way prior to opening the shutter. It’s a small thing, but it’s the small things that get a great sharp image.
There you go. Those basic settings will get you shooting what you need. Check out our other posts on our Night Photography series to learn about Gear, Light Painting and Composure!
Night Photography Beginner Basics: Dark Sky Composure
Night Photographer Beginner Basics: The Gear
Night Photography Beginner Basics: Light Painting
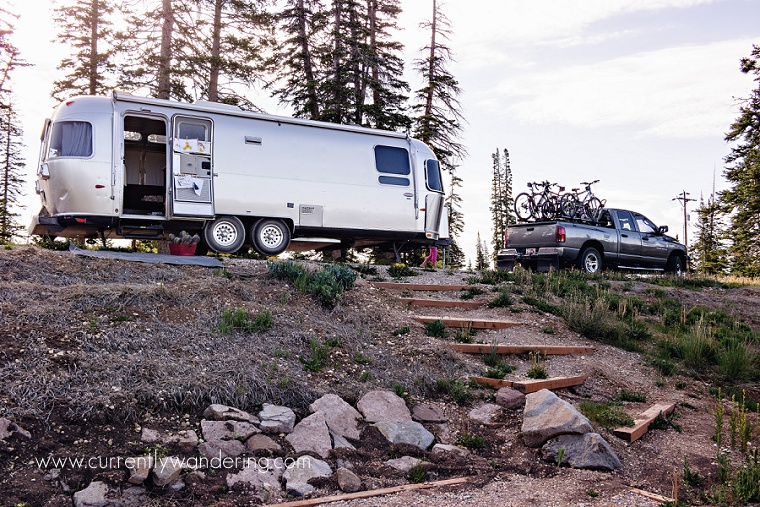
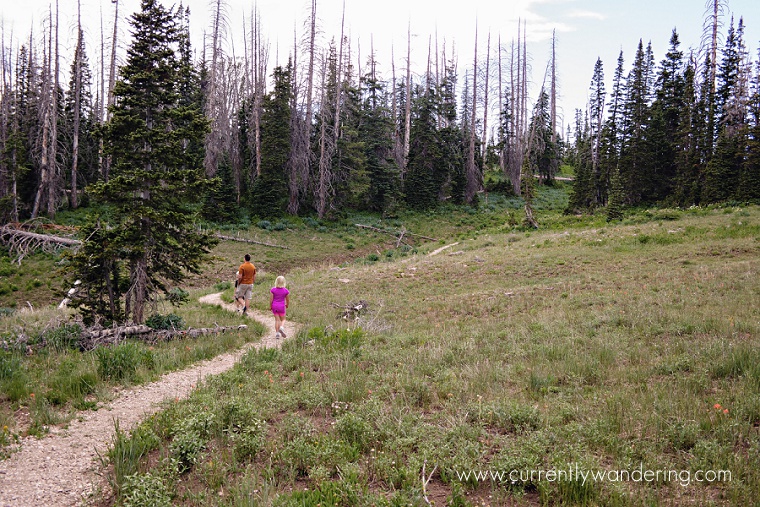
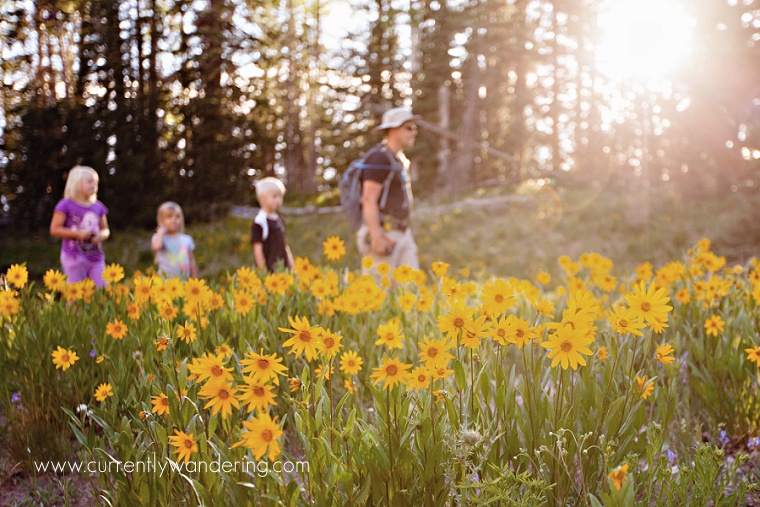
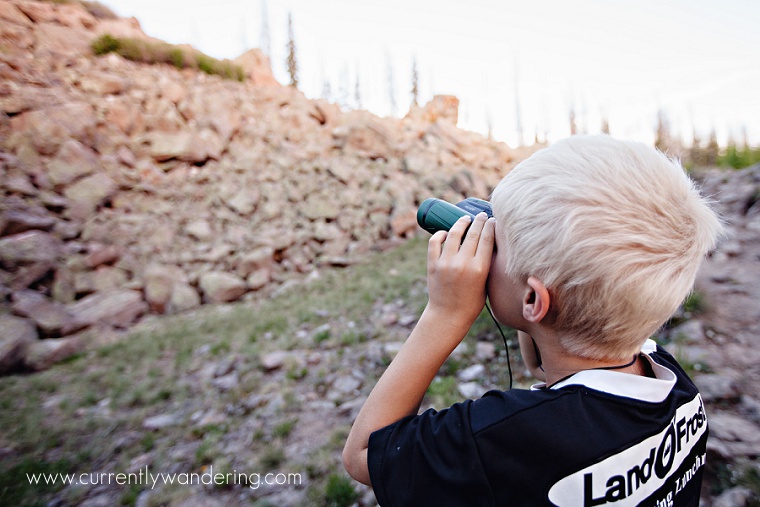
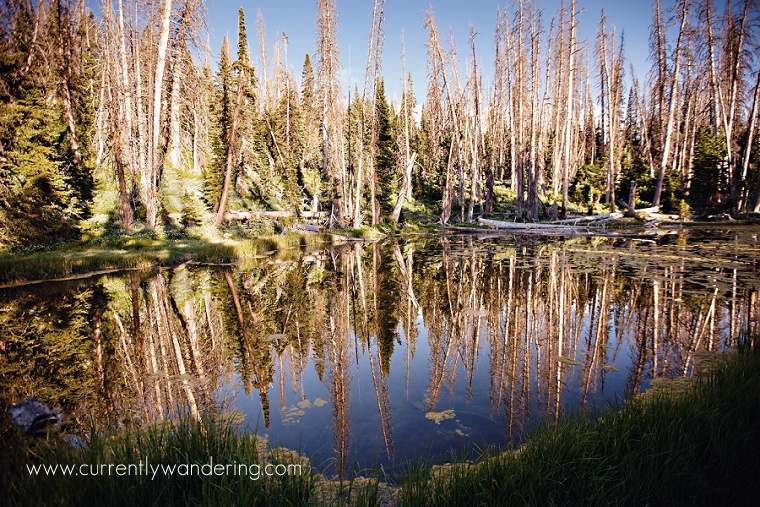
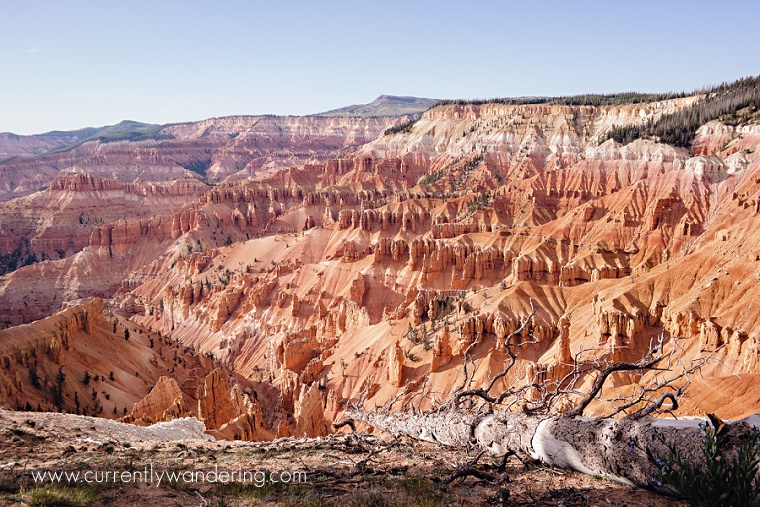
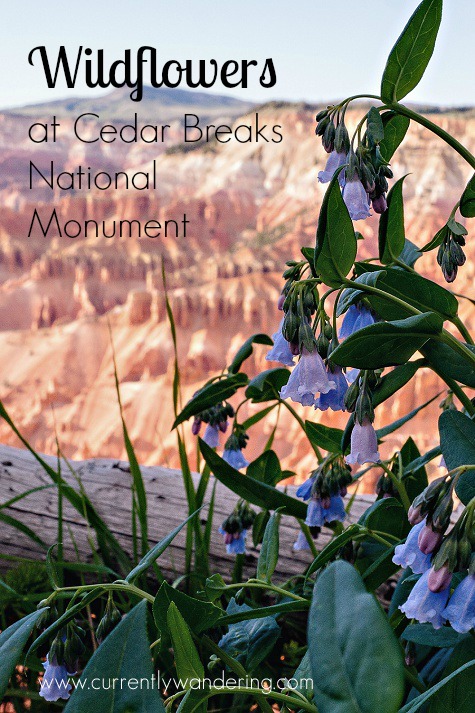 Going to southern Utah in the summer is generally not a good idea. Its hot. Really hot. However, there are a few places that are high enough in elevation to escape most of the stifling summer heat. On our post-move out southern Utah loop, we spent a week at Bryce Canyon and then drove over to Cedar Breaks National Monument. Both are high in elevation with Bryce around 8000 feet and Cedar Breaks closer to 10,000. While not “cold” the weather was pleasant, cooled off at night, and definitely manageable.