Although I grew up in Utah, “state park” was a bit of a mystery to me. We camped in local National Forest campgrounds and visited the popular National Parks, but my only experience in memory with official State Parks were trips to Goblin Valley every few years. As we first started traveling, I was a bit wary of staying in any State Park (we had a bad experience in Omaha) but after passing through a few states with some amazing experiences (Georgia, Texas, and Florida to name a few) I was able shift my paradigm and really come to appreciate all the work and effort that goes into maintaining these beautiful places!
With this shifted mentality, we made it a point to visit a few of the local Utah state parks on our Southern Utah Sanity Trip (as we are now calling it). Many we had heard good things about, and since we had the time we made a point to weave a (slow) path through Yuba Lake State Park, Fremont Indian State Park, Sand Hollow State Park, and Snow Canyon State Park.
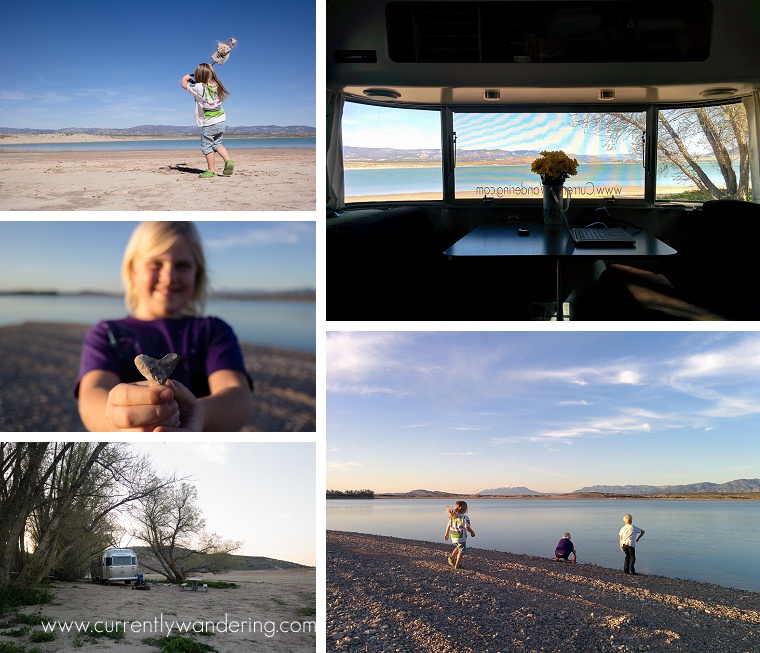
Yuba Lake State Park
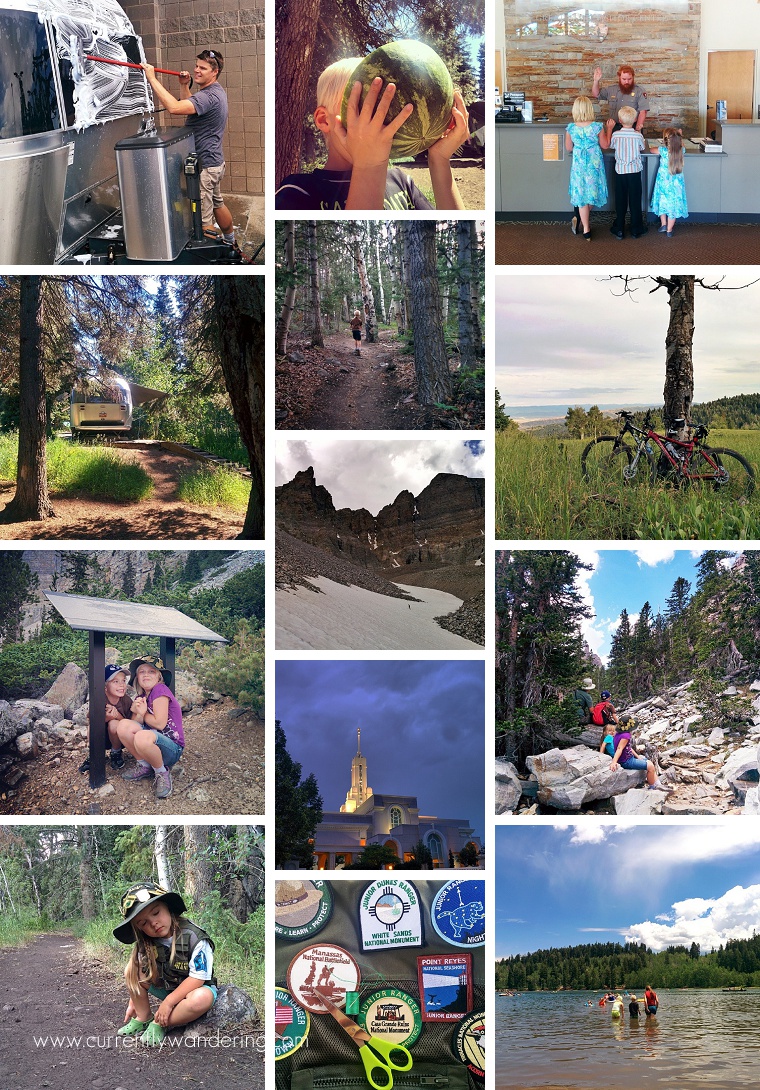
Our first stop was recommended by friends. It was not a very long drive on our first day, and the views were beautiful. We managed to level the Airstream despite a 9 inch side to side elevation difference thanks to a small shovel I threw in as an afterthought. It was incredibly peaceful. The lake is frequented by boaters, and there really wasn’t much else to do, but it was a peaceful spot with good signal.
Fremont Indian State Park
We continued south to a spot in the middle of Fishlake National Forest. The campground was dry (no hookups) but had plenty of sites big enough for our Airstream. Surprisingly, the signal was great. We explored the area around the campground and enjoyed the petroglyphs and pit houses at the visitor’s center. As we were staying over a weekend, we rounded out our Sunday activities with a trip to church in Marysvale, UT, and a drive over the mountains the other way to visit Cove Fort, and LDS historical site.

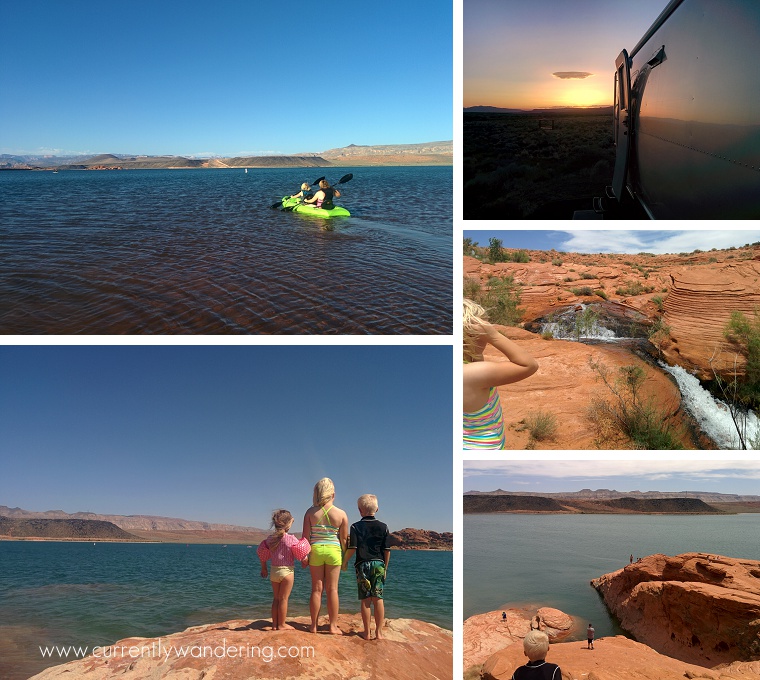
Sand Hollow State Park
After two boondocking spots, it was time to enjoy some time near civilization. Sand Hollow Reservoir fit the bill nicely, with some great swimming, paddling, and sunsets. The kids loved playing along the rocky shore and swimming from ‘island’ to ‘island’. For the older and more adventurous, there are some popular jumping rocks as well. We rented a kayak one evening, and enjoyed a bit of a paddle.
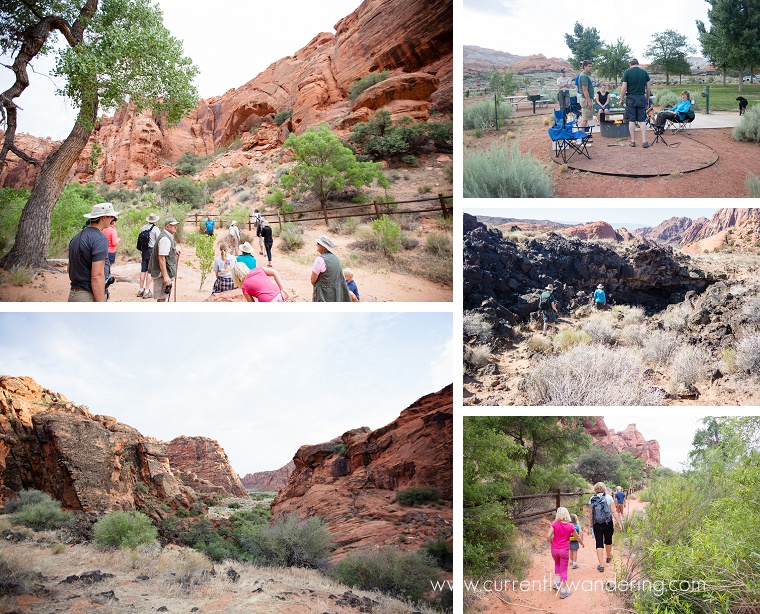
Snow Canyon State Park
We loved this park so much, I wrote a whole post on it. Playing in the sand dunes, hiking, and exploring. Plus its only 15-20 minutes away from a fairly large town. We had the pleasure of sharing this stop with some of our family, and had a great time. I imagine this park is often skipped over in favor of larger National Parks like Zion and Bryce, but those folks are making a mistake. Their loss was our gain, as we loved enjoying the beautiful rocks and wonderful views.
We loved these parks! The kids are already asking when we can go back, and although it will most likely be awhile we would definitely love to visit them again. We culminated this particular adventure with a trip to Zion National Park, but that will have to wait for its own post.