Categories
Biking Outdoor Gear

Gear Review: 6 Reasons WOOM Is the Best Kid’s Bike Out There

The bike company that focuses all of its time and energy on designing high quality and lightweight bikes for children of all ages.

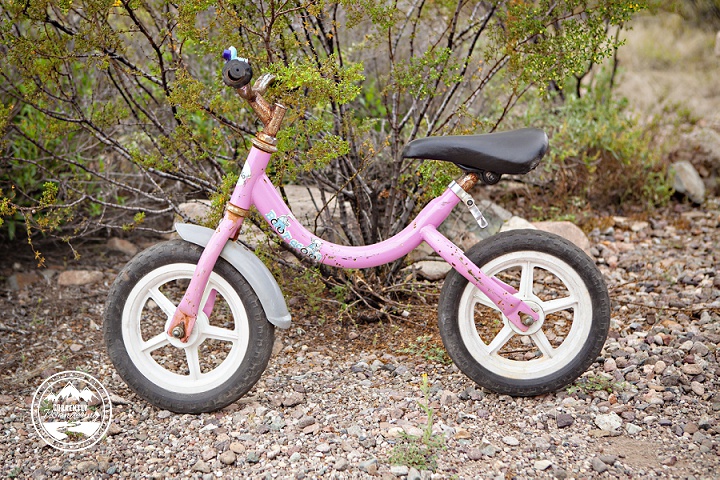
We knew Cara was in the market for a new bike, but we kept putting it off. With how much we ride bikes (including the crazy mountain biking she’s done on her strider- see our YouTube video here), we also knew that a cheap bike from Wal-Mart was just not going to cut it. Since we didn’t know what to do, we just did….nothing.

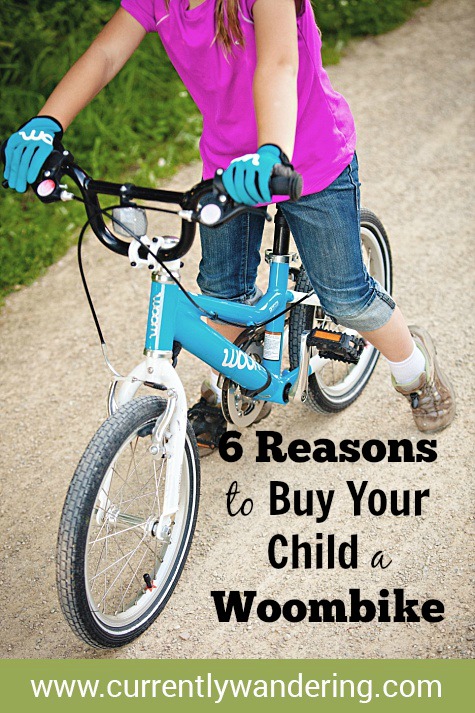
Then we found out about WOOM Bikes. These are seriously awesome. After learning about this company I knew we wanted one of their bikes for Cara, and after a short email conversation they were gracious enough to send us a WOOM3 bike for review.

Note: The company behind WOOM Bikes is German, so ‘woom’ is pronounced ‘voom.’ Makes sense, right?

The short story is that, as parents, we absolutely LOVE this bike. Cara loves it too and has totally taken off riding as we expected her too. Yes, they are pricey, but they also have a fantastic Upcycle program (if you don’t have younger children to pass the bike on to). With how much we ride and enjoy riding long distances having a great bike for our kids is super important.

Woombike_21

For the longer version, read on for our Our Top 6 Reasons WOOM Bikes Are the BEST:

1. Ease of Assembly 

I do have some experience adjusting and maintaining bikes, but none was necessary. The bike arrived packaged carefully, and nearly fully assembled. The included instructions were easy to follow, and there were only a few steps. Mostly, putting it together involves tightening screws with an allen wrench. No allen wrenches? No problem. Included in the package with the bike was the allen wrenches needed, along with a pedal wrench needed for attaching the pedals.

Woombike_02

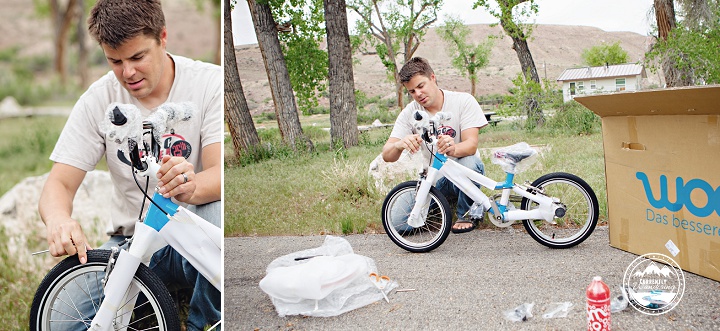
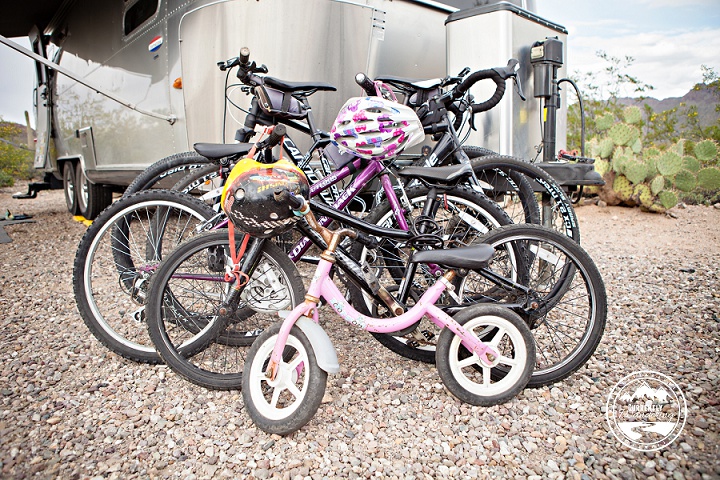
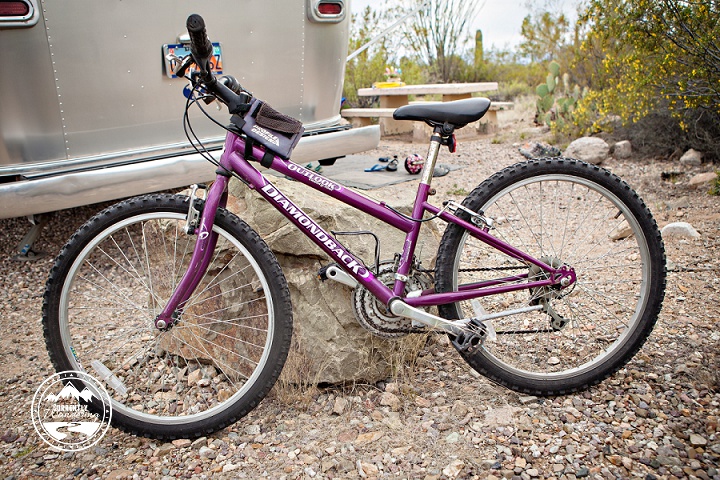
All in, it took only 30 to 45 minutes start to finish to assemble the bike and Cara was pretty excited when we pulled the bike out from behind the Airstream:

Woombike_04

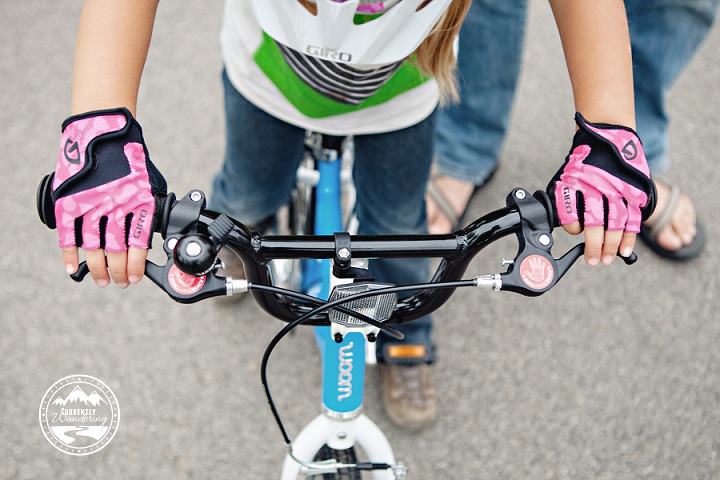
2. Handbrakes designed for small hands

Neither of us felt comfortable taking Cara mountain biking with just a pedal coaster brake. After talking to a generic bike shop about putting a handbrake on a kid’s bike, he mentioned that most kids’ hands are too small to reach and lack the pulling power to actually stop themselves with a handbrake. WOOM has totally solved this problem with brakes specifically designed for little hands. Cara has no problems using the handbrakes to come to a standstill even from pretty fast speeds.

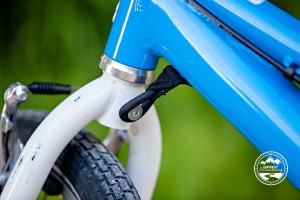
3. Steering dampener

There’s a small rubber ring that attaches the front wheel to a boss on the frame. This keeps the front wheel from turning all the way around, or a child from turning the wheel too far too fast and eating hard on the pavement. This might sound like a small thing, but really helps a child worry less and feel confidant learning to ride.

Woombike_23

4. Freewheel design

 USA laws are different in that we require a coaster brake for young kid bikes. This makes it incredibly difficult to get started on a bike because they can’t pedal backwards to line up the pedals for a good take off. Woom has figured a way to design the Woom so that it can have a freewheel and skip the whole coaster brake problem. It is awesome. We just had to make sure she could fully rely on the handbrakes, but since she hadn’t ever ridden a bike with any brakes, there were no bad habits to unlearn.

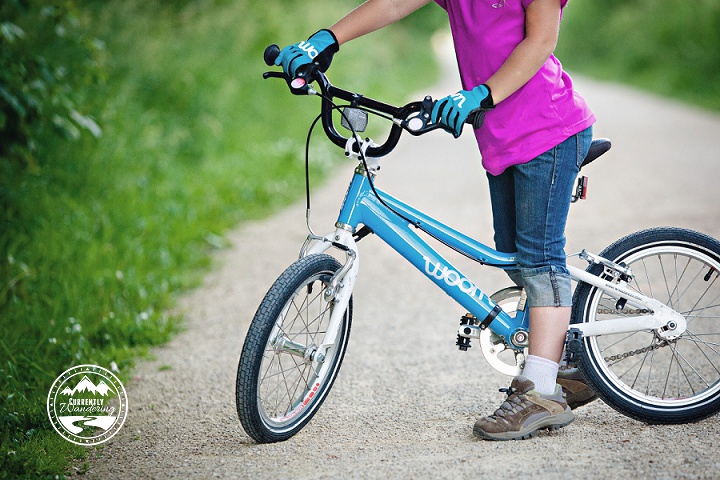
5. Lighter is Better

Have you ever hefted a generic bike from Wal-Mart or Target? They are HEAVY. Just think of your small child having to pedal that sucker up a hill. Its all work and no fun! The lighter the bike, the easier it is to ride, and the more fun your child will have! WOOM easily takes the prize for the lightest child’s bike I have ever lifted.

6. Great seat

This sounds petty, but when you want your child to stay on their bike for long periods of time, the seat just has to be comfortable. WOOM has done a great job with this, as the seat is comfy but not overly plush.

Woombike_07

In addition to the bikes, WOOM also sells accessories you can add on:

Water Bottle 

Definitely an essential for kids. Plus, its fun. Be warned that in order to install the water bottle holder onto at least the WOOM3, you have to remove the chain guard. This is not a big deal on a bike with no gears and the chain guard is useless anyway. It is just another USA law they have to comply with.

Gloves

They may not seem that important at first, but after watching Cara ride 5 miles on her strider bike and end with her hands all torn up and red they became essential. Longer distances = more stress on hands, and having your child wear gloves is an easy fix. WOOM’s gloves are great. They are full fingered, but have air vents up the sides of each finger so their little hands don’t get too hot. Plus, they are super cute and Cara loves the ice cream cones!

Woombike_24

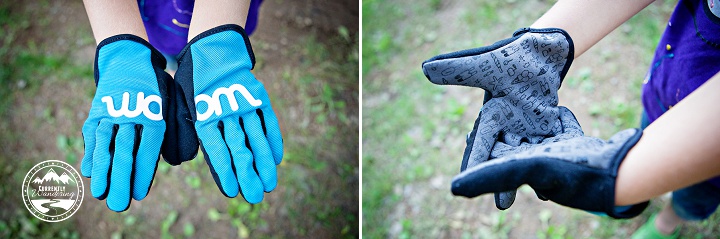
**We had JUST bought Cara a pair of gloves before the bike arrived (wasn’t aware they were sending us gloves to review as well!!) so that’s what the pink ones are. She loves them equally and will wear them interchangeably depending on her mood.
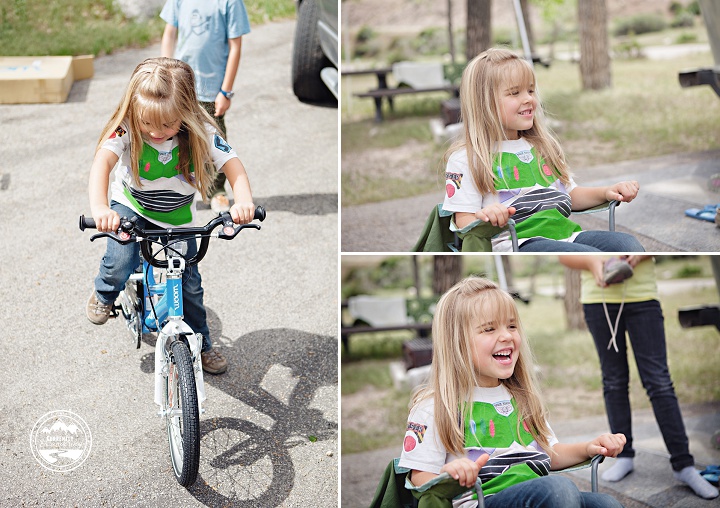
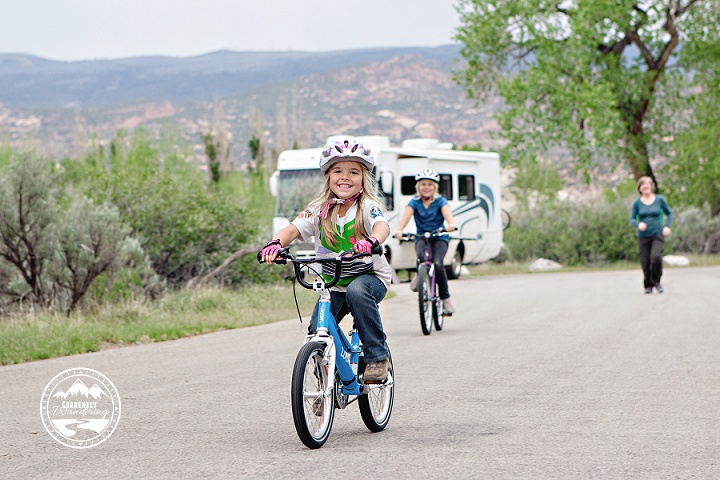
In Conclusion

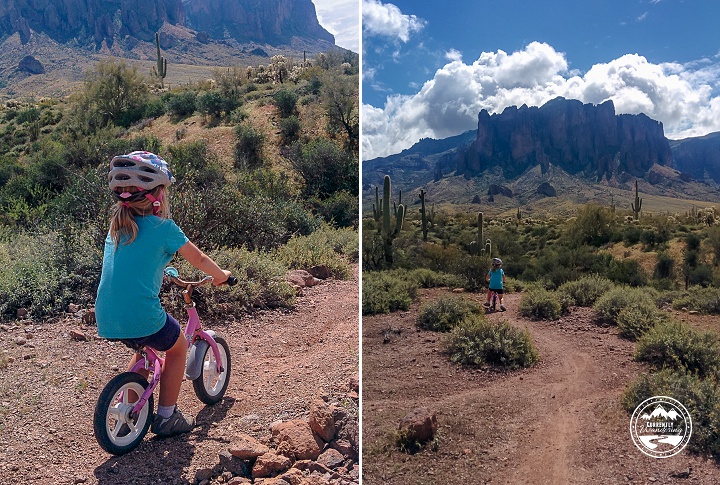
We absolutely love the WOOM3! Cara loves riding her bike, and for a family of people on bikes that is really important to us. Since our very first riding session on this bike (pictured here) we have had the bike out many more times in the weeks to follow, and Cara continues to grow in her strength and confidence. After the review period, we have the option to buy the review bike (with a discount) and we will be doing so. I only wish WOOM had been created a few years earlier,so we could’ve started our older kids on them!

Woombike_13


For those of you that are more visual here is our YouTube review of the WOOM3:

Categories
Arizona Biking Hiking State Parks

Lost Dutchman State Park: Hiking Flat Iron & Introducing Our Kids to MTB


We had heard from fellow travelers that Lost Dutchman State Park was pretty amazing, so when we swung through Phoenix last winter we decided to give it a try. Not really knowing the layout of the park beforehand, we managed to snag a pretty sweet spot with an epic view of the Superstition Mountains.

Lost Dutchman Flat Iron_02

When We Visited: March 14-19, 2015
Ages of Kids: 9.5, 7.5, 4.5
Site #: 103
Website: http://azstateparks.com/Parks/LODU/
Link to Flatiron Trail

After a brief, but dramatic, total freak out by me (read all about that here) we settled into the park and really loved it. A lot. The Superstition Mountains are ragged, majestic, and beautiful and are quite the prominent feature of the area.

We had friends staying in the overflow area at the same time (@livinginthemomentum) so the kids had some great play time with them in addition to earning their state park Jr. Ranger Badge. Our site was water and electric only, but the showers were great and we managed to go all 6 days without needing to dump the tanks. Hooray!

My two favorite activities, however were: introducing my kids to mountain biking, and hiking to the top of Flat Iron with Sam.

Introducing Our Kids to Mountain Biking

Around the outer edge of the park is a 4 mile mountain bike loop. While that may not seem like a long ride to some, it was perfect for introducing our kids to mountain biking. The trail was pretty smooth and flowy in some places, but also had some good ups and down through the various washes. The kids were all pretty tentative at first, but soon I couldn’t keep up with them as I hung back and made sure Cara did okay on her strider bike.

Our biggest success was just taking it slow and letting the kids learn at their own pace. Riding on dirt is definitely different than pavement and just takes some getting used to. We taught the kids to stand up on their pedals and get behind their seats on the downhill, and to keep their pedals level so they don’t whack them on rocks. Those were the two big lessons of the week.

Sam and I were also able to ride the loop a few times (it took us about 30 minutes), and it was great to get back into the saddle. I don’t think either one of us had really mountain biked in years.

Lost Dutchman Flat Iron_14

Hiking Flatiron

Right up against the the boundaries of the state park is the Tonto National Forest with the ragged Superstition Mountains. One of the more popular trails is Flatiron which tops out at 4861 feet elevation with some serious gain over the last mile or so.

Since we knew the hike would be too much for the kids, Sam and I decided to wake up at 5am one morning and tackle it. Rachel is getting old enough that we feel comfortable leaving her in charge of the other two (really it’s probably Andrew’s and Cara’s ages that matter more – they are quite independent). She can manage pulling out cereal in the morning and we just told them to stay in the trailer to play and we’d call from the top to see how things were going. We also knew we had friends nearby in case anything went seriously wrong, and she knows the phone number for grandma if she has non-emergency questions.

Lost Dutchman Flat Iron_12

The hike was brutal. Up to the Basin it was a pretty even uphill, and then after that it was some serious rock scrambling. The trail was marked on rocks with blue/white dots since there wasn’t actually anywhere to make a trail, and in some places we had to guess where it went but overall I felt we did pretty well.

We made it to the top, had a small snack, enjoyed the view and then started back down the trail.

Holy people. I’m so glad we left as early as we did because the trail was CROWDED on the way back down. Especially after the Basin. So, my advice if you want to hike this trail during Spring Break: get out of bed and get yourself up the mountain early. It’ll be way better.

Overall, I’m super happy we tackled it, and the kids did great on their own and were a little disappointed when we got back (heaven help us when they are teenagers).

Lost Dutchman Flat Iron_08 Lost Dutchman Flat Iron_10

We absolutely loved staying at this park, but since there are a few others in the area (McDowell Mountain being top on our list) we’ll probably wait awhile before staying here again. Definitely recommend it though!

Categories
Biking Driggs Idaho

Mountain Biking in Horseshoe Canyon – Driggs, Idaho

We have been hanging out at my brother-in-law’s house in Driggs, Idaho for the last week. Sam has some renovations he’s been doing to our battery box (including some welding by said brother-in-law). Between work, Airstream projects, and the rain, we haven’t had many chances to get out and explore and I’ve been going a little stir crazy.

Apparently my attitude was a little negative this morning, so the boys suggested I get out for a ride. Its amazing to me how quickly getting outdoors improves my mood.

When I went: May 22, 2015

Where We Stayed: With family, but there are a couple of great camping spots in the valley. Check them out on campedium.com.

Trail route: Climb Bovine Bliss, merge onto Shark’s Belly. Turn right on to Bumper & Cody’s at “the five-way”. Go left onto Sodbuster at the “T”. Turn left onto Southbound, and then ride down Channel Lock to the road.

Map: They’ve got a great one on mtbproject.com with coordinates for the trailhead.

I chose to ride the Dude Creek Loop #249 up Horsehoe Canyon. In the Wydaho Mtn Book my awesome brother-in-law picked up for me its recorded as a 6.2 mile ride with a workout factor of 5, a skill factor of 5, and a fun factor of 9. Sounds fabulous, right?

It took me about 20-25 minutes to ride from his house up the canyon. Unfortunately, because of all the rain the road to the trail head was too muddy and I spent about 15 minutes trying to make it. Giving up, I backed down the road and took the fork on the left side of the road instead where there was additional parking.

Getting that all settled, I biked up the road and started on the trail which was (hallelujah) obviously marked with a carsonite post.

IMG_20150522_141210

Bovine Bliss was a pretty good climb. I was breathing pretty hard, and having just worked my legs with 21 Day Fix Lower Extreme yesterday, my legs were also not happy with me at all. I couldn’t beat the views though:

IMG_20150522_121314

There were a few breaks in the climbing which was definitely a welcome relief. I merged onto Shark’s Belly and then it got wet. This part of the trail wound through the trees and there were a few streams that leaked onto the trails. Also some bridges to cross, which I felt more comfortable walking rather than riding. A few sections were too muddy to ride (if you leave a track deeper than a 1/2″ you shouldn’t ride it! It ruins the trails), so I attempted to walk around them. I’m just happy I didn’t slip and end up face down in the mud!

IMG_20150522_123947

A few more ups and downs and I hit the cutoff for Sod Buster and then Southbound.

IMG_20150522_130226

You can take a shortcut, skip Southbound and go straight to Channel Lock, but I don’t recommend it. Southbound was one of my favorite sections! It would around on top of the mesa with amazing views of the Teton Valley.

IMG_20150522_132831

Then there was the awesome descent on Channel Lock back through the gate, and then a short ride up the road to my car. I’m pretty sure I had a goofy grin on my face the whole way down.

IMG_20150522_133033

Overall it took me 2 hours and 15 minutes, and Endomondo clocked 9.5 miles instead of 6.2. It seems like quite the difference in mileage, so I’m not sure where the discrepancy comes in.

It was definitely a great ride, and I would LOVE to come back later in the summer and ride it when it’s fully dry!
IMG_20150522_141355

Categories
Arizona Rock Climbing

Rock Climbing in Prescott, AZ With Friends

It’s no joke we fell in love with Prescott, AZ (really, we did a pretty awesome April’s Fool Joke) and one of the reasons was the plentiful outdoor recreation opportunities. We were only going to drop into Prescott Valley, spend a night with college friends and then leave, until another full time Airstreamer (whom we met at Organ Pipe National Monument a few months earlier) started posting photos of Point of Rocks Campground and the Granite Dells. Although we were slightly nervous about a private RV park (they are never our favorites) we couldn’t resist coming into town and seeing what the hype was all about. We warned Rich & Jodi we were coming to crash their space, and Rich even visited their storage unit and pulled out his climbing gear in anticipation of our visit.

When We Visited: March 27 – April 2, 2015

Ages of Kids: 9, 7, 4

Where We Stayed: Point of Rocks Campground is not your typical RV Park. The park has lots of shade, dirt roads, and huge granite boulders everywhere. Definitely more of a campground than an RV Park. We loved it. We were given a smaller site on the end (the best spots are in the back loop up against the boulders – note to self for next time) and settled in. And then we kept extending our stay again, and again, and again. By the time we left we had spent a week in this awesome town rock climbing, exploring, visiting nearby Watson Lake, and mountain biking.

Sam and I climbed quite a bit in college, so rock climbing isn’t new to us, but our kids had never been outside on “real” rocks. Andrew especially was pretty excited as we try to have regular rock climbing gym dates.We lined up an afternoon and a small group of us (including the awesome Ty, Sarah, Luna & Aki from mywifesadventure who we met the day before) walked out the back of the campground and into the Granite Dells.

Rich & Jodi frequent this area as a sort of “home base” of operations so Rich has been climbing all over the Dells and took us to a spot with a pretty easy 5.5/5.6 to start. Sam and Rich walked to the top of the crag to set up a top rope and the rest of us made our way to the bottom. After getting set up we took turns climbing the relatively easy first route and then Sam went up and switched the chains over to the next one for a little harder of a climb.

Rock Climbing Prescott_02 Rock Climbing Prescott_04

We had a great afternoon! We encouraged each other, talked, the kids made forts, scrambled over the rocks, and ate snacks.  The littlest ones didn’t climb, so we took turns entertaining them. I also couldn’t resist pulling out my camera and doing a little impromptu lifestyle session of the Bennett family:

Rock Climbing Prescott_06Rock Climbing Prescott_07

Rock Climbing Prescott_12Rock Climbing Prescott_10

Sarah’s first time rock climbing – doesn’t she look like a natural??

Rock Climbing Prescott_13

Rock Climbing Prescott_20

How did it go with the kids that did climb? Andrew spider-manned his way to the top, but had trouble coming down. Jodi eventually went around to the top and pulled him over that way so they could walk down. Rachel struggles with heights and didn’t make it very far at all before she decided she was done, but had no trouble coming down. Sam, Jodi & I all climbed twice, Ty & Sarah both got in one climb (they had the youngest baby to juggle) and since Rich scraped up his leg mountain biking, he designated himself as belayer. After everyone had climbed we had Andrew practice climbing a bit, leaning back on the rope and coming back down. He was much more confident after that!

Rock Climbing Prescott_17
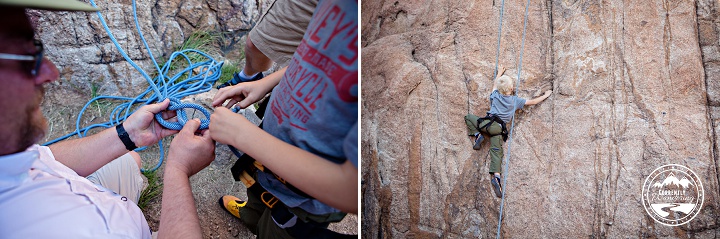
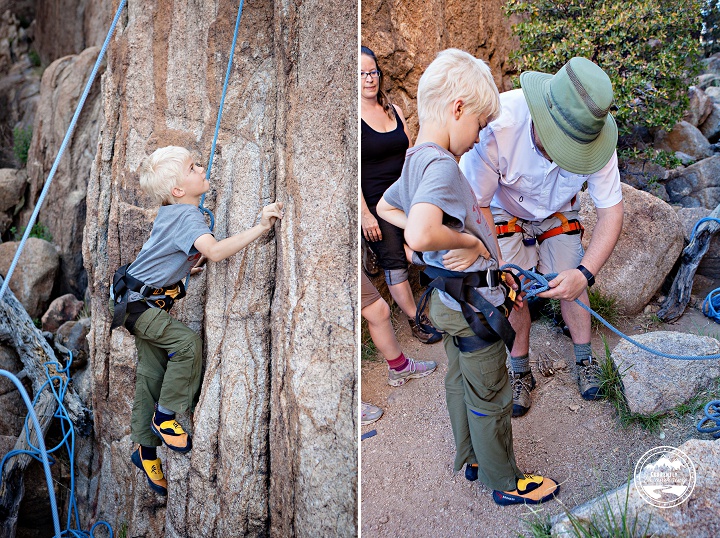
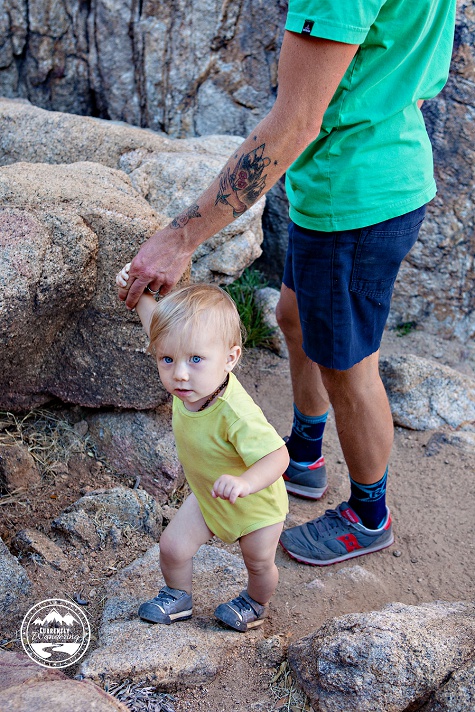
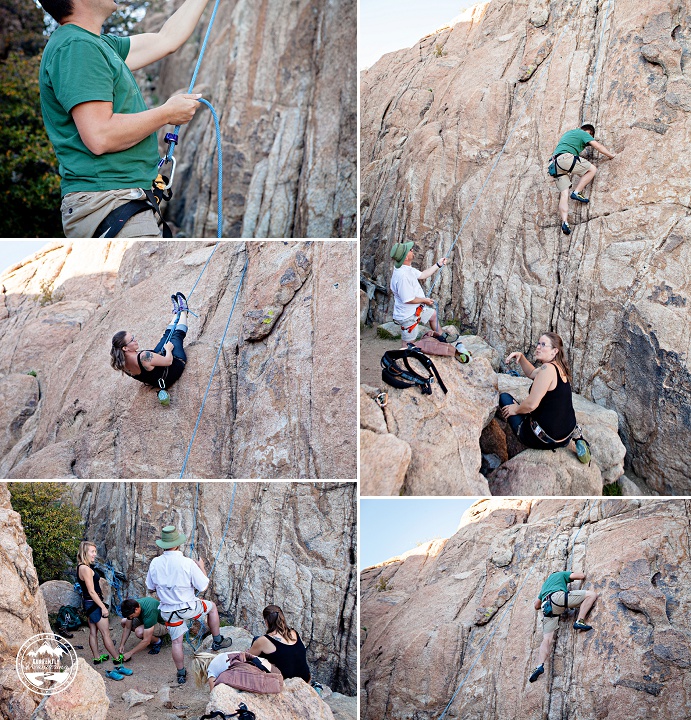
I’ve warned Sam that if we really end up back here for a month or so next winter I’m so buying a rope and we are going climbing at least three times a week. We had such a fantastic time, that we did it again a few days later – only this time we brought livinginthemomentum with us as well! We are so grateful to Rich & Jodi for the use of their gear and expertise. You really can’t beat a rock climbing location with a view like this!

Rock Climbing Prescott_18

Categories
Biking Outdoor Gear

Gear Review: Which Bikes Are We Using on Our Adventures?

Bikes_02

During our first 6 months of travel we had grand plans for road riding. We both had really great (and expensive) road bikes as we had been riding centuries (Sam more than me) and were accustomed to training for and riding longer distances.  We dreamed that even on long driving days, one of us could get dropped off on a bike, ride 40 miles to where the other waited with the Airstream, and then even take a shower immediately! How amazing!

Has that really ever happened?

Not even close.

We realized pretty quickly that we just didn’t have time for long road rides. 20 miles? Probably. 40? Not a chance. We also learned that a high proportion of state parks and even National Parks have great off road trail systems. Turns out it was much easier to get in a mountain bike ride than a road ride.

I need to interject here with the fact that we are bike people. Nice bike people. We know many full time travelers that get a cheap beach bike for bopping around the campground & easy riding along the boardwalk. We are more serious than that. Despite the bikes living outside on top of our truck, we knew we’d want high performance replacements for our road bikes. I mountain biked quite a bit in college and was actually pretty excited to get back into it!

So what did we do? We switched up our bikes. We now have a pretty sweet mountain bike and a cyclocross. Sam and I are similar in height, so even though the fit isn’t perfect for both of us, we can share bikes and switch back and forth who is riding which one. Its definitely an advantage as we can carry less bikes with us!

Here’s what we currently have:

Canondale 29er Mountain Bike

We love the Canondale brand, so we went to Infinite Cycles (a local Utah shop) to talk to the super helpful employees and figure out which bikes we wanted to get. The employee there suggested a 29er bike (meaning the tires are 29″ instead of the normal 26″) because it could keep up with the cyclocross better on pavement. Instead of buying new, we hunted around on Craigslist and the local KSL classifieds and found a barely used one that would work perfect for us! This was also has hydrolic disc brakes which we weren’t originally looking for, but have turned out to be a definite bonus!

Bikes_07

Bikes_08

Canondale Cyclocross

We weren’t really aware of the awesomeness of the cyclocross until we started looking into it. There are some definitely frame differences between these and road bikes (something about lower bottom bracket, balance, etc.), but I couldn’t tell them all to you. The employee at Infinite assured us this would be a great fit for what we needed. We love that it still has the drop handles for when we want to do more serious road riding, but the the tires are thicker with more tread so it can handle gravel and even some dirt/sand without completely falling out from under us.

Bikes_06

Bikes_09

Diamondback Outlook 24″ for Rachel

Rachel originally started out with the Canondale Street 20 and we switched up her bike when we got back to Utah (it involved a serious re-arrange of the back of the truck). I made the mistake of buying her a cheap, crappy, department store bike from the local classifieds (I blame it on the stress of selling everything we owned at the time) and then spent $100 trying to tune it up. We made it to Portland before we realized she now hated to bike. It wouldn’t shift easily, it was incredibly heavy, and coming off the amazing Canondale she was having a rough time. We hunted around some bike stores in Portland and found her this used Diamondback Outlook for about $100. We gave them the department store bike to turn into scrap metal.

It has gears in both front & back which gives her extra power on the downhill and an easier climbing experience and she’s been doing great!

Bikes_05

Canondale Street 20 for Andrew

Originally bought for Rachel back when we were road riding (she did a 25 mile ride with Sam at age 7), this bike has slicker tires and creates a more bent over body position when riding. It still does great off road, is light weight and Andrew totally rocks it. It has one chain ring in front, and then 5 gears in back to give him more power without overwhelming him. Rachel can still toast him with her 21 speed, but he does a good job keeping up.

Bikes_04

Bootscoot or Strider Bike for Cara

This little strider bike has made it through all 3 of our kids. When we bought it for Rachel at least 7 years ago, strider bikes were a new thing and have come a long way since then. Since this was still working , we never felt the need to upgrade but some of them now come with a foot rest (for encouraging kids to pick up their feet) and even a hand brake. Oh how Cara could use a hand brake! She’s taken so many spills on this just because she gets crazy fast and the tires start to wobble and then she goes head over heels! Good thing she’s a tough, little girl.

She started learning how to use this back in Virginia (Sept 2013) and although she started out slow and cautious, it didn’t take her long to be cruising along at high speed. The idea behind striders is to teach kids balance without having to worry about pedaling. Once they get the balancing down (the hardest part about riding a bike!) they can easily switch over to a regular bike without needing training wheels.

She’s definitely ready for an upgrade, and I have an exciting announcement to make in a couple of weeks for what she gets to ride next. I’m extremely excited, because I know she’s totally going to rock it!

Bikes_03

Ride-aLong Bike for Cara

I already wrote an entire post about our Ride-aLong and how its great for riding longer distances as a family. While the strider is great for campground riding (or even mountain biking! Have you seen our YouTube video? Cara was amazing!), there’s no way she’d keep up riding 10 miles on pavement. With the Ride-aLong we definitely have more options as a family. When we upgrade Cara to a larger bike, we’ll probably still keep this around until she’s in at least a 20″ bike and can keep up easier.

Having more expensive bikes does have its risks (getting stolen for one thing) but we also mostly keep them mounted to the truck with the Yakima system and so far haven’t had much trouble. The benefits and opportunities are definitely worth the risk, and we carry insurance. 🙂

Bikes_01