Categories
Arizona Hiking National Parks Outdoor Adventures

Our Awesome Hike at Chiricahua National Monument, Arizona

Chiricahua

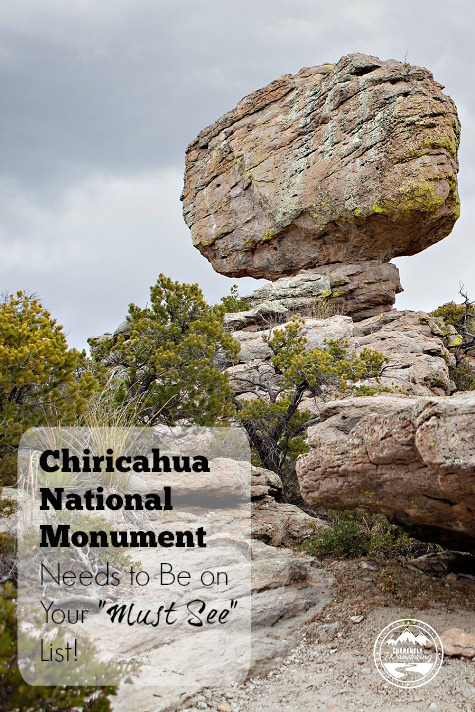
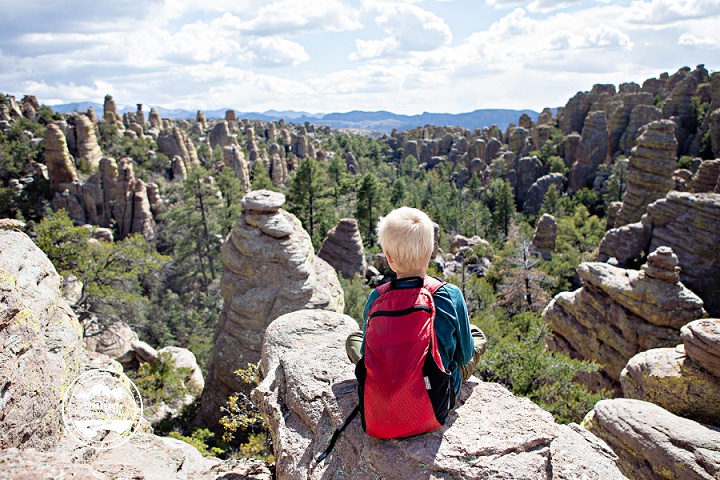
We visited Chiricahua National Monument in eastern Arizona. It was a mountain oasis in a desert of grass. The landscape was pretty cool. And there were TREES. We hadn’t seen trees in a month – just cactus.

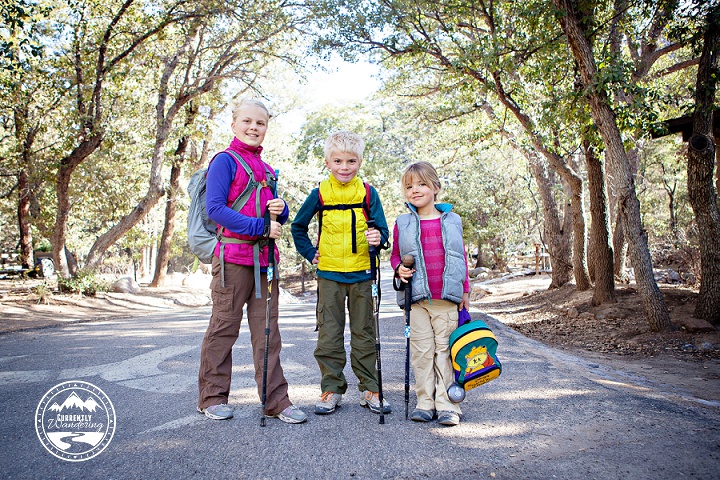
Mom and dad decided that we were going to hike. A long one! I didn’t really want to go, as hiking is not my favorite thing to do. Long hikes are boring and I get tired way too fast, but I decided to make the best of it and have fun along the way!

When We Visited: March 8-9, 2015

Ages of Kids: 9, 7, 4

Where We Stayed: Bonita Campground inside the park. The have a max trailer length of 29′ feet because of the sharp turns and deep washes inside the campground.

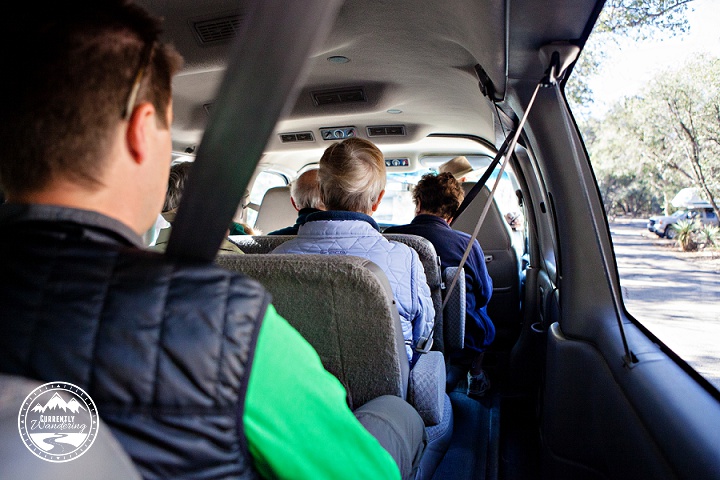
The morning after we got there, we had a great breakfast of eggs & toast and then walked to the bathrooms where we waited for the shuttle. It was pretty crowded inside and we had to climb all the way into the back! They took us to the top of the mountain at Echo Canyon and we started our hike.

Chiricahua NM_02

Chiricahua NM_04

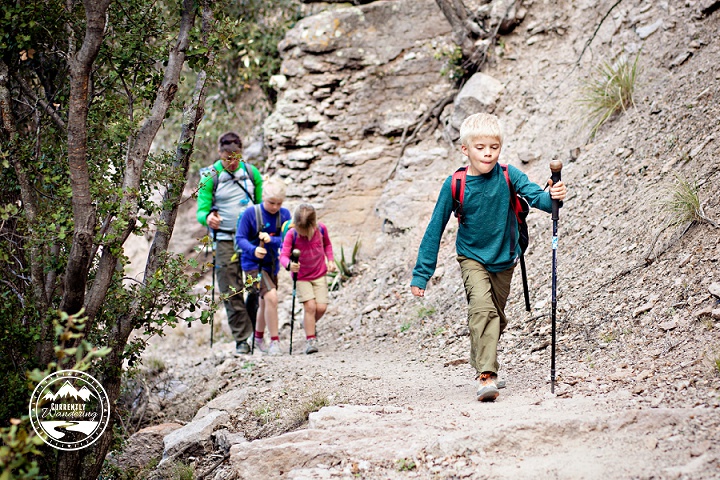
At the beginning, the hike was pretty much downhill, and it was steep and rocky. It got steeper and steeper as we got progress, and I’m glad I had one of the four hiking poles. I used the pole to lean on so I didn’t hurt my knees.

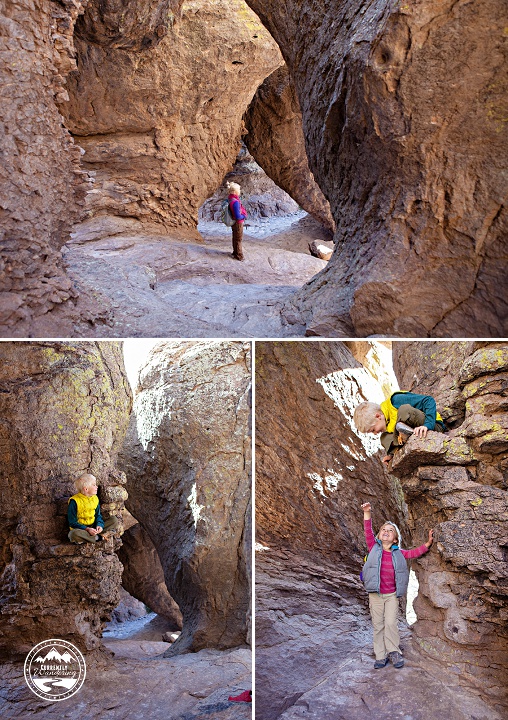
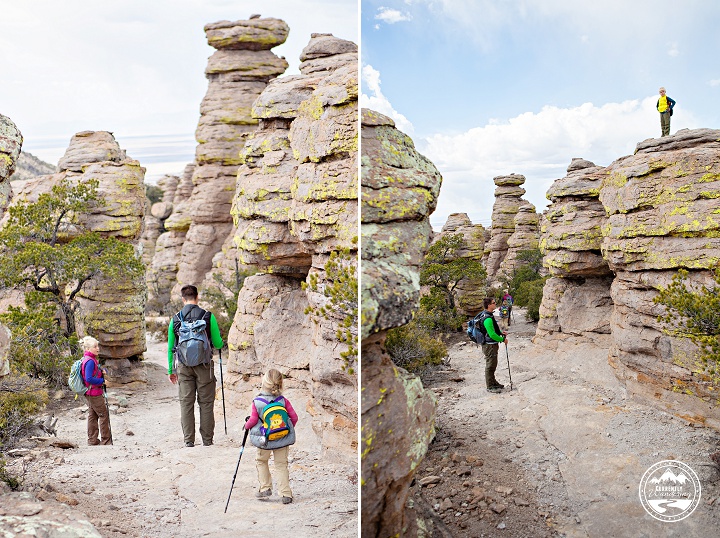
We hiked on a little further down the green and brown mountain and came to the rocks. The rocks were made of Volcanic ash covered in bright green lichen. It was pretty unique. Echo Grotto Canyon is a collection of rock tunnels. The place was very tall. We had lots of fun climbing around it. Dad found a cool ledge lifted Andrew up so he could take a picture of Andrew siting on the ledge. Andrew loved it, but there was no way I was going up there! Mom and Dad took more pictures of us and then we headed on our way. I loved to see the rocks, because it reminded me of Bryce Canyon and we love to rock scramble.

Chiricahua NM_10

Mom and dad are pretty good at keeping us distracted and helping us hike long distances. Sometimes we listen to music (Frozen is Cara’s favorite), we eat yummy snacks and I love to suck the sugar off the peach rings.  We also play a math game where you line up single file and skip by twos. Each person has a turn saying a number while you skip count. It is very fun. We played a state and capital game, and had some more snacks. Andrew and I started to talk about Minecraft while Cara was counting to Mom and Dad. I started to draw numbers in the trail for Cara to practice her counting. I went to twenty probably about ten times then Cara and Andrew took over with the numbers.

The views on this trail were amazing! There was rocks everywhere.  It was like Bryce Canyon and Yosemite mixed together but totally different at the same time. We loved it. Its in our top three Favorite parks with Crater lake and Bryce Canyon.

Chiricahua NM_27

After hiking down for a couple of hours, we hiked pretty flat along the Hailstone Trail but then climbed up the Mushroom Rock Trail to the top of the hill to have lunch. We got to the top of the mountain we were climbing up, and found a good spot with a view for lunch. We had egg sandwiches for lunch. It was very messy. I was the best at keeping my spot clean. We all had to go to the bathroom but there was none there! We had to go in a hole! It was so disgusting, but kind of fun at the same time!

Chiricahua NM_14

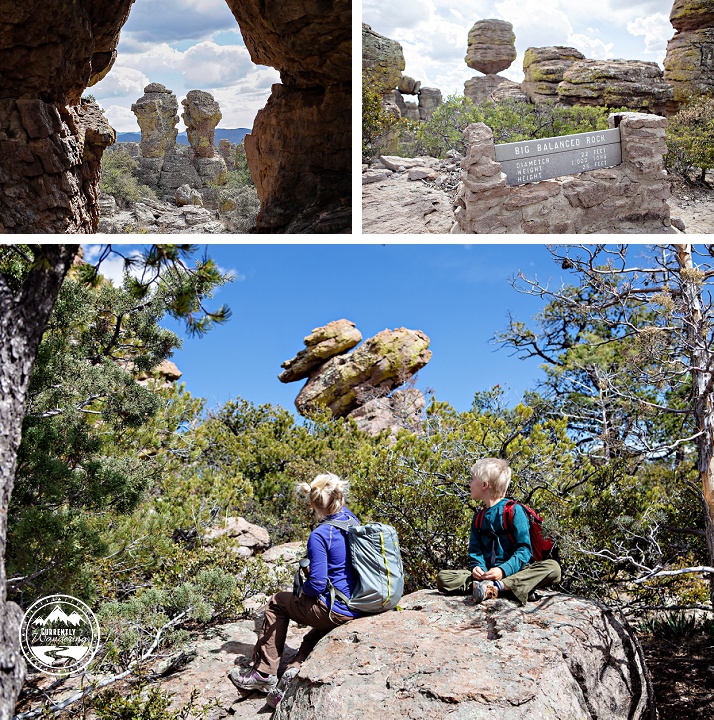
After lunch, we got to a loop called Heart of Rocks Loop, and started on it. It was boring for a wile, but then we came to the awesome rock formations. There was Thor’s Hammer, though it did not look like a hammer. There also was Duck Rock, it looked like a rubber ducky, I loved it the most. Kissing Rocks was one, Punch and Judy, (it looked like two people, and Pinnacle Balanced Rock. There was a huge step in the loop it was hard to go up it. The steps up and down were made of flat rocks.

SAMSUNG CSC

Chiricahua NM_24

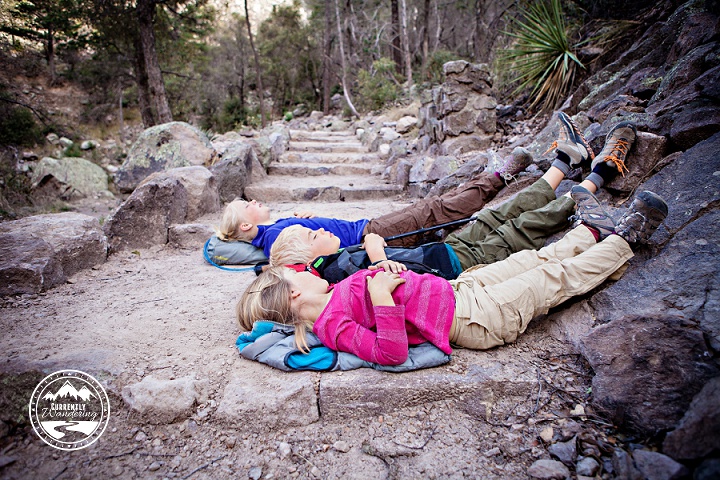
The hike down to the Visitor Center was the longest! We would through lots of trees and tried to keep ourselves entertained. Andrew, Cara, and I talked about things we wanted to build in Minecraft. When we got to a fork in the road, we were so tired that mom & dad had us lie down and put our feet up to give them a rest!

Chiricahua NM_30

Andrew and I got ahead of our little hiking group, and I started needing to go to the bathroom. I ignored it. Then, I started needing to go to the bathroom so bad. I stopped to wait for mom and dad, but Andrew and I were to far ahead. I looked down to the ground. Not to far down, I’ll make it to the visitor center in time, I thought. I walked as fast as my legs could carry me down the trail. I went faster and faster, that I got ahead of Andrew too. The trail started to the get flat, and I was hoping I was close to the visitor center. I passed some other hikers and said hello and then hurried down the trail again. I started to feel like I was going to explode. I went faster and faster. I suddenly almost peed in my pants, so I veered of the trail and into the wilderness. I found a good spot and went to the bathroom managing it all by myself!

I got back to the trail and sat on a rock to wait for my family to catch up. I heard Cara talking and started back up the trail. I met my family and told them what  happened. We  started on the trail, and maybe 10 minutes from where I went to the bathroom was the Visitor Center! I was very mad at myself for not going any farther. At least I didn’t have a huge accident!

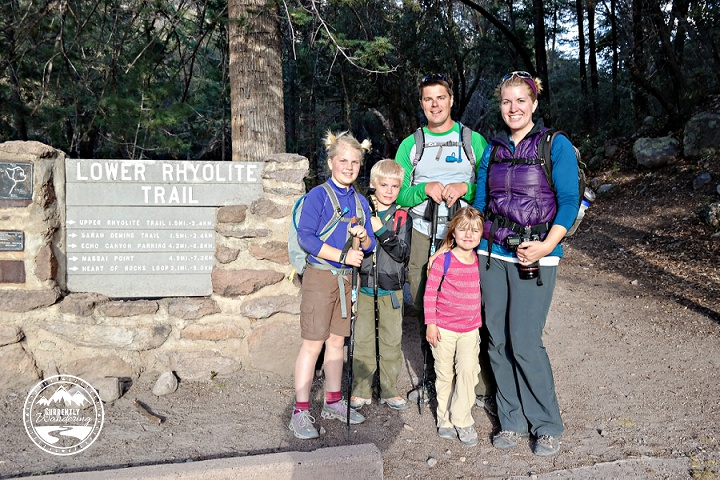
We asked some one to take our picture at the sign for the trail then headed home. When we got there I went straight to my bed and lay down because I was so tired!

SAMSUNG CSC

The next day, I looked back to the day before, and felt that I had done something important that most people would not be able to do. I felt really proud of myself for doing an eleven mile hike. Too bad we had to leave the awesome oasis so soon! I hope that someday we will get to back to Chiricahua National Monument.

Categories
Hiking Outdoor Adventures Tips & Tricks

8 Tips For Choosing the Right Hiking Shoes for Your Kids

All Hiking Shoes_03

With all the outdoor activities in our life, clothes take it pretty hard. For example, we went through cheap Payless tennis shoes in about 2 months. I no longer think that if I buy something for Rachel it’ll last long enough for Cara to be able to wear it. Usually the article of clothing (pants, shoes, socks, whatever!)  wears out before even Rachel outgrows it.

Add to that our crazy, awesome hiking adventures and we spend a lot of time on our feet. One thing that has really helped my kids go the distance is their footwear. Good shoes really do make a difference when you are conditioning your . I figured that Sam and I were pretty picky about a footwear, why should our kids be any different?

The best part? It doesn’t have to be expensive!

When hunting for kid’s shoes here are a couple of ideas to help:

1. Make Sure They Are Lightweight: Heavier shoes tend to weigh us down. Every step you take has to move those shoes, and the repetitive motion of walking really adds up. Your kids don’t need high top, ankle support shoes (unless they’ve also got a heavy pack for overnighting and maybe not even then). Find something that’s low cut and lightweight!

2. Shop Clearance Sales, But Be Careful: All of our kid’s shoes come from REI. It’s actually my favorite place to buy clothes as they have some amazing clearance sales, and shoes top that list! They usually have a rack or two of clearance shoes, and if nothing fits make sure to ask as they’ll often have extra in the back. Rachel’s shoes (purple ones) were on sale for $35, and we got both Andrew & Cara’s for around $20 each. I did a quick search for “Kid’s Hiking Shoes” and came back with a great list of both regular priced and clearance shoes!

The second part of this, is that usually these shoes are on clearance for a reason. Be careful and take a good look at the shoes before you buy. With Cara’s the toggles didn’t stay on super well (probably why they were discontinuing selling them) but we stuck the toggles back on and tied a knot in the laces instead. Works like a charm and we didn’t pay full price!

All Hiking Shoes_01

3. Make Sure Your Kids Walk Around in Them: Most stores will let you wear shoes inside and still return them. REI also has a synthetic rock our kids ran up and down to simulate hiking on a “hill”. Shoes will break in and get more comfortable over time, but you do want them to be comfortable from the get go. And don’t give up!! Cara tried hers on twice and ran around the entire store before she deemed them wearable. Now she loves them.

4. Look for Soles with Good Traction: You don’t want something with little to no tread, as your kids will slip and slide all over the trail. Having great shoes has really boosted Rachel’s confidence on the trails, especially when we are hiking over rocks.

5. Decide Whether or Not They Should Have Tie Laces: This a toss up for me. For younger kids its definitely best to have shoes with bungee laces or the toggles. Quick and easy to put on and you aren’t going to constantly be re-tying them. For older kids that can manage on their own its really a personal preference. Both my older kids actually prefer to have laces (especially when they are orange!)

6. Reinforced Rubber Toes Are Awesome: The toes get the brunt of the wear on shoes. Kids tend to kick things and drag their toes so naturally this area wears out quickly. Finding shoes with reinforced rubber toes are best. Rachel’s don’t have them and we’ve noticed the front lip thing has already started peeling off. It’s annoying. Next time we’ll be more choosy.

IMG_3238-Edit copy

7. Don’t forget about the socks! Just as shoes are important, so are socks! Once again, Sam and I like to wear good hiking socks, so why shouldn’t my kids? When we expect them to hike 5-10 miles we want to give them the tools to do it. Our favorites (so far) are these SmartWool Striped Like Hike Crew Socks from REI. Lightweight with a little bit of cushion, these are perfect for little hikers. My kids have commented often on how comfortable they are!

8. Brands to Look For: We aren’t usually brand shoppers, but there are a couple to look for that we feel make good, quality shoes. Solomon, Keen, Merrill, Chaco, and North Face are usually winners. I love my Solomon shoes, Sam prefers Merrill, Rachel’s are North Face, Andrew’s are Merrill and Cara has a lesser known brand, Hi-Tec, but they are awesome. The nice part about buying from REI is they don’t keep items (or brands) in stock that don’t hold up.

Hiking Shoes

If you really want your kids to go the distance and ENJOY doing it, investing in good equipment is important! Good socks and shoes can give them the confidence they need to push past their mental limits. Who knows? Maybe YOU’LL be struggling to keep up with THEM before long!

Categories
Airstream Accessories Outdoor Gear Photo Gear

Gear Review: Samsung NX300 Camera + 20mm f/2.8 Pancake Lens

Samsung Gear Review
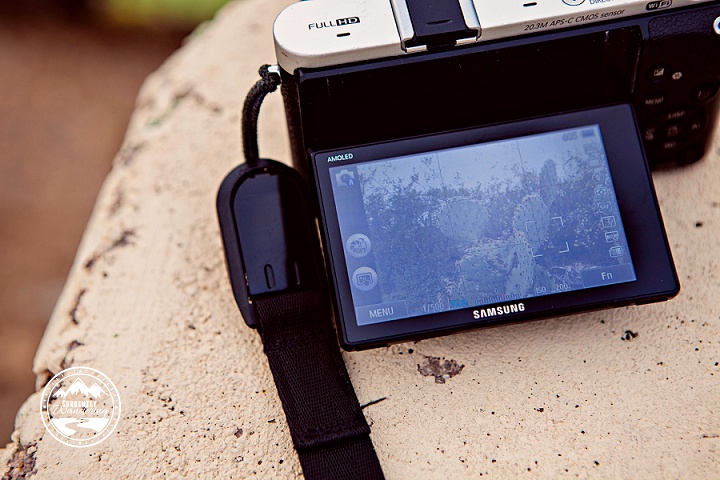
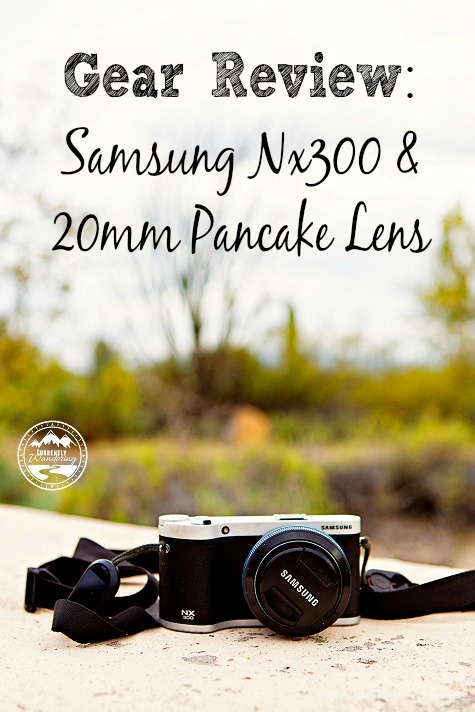
Some people are surprised to find that we have a smaller “point and shoot” type camera in addition to our 5D Mark II. We have this camera for multiple reasons, the first one being that it is hardly a typical “point & shoot”.

The Samsung NX300 is a 20.3 MP camera with smart features, interchangeable lenses, shoots RAW, and has a full manual mode.

For me, it has the power of a DSLR while being compact enough that I can slip it into my purse. I LOVE  the image quality from this camera, and can edit the RAW images right alongside images from my 5D Mark II no problem.

We bought the body only + the 20mm 2.8 pancake lens. It was a huge decision and I went back and forth for at least a week before deciding. In the end, we knew we wanted a replacement for our camera phones, not necessarily to replace the zoom of the 5D Mark II. On the Samsung’s cropped sensor, the 20mm just about mimics our camera phones. Plus, it’s flat and small which was another requirement.

IMG_3280-Edit copy

The Samsung Nx300 also has a built in direct link WiFi feature making it perfect for transferring images to our phones and then posting to Instagram. We bring up the app on our phones, hit the Direct Link button on top of the camera, and then select which images we want to send.

We leave the camera in RAW + jpg mode so that when I download images from the card I can edit the RAW, but we can transfer the JPGs to our phones for posting to social media. A little much? Probably. But then again, I am an OCD photographer. 🙂

The tilting touchscreen is also a plus, but our only regret is that it doesn’t swing all the way around for selfie photos. Yeah, maybe not that big of a deal, but I think Sam would do more of his YouTube videos with this instead of his phone if he could actually see himself while recording (you know, make sure he’s centered in the frame and all that).

IMG_3284-Edit copy

We also ditched the stock camera strap pretty immediately and use our Peak Design Leash strap exclusively. It’s awesome (if you get one for any camera, use code jcurren for 10% off!).

For those of you that feel you aren’t “professional” photographers, or don’t care to shoot in manual mode, the NX300 also has an array of Auto modes, as well as Aperture & Shutter Priority. We typically stick it in auto or even Program mode before handing it off to someone for a photo of all of us. Works great!

Example images:

Cascade Head Hike_13

For a small, lightweight, easy to use and powerful camera we love the NX300 and definitely recommend it for everyone!

Affiliate links to Amazon (you pay the same price, we get a few pennies for books):
Samsung NX300
Samsung 20mm 2.8 pancake lens
32 GB Micro SD Card

Categories
Biking Outdoor Gear Tow Vehicle

Gear Review: Bike Racks for 5 on a Dodge Ram 1500

IMG_9620-Edit

We started this journey over a year ago with our bikes on a rack attached to the back of our mini van. Biking is one of our favorite family activities and we knew they would be important to have with in the Airstream as well, but that required a significant re-arrangement of our current system.

For starters, we sold the mini van and bought a truck.

Sam wrestled long and hard with the dilemma of where to put the bikes. We went back and forth on a few different systems, and there were some key deciding factors. We knew that we would want a cover over the bed of our truck and that would have an impact on which rack system we used. We also knew we’d be upgrading and changing bikes as the kids got older, so the system needed to be flexible. Lastly, we didn’t have crazy amounts of money to sink into this since we had just bought the Airstream and truck. Anything we could put off until later would be great.

Many of our Airstream friends have the Airstream Carry-Bikes by Fiamma, which is a great option for them. Designed specifically for the Airstream, it mounts to the aluminium bumper and can hold two bikes. Our problem would then be, where do we put the other 3? Plus, our bikes for the kids are not full sized and would most likely not fit in a rack like this one. The other down side is that we specifically picked our model of Airstream for the rear panorama windows and didn’t exactly want bikes blocking the view.

We loved our Yakima system on the mini van, but we sold our previous Yakima system with the vehicle since the bars and towers wouldn’t work on the truck anyway. That left us starting from scratch.

Eventually we decided to add the Yakima rails to our Tonneau cover, even if it wasn’t the cheapest option availabe.  We bought a set of Yakima 60 inch tracks from Amazon and took them to the guys over at American Truck and Trailer Supply in Manassas, VA and had them install the tracks along with the truck cover.

Once the tracks were in, we could add the towers & bars. For our Dodge Ram 1500 specifically we bought:

2 sets of Yakima Landing Pads
Yakima Control Tower Roof Rack Tower (set of 4)
2 – 78″ Yakima Roof Rack Round Crossbars

Landing pads go in the tracks, Towers go in the landing pads and crossbars go through the towers. Its a great set up, and has worked pretty flawlessly over the last year.

Once the infrastructure was in place, we just needed the racks for the bikes. We already owned two Yakima Boa Fork Mounts, so to keep costs down, we decided to start with two of those for the biggest bikes. We found a Yakima High Roller Rooftop Bike Rack on Craigslist for Rachel’s bike, and Andrew’s bike, the boot scoot, and the Co-pilot were all piled in the older model Yakima Basket case we had brought out with us from Utah.

This set up worked great for 6 momths until we got back to Utah in the spring of 2014 and upgraded Andrew to a larger bike. We also wanted to reclaim the truck bed space taken up by our bike tires due to the fork mount of the Boa racks, so we upgraded all of the racks to the High Rollers, and Sam built a wooden rack for Cara’s new Ride-aLong bike we had purchased while in San Diego last February. We strap Cara’s boot scoot to the Ride aLong with some bungee cords and it rides just fine.

So far, so good! We’ll have to do some more rework when Cara graduates to a regular bike (or one with training wheels), but we are putting that off as long as possible!

IMG_9621-Edit

Categories
Hiking Musings of Sam Outdoor Adventures

The Shoes We Wear – I Finally Retire My Hiking Shoes

SAM_3159-Edit copy
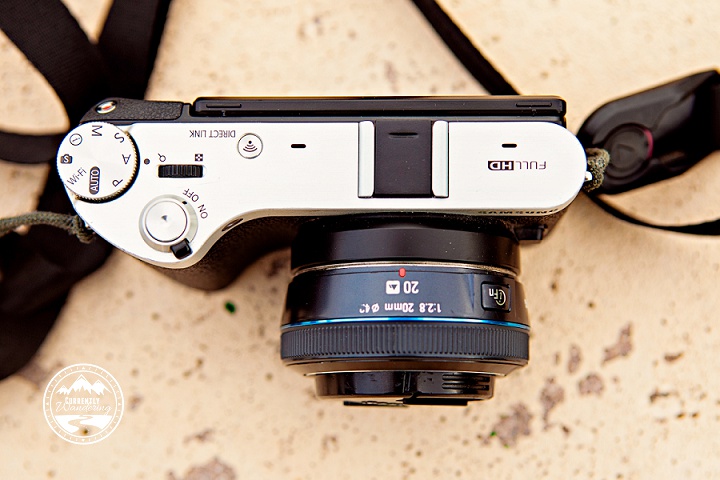
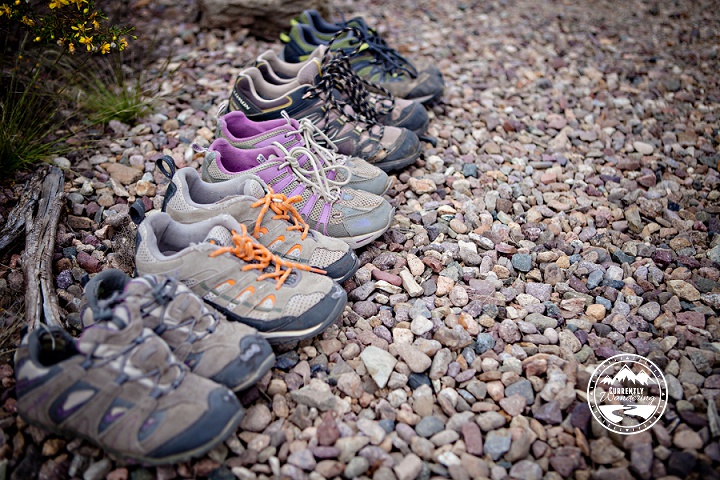
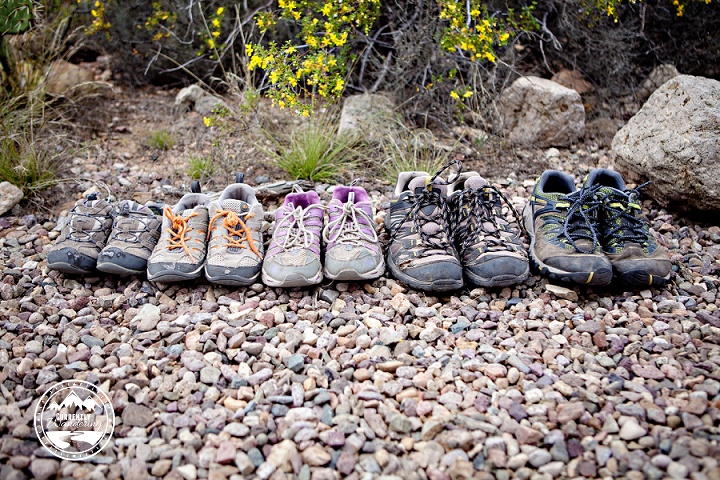
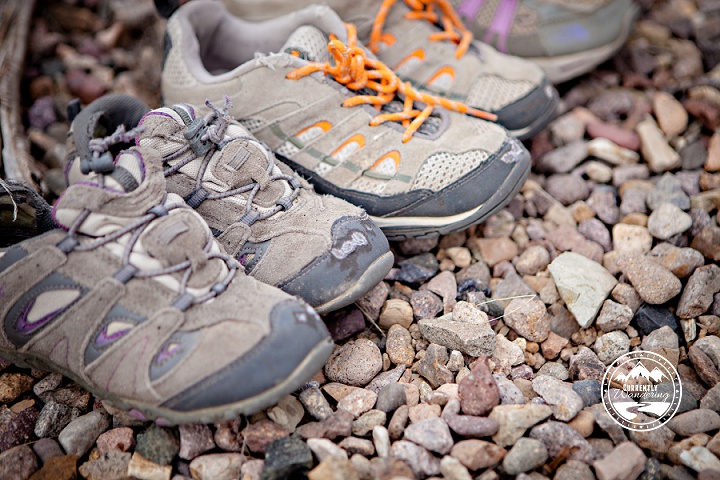
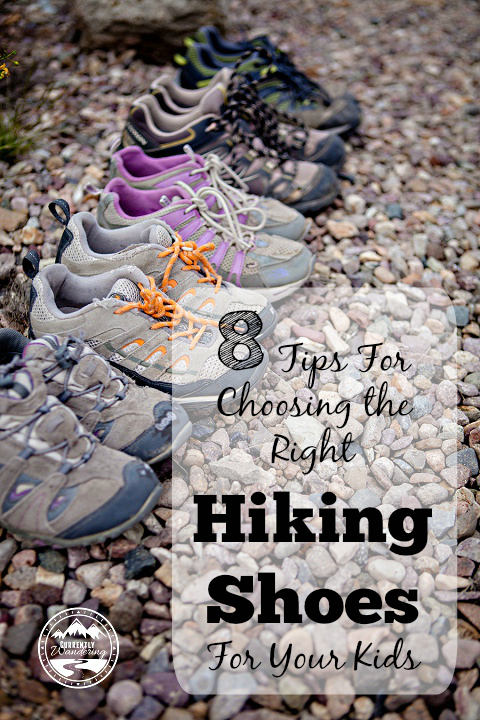
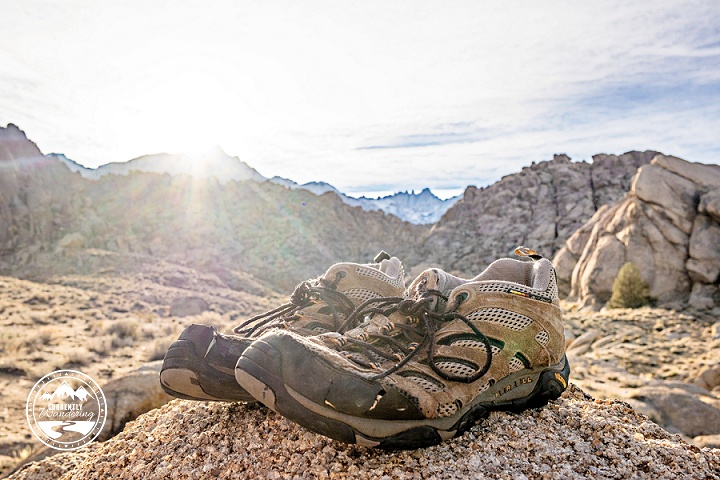
I imagine the average person doesn’t think much about their hiking shoe purchases. I’d wager that a good percentage of people don’t even have hiking shoes. Being the active person and family that we are, I take my outdoor gear a little more seriously.

Added to that, I have slightly wide feet. Choosing shoes can be difficult, and to purchase these shoes I tried something different this time around. I ordered several sets of shoes from Zappos, and spent a few days walking around the house in each pair. The winning pair was this pair of Merrells, which came in a wide size.

Looking back over the years, these shoes have carried me on a wide variety of trails around Utah Valley as I explored valleys and ridges. After my little brother talked us into hiking the John Muir Trail in California the summer of 2013, these shoes carried me on all of my training hikes as well as the 240 miles on the John Muir Trail. Our pace was fast enough that I was sure to experience some foot discomfort no matter which pair of shoes I was wearing! They held up great, and I was grateful to have them. Among other places, these shoes have stood atop Mount Whitney, the highest peak in the lower 48 states.

These shoes left with us on an adventure that led to our current life of full-time Airstream travel. They have hiked trails in Virginia, Florida, Texas, New Mexico, Arizona, California, Washington, Oregon, Vancouver, Minnesota, Illinois, Nevada, and all over Utah.

I finally wore these shoes out, as they began to come apart in multiple non-repairable places. I replaced them 6 weeks ago, but kept them for this final shot. Here in the Alabama Hills in the shadow of Mount Whitney, I took a final picture to commemorate all the wonderful places these shoes carried me.

I wonder what adventures my next set will see?